Please review the site Rules, Terms of Service, and Privacy Policy at your convenience. Rules, TOS, Privacy
Get familiar with the reaction system: Introducing the Reaction System

4s Universal tube pre

With lots of help from @Tom_S ; I am attempting to build the 4sUniversal tube preamp found here; http://diyaudioprojects.com/Tubes/Universal-Tube-Preamplifier/   He also thought it best to do a writeup.  I have a couple free days not dictated by overtime or homework and hope to get this thing up and running in that time.  Fingers crossed.   

Keep in mind, I hate electricity and electricity hates me.  It's a relationship that goes waaaaay back to childhood.

I wired our new house, and all the figuring required for that, which is not much, mostly just very basic stuff.  Something learned was to not trust my memory on whether the breaker to the circuit being worked on was indeed off and never, UNDER ANY CIRCUMSTANCES, pee on an electric fence.  Trust me on that one.  Seriously, never ever do it.  Not even to a drunk buddy.   Other than that, I know about as much about electronics as my dog does rocket ships. 

There is likely to be some smoke, maybe fire, but hopefully no electrocutions.

Basic sheet of aluminum which just so happens to be the same thickness as a tablesaw blade.  You'll see why later. 
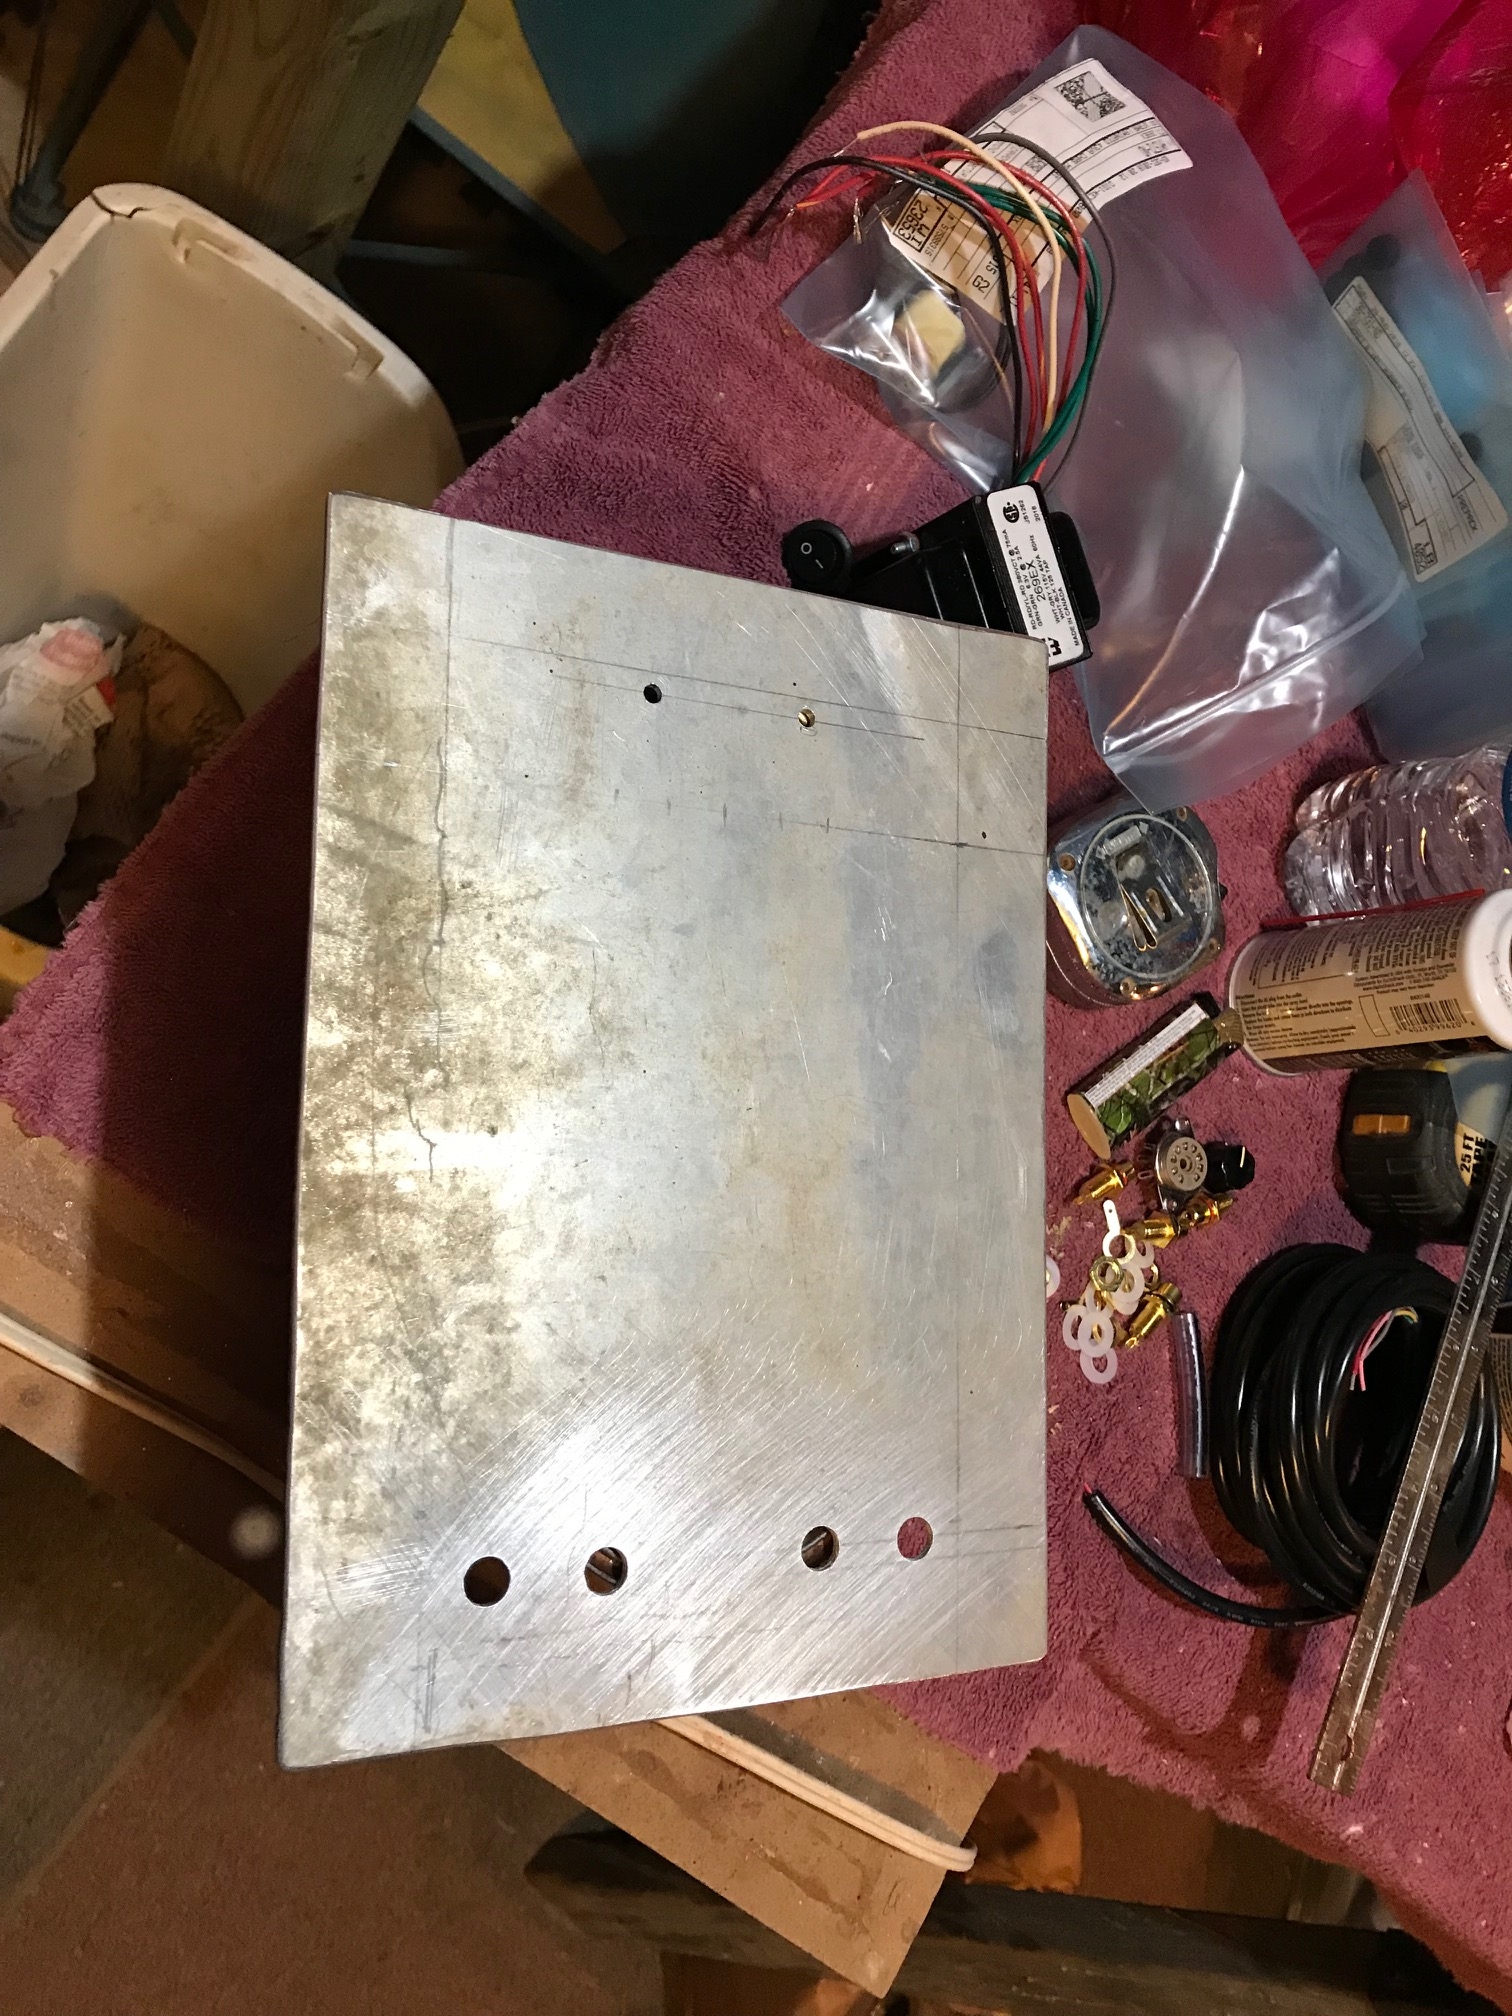


Drilling holes for the transformer, wires, tube sockets, phone plugs, etc.  
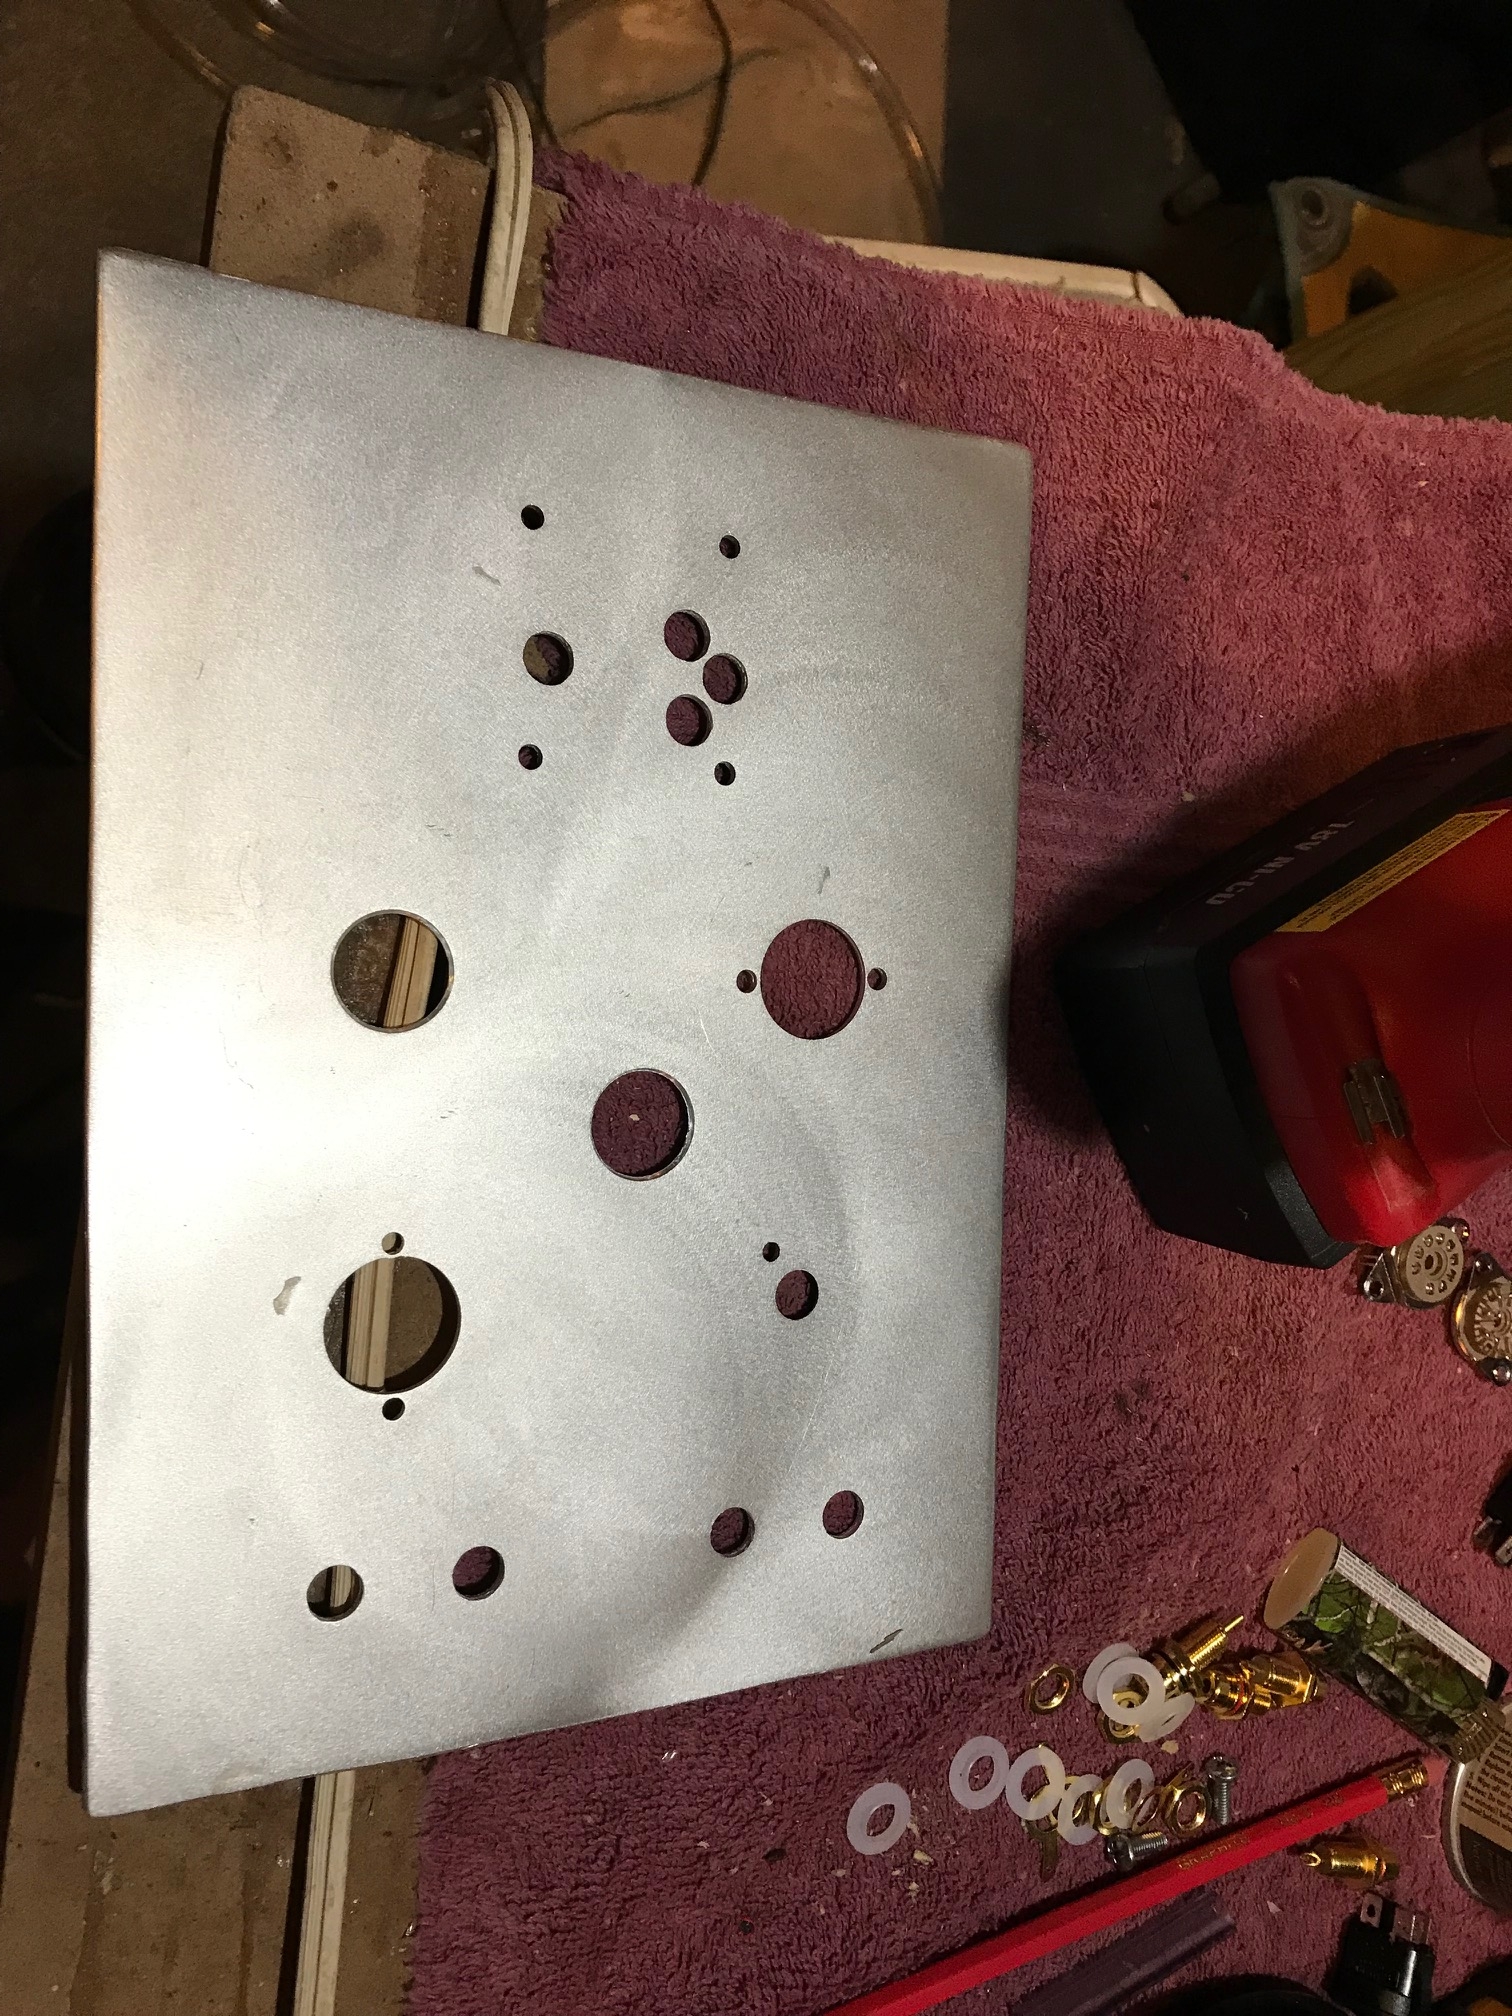
And the reason for the aluminum sheet being the same thickness as a saw blade.  For the bottom and sides I cut a few pieces of scrap to ~3" x whatever length it took to fit around the metal sheet then cut a groove in the board for the sheet to slide in.  Figuring this project may be dissembled many times during the build, and facilitating my clumsy hands and soldering ability, the ends are simply held in place by screws.  Not pretty, but unscrew one end and the metal sheet holding everything slides out making things easier to work on.
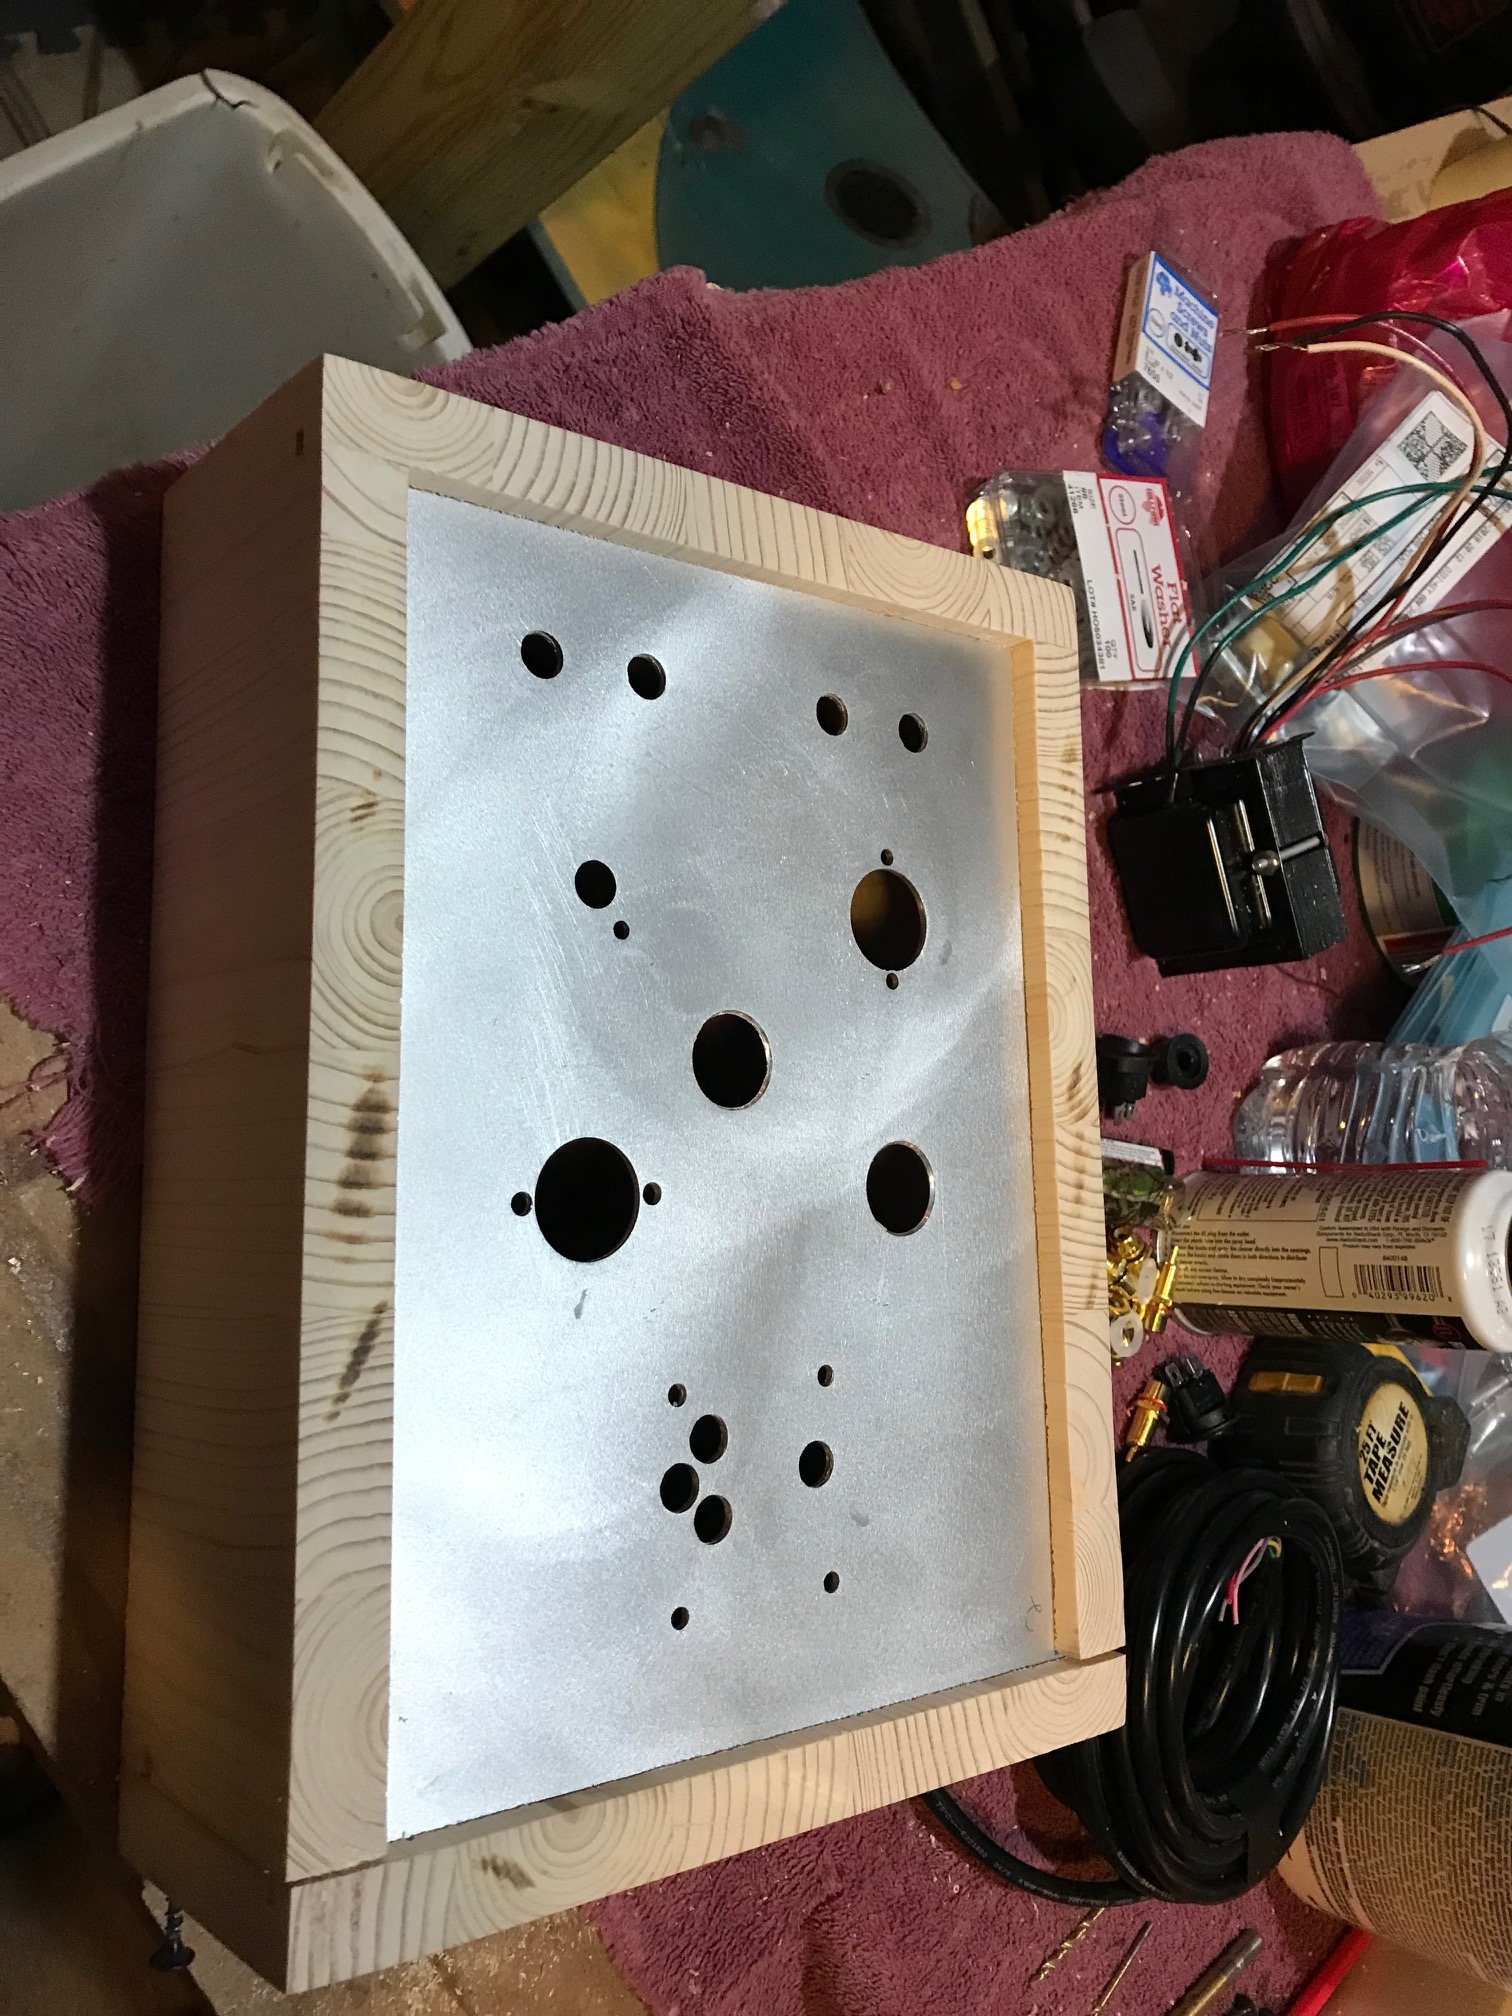
          
«134

Comments

  • The parts are in, just waiting on the wood to dry. 

    Now what Tom???


    Bottom side.  Used Loctite on all the bolts/nuts. 


  • Looking good so far! Here are answers to your questions from earlier tonight in case anyone else is following along.

    On the EZ81 (rectifier tube), red wire goes to pin 1, other red to pin 7 on that socket. The Red & Yellow lead will go to your ground buss, starting at the (negative side of the) 33uf cap. The EZ81 and 12AX7 don't have the same pinout, but you can Google the and see the connections on the data sheets.

    On the Hammond transformers, they give you the option of wiring the primary side to run off 115 or 125 volts. I know in our neighborhood the voltage coming in from the pole is high (124+), so I would use the White & Black, then just heat shrink the gray and tie it off somewhere.  

    The little > symbol represents a heater coil for a tube. You'll see two for the 12AX7 tube. Those tubes have two 6.3v segments in the heater. You'll be running them in parallel, so one lead goes to pin 9, the other goes to both pins 4 & 5. You could tie 4 & 5 together with a small piece of wire and just wrap your heater lead around that. You can use the red & white twisted wire I sent to go between a terminal strip near the transformer and the tube sockets. You can do separate runs to each tube socket that way. That might also make it easier to wire those 100 ohm resistors to the ground buss.

    The caps should have a designation for the negative terminal. On the axial caps, the arrow markings in the white stripe point to the Neg side of the cap. You'll also notice that end is welded to the actual case of the cap. The lead on the Positive side should come out of the middle of an insulator.

    I'll be on the road heading to my brother's tomorrow. It's only a 4 hour drive and I'll check in here before we leave around 10am and then when we get to the hotel. Bruce has a nice picture of his wiring in the article - that might help answer some questions, but you can't quite see everything. I know the basics, but I'm not what you could call a tube guru. If anyone else can help along the way, please feel free to chime in. I know Bill and Craig both know their way around tube circuits. 
  • EZ81 pinout - 
  • More answers to questions - 

    I usually use a terminal strip when running heater wires to multiple tubes. It's just easier than trying to cram 3 wires into a lug on a tube socket. You can also use that terminal strip to connect those 100 ohm resistors to ground. They just reference the heater supply to ground so it isn't floating at some unknown voltage - they can tie in anywhere along the 6.3v heater line. I would use the twisted wire for the heaters. The twisting helps so there's less chance of hum being picked up in other wiring. Similar to balanced signal connections, one wire is swinging positive while the other is neg, so twisting theoretically minimizes the induction field. Most people also twist the red HV leads on the transformer before they reach the rectifier tube. 

    B+ goes to the two 100K plate resistors on the 12ax7. You can tie both of those 100k's to a terminal lug (not a mounting/grounded one!) near the socket and then run an insulated wire to the +100uf/470K junction. You can see in a photo in the article, his 100uf cap and terminal strip was close enough to reach the plate resistor leads.

    Your Red/Yellow lead - yes, goes to the ground buss that connects the neg sides of the caps. Leave some room for other ground connections - all the signal grounds will tie into that buss too - then to the switch for chassis grounding. You can tie the output RCA and pot grounds together, then run them back. Same with the inout jacks and the 470K resistors. It's a modified star ground, since this is a fairly simple circuit. I usually run a separate ground wire for the cathode resistors, since they complete the circuit and will have substantial current flow. Think of those as the reciprocal of the B+ line as far as current goes. 
  • I have two comments:

    1)  Make sure the aluminum top plate is properly connected to earth ground for safety.  Then your B+ power supply's ground must be correctly tied to this point as well.  This is crucial for safety!  Tom or I can go into more detail if needed.

    2)  That Alps volume pot is nice but its metal case (the threaded mounting shaft and front plate) are electrically tied to the ground lugs.  You need to electrically insulate it from the aluminum top plate.  Otherwise you create a ground loop and will get some crazy sounding noises.  Especially since this preamp has some decent gain.  On my personal projects I usually mount the pot through the front wooden case panel, so it is floating.  On a rebuild I did for a friend's preamp he had the Alps pot mounted just like you do.  There were these really strange swooshy noises.  Took me a while to hunt down that issue.  I ended up drilling the through hole over sized and used an insulating shoulder washer set, like your insulated RCA connectors use. 


  • ^^ What he said!!

    See - it's always better when the community helps out. Heck, I didn't even know about the Alps case being grounded. 
  • edited December 2018
    Used heatshrink on the volume pot shaft and a tiny piece on the tab that holds it from turning, then made a gasket from an old motorcycle innertube to insulate it from the sheet metal.  Checked ok. 

    To the pic. 

    Used a terminal strip at the -33uf (#1) so all of this needs grounded?  The other terminal strip (#2) does not get grounded? 

    These resistors (#3) look different (these are smaller and brown while those on the website are blue and larger) than those on the website.  The package was labeled as 100ohm.  This is where those 100ohm resistors on the power supply schematic go, right?  Are they directional?      

    Since so much stuff needed pin 4&5 on ez81 (not enough room) I ran a short jumper from those pins to a terminal strip and connected everything else there (as Tom suggested).  The heater feeds from pins 4&5 go directly to the 12ax7 heaters pin 9 and 4+5 with nothing in between?  I see a couple 100ohm in the schematic but those are the pair tying pins 4&5 (ez81) together and then feed back to the -side of the 33uf cap? 

    Should the multimeter show continuity between pins 4&5?

            
  • Looking good so far!

    Yes on the grounding to the Neg end of the 33uf. You can run a piece of solid wire over to that other lug on the same terminal strip for more real estate to ground everything else. Terminal strip 2 does not get grounded.

    100ohm resistors look good - not directional. They might look smaller because they are a different brand, but those do look pretty small. The Digikey part number shows a 1/2 watt.

    You should see some resistance between 4 & 5 of the EZ81. That's the secondary winding of the transformer.
  • On the power supply schematic, there is an inset with the ground lift switch showing both signal and chassis ground, which lead me to think all the grounds in the power supply were not to be grounded to the chassis.  The preamp schematic shows everything as a signal ground.  Never mind the red stuff, past that now.     


    The 100uf cap doesn't actually get grounded to chassis where it sits, but grounds back through the wire from the -33uf ground point?  As does the 470k bleeder resistor?  From that same spot on the strip terminal, the bare copper wire runs to the input and/or output grounds with a connection to the ground lift switch.  So if all this is grounded back through that -33uf point, how does the ground switch work? 


  • As near as you can tell, he’s not grounding the 33uf to the chassis, but using the switch to give you the option of doing so in case you have noise. 
  • edited December 2018
    Oh my!  Please don't do a ground lift switch like that project!!!  That's just plain dangerous! 

    Just think if one of the high voltage transformer wires or B+ chafed and touched the top plate or a screw?  If that switch was in the open position the plate would be at HIGH VOLTAGE potential and possibly lethal.  

    The proper method is to connect signal ground to earth (chassis) ground through a R-C or diode network.  The R-C network would be a ~100 ohm resistor in parallel with a small X2 rated cap.  You can see an example of this in the power supply schematic for this project:

    http://diyaudioprojects.com/Tubes/EL84-Push-Pull-Tube-Amp/

    I have also used two 1N4007 diodes in parallel connected in opposite polarities.
  • So the -33uf cap is not grounded to chassis?  Does the power supply float depending on the ground lift switch?  Was I confused with a reason, cause I'm really messed up now.   

    Craig, is this what you are referring to?  Does this mod only apply to the audio section, power supply section, or both?  How and where does this need applied?  I thought fewer ground points equaled better chance of no hum.  How is the size of the cap and resistor figured?      


  • The chassis is connected to earth through the EIC connector. The switch is just letting the signal ground buss float. I do see your point and it never hurts to be overly cautious with high voltage. I almost always connect the signal ground buss to the chassis earth at a transformer mounting bolt. 
  • Yes Kornbread, what you have circled in yellow is what I'm talking about.  The exact values of R and C aren't critical.  A connection from the chassis to power supply ground (same ground as signal) is critical for safety.  It provides the path for the fault current to clear the line fuse.  That's why the switch concerns me.

    Tom, connecting the signal ground bus directly to the chassis is definitely safe, but there is always a chance that can cause some noise.
  • Ok so - side of 33uf cap gets grounded directly to chassis or does it get the resistor/x2 cap, - side of the 100uf cap grounds through that same point, the 470kohm bleader grounds through that same point, not to another chassis ground at the -100uf cap?      It also looks like the signal (on preamp side) also grounds through that same point? Green wire comes from -33uf into strip terminal, bare copper wire from strip to ground lift switch, then the audio in and outs are connected to that?  Or are they?  


    What's going on under those coupling caps I'm not seeing?     

    Next ...

    HT line, B+ ~250v, from terminal strip under big cap feeds both plates but add 1 100kohm (load) per pin before connecting to pins 1&6?  Audio out from those same pins, one pin for left and the other pin for right,  .47 coupling cap to volume control.  Audio input >470kohm (leak) to chassis ground or??? then 10kohm (grid stop) >to pin 2 grid.  Repeat for other channel of audio input but to pin 7 instead?  How are these pins configured in regards to left/right channel?  This is a dual triode so shouldn't both pins 3&8 go to ground (chassis or???) through a 1.2kohm resistor?

    Craig, where would that resistor/x2cap go?  Be specific and type slowly so I can read it.                  

         
  • Now that I'm back at the hotel and on my laptop, I re-read the paragraph in the article regarding this switch again. Craig is right on the money - don't use it. It even looks like he has 3 points where he's connecting grounds to the chassis. From what I have read over the years, that's not advisable.

    If you don't have the resistor & x2 cap on hand, you can just connect the Neg side of the 33uf (your main ground point) to the chassis at the same point as the EIC connector earth connection. If you have any hum, you can order those parts and add them later, but I'm betting you'll be fine. Use the bare copper buss wire for the input/output signal grounds. Take that back to Neg side of the 33uf cap with 1 wire. It looks like he tied the 1.2k Cathode resistors to that same buss wire. Those, along with the 470k resistors from the input jacks are what's obscured by the coupling caps in the photo. 

    Just another tip - you can use a tube socket screw to mount a terminal strip. That can sometimes save you from drilling another hole and keep things tidy.
  • That clears things up a bunch. 

    Everyone have a wonderful Christmas and safe travels. 
  • Preamp end looks a lot different with the small resistors and caps.  Used a terminal strip to ground everything on that end, and that runs back to the only ground point to the chassis at the - end of the 33uf cap.  The earth ground will go in that same spot.  What size fuse is needed?       


  • You're getting close to smoke test time! It looks like you're down to just the cathode resistors in the audio circuit. 

    I would start with a 1A fast blow fuse, if only because they are so common. 
  • How did you catch that I missed those grounds from just a pic?  Good eye.  Those nasty cathodes are now grounded with 1.2kohm resistors.

    Sides on.  Didn't have those gaps in the corners before, guess the wood shrunk.  Oh well, first try at this and I am a bit giddy to get er' done.  The second switch in the middle was the ground lift switch which we decided not to do for safety reasons.  It's just there to fill the hole.       


    W/tubes.  Note to self, look at the description when ordering stuff.  The volume knob is tiny and really throws the look off.  It may take a few beers before getting enough balls to actually smoke test the thing.  Tom, which one of those tubes you sent were cheapest, don't want to cook a good one.

    Time to get caught up on homework then maybe a couple mommy/daddy beverages to calm the nerves before plugging it in.  What goes better with tubes and high voltage; rum, whiskey, or beer?             


    R-Carpenter
  • You could put a power indicator lamp/light in the spot the switch is only filling. That would at least give it a purpose.
  • Looking good! Yeah, you need a big round slug of aluminum for knob! Just a word of cation if you decide to cut down the shaft - heat from the shaft can harm the pot. I learned that the hard way years ago. Dremel slowly and make sure it doesn't get too warm.

    That Fender 12AX7 is the one I would stick in there for the maiden voyage. It's probably just rebranded Russian or Chinese type. You might want to confirm your AC voltages are going to the right places before firing it up with tubes in it. Without the EZ81, the caps won't even charge, so it's a little safer to probe around in there.

    I agree with Wolf - maybe a vintage jewel lamp socket like on an old Fender.
  • edited December 2018
    You could make your own volume knob out of some scrap piece of hard wood.  Jig it up in your drill press and turn it down like done on a lathe.
  • PWRRYD said:
    You could make your own volume knob out of some scrap piece of hard wood.  Jig it up in your drill press and turn it down like done on a lathe.
    ^^ A wooden knob - that's a great idea! Make it as big or as small as you want.

  • Have some wood hole saw bits about the right size. 

    What happens if the electric receptacles in the shop are wired backward; large spade is pos, small spade neu.?  Everything in the house is wired correctly.       
  • Sorry - our son just made it here from Texas so I've been distracted.

    Signal-wise, it's AC so the amp won't care. But that means your fuse in not on the hot line anymore, it's on the neutral. If something is wrong and you pop a fuse, you'll still have voltage between the hot & chassis ground.


  • There are very few distractions in life more important than family, dinkin around with audio gear isn't one of them.  Enjoy every moment of time with them.   

    That's what I was afraid of.  I know neutral and ground are tied together at the breaker box so I doubt it will be as easy as switching wiring there.  Add one more project to the list.     
  • If the neutral and ground are both tied to the bus rail in the breaker panel (which is correct wiring) then you only need to swap the hot and neutral wires at the receptacles.  The hot terminal on a receptacle always has a brass screw and the neutral always has a bright shiny plated screw.  So when wiring receptacles just remember the saying "Black and brass and white is bright".
  • Why I screwed up the polarity in one-half of the shed and wired everything else correctly; I got no clue. 
    Do remember that 12/2 was $92 dollars a roll when building that part of the shop and I left very little extra wire at the receptacles.  It's going to be a real pita pulling all those receptacles out far enough to switch wiring.

    Messing around last night and made a couple different size knobs with the hole saw.  I think they'll look ok, thanks Ben.  Didn't want to scare the dear out of the yard so I stayed out in the shop for a good while watching them eat.   
  • Pretty sure Craig suggested the wooden knob, but you're welcome for whatever I helped you on.
Sign In or Register to comment.