Site Links
Howdy, Stranger!
It looks like you're new here. If you want to get involved, click one of these buttons!
Quick Links
Categories
In this Discussion
Who's Online (0)
Laser engravers

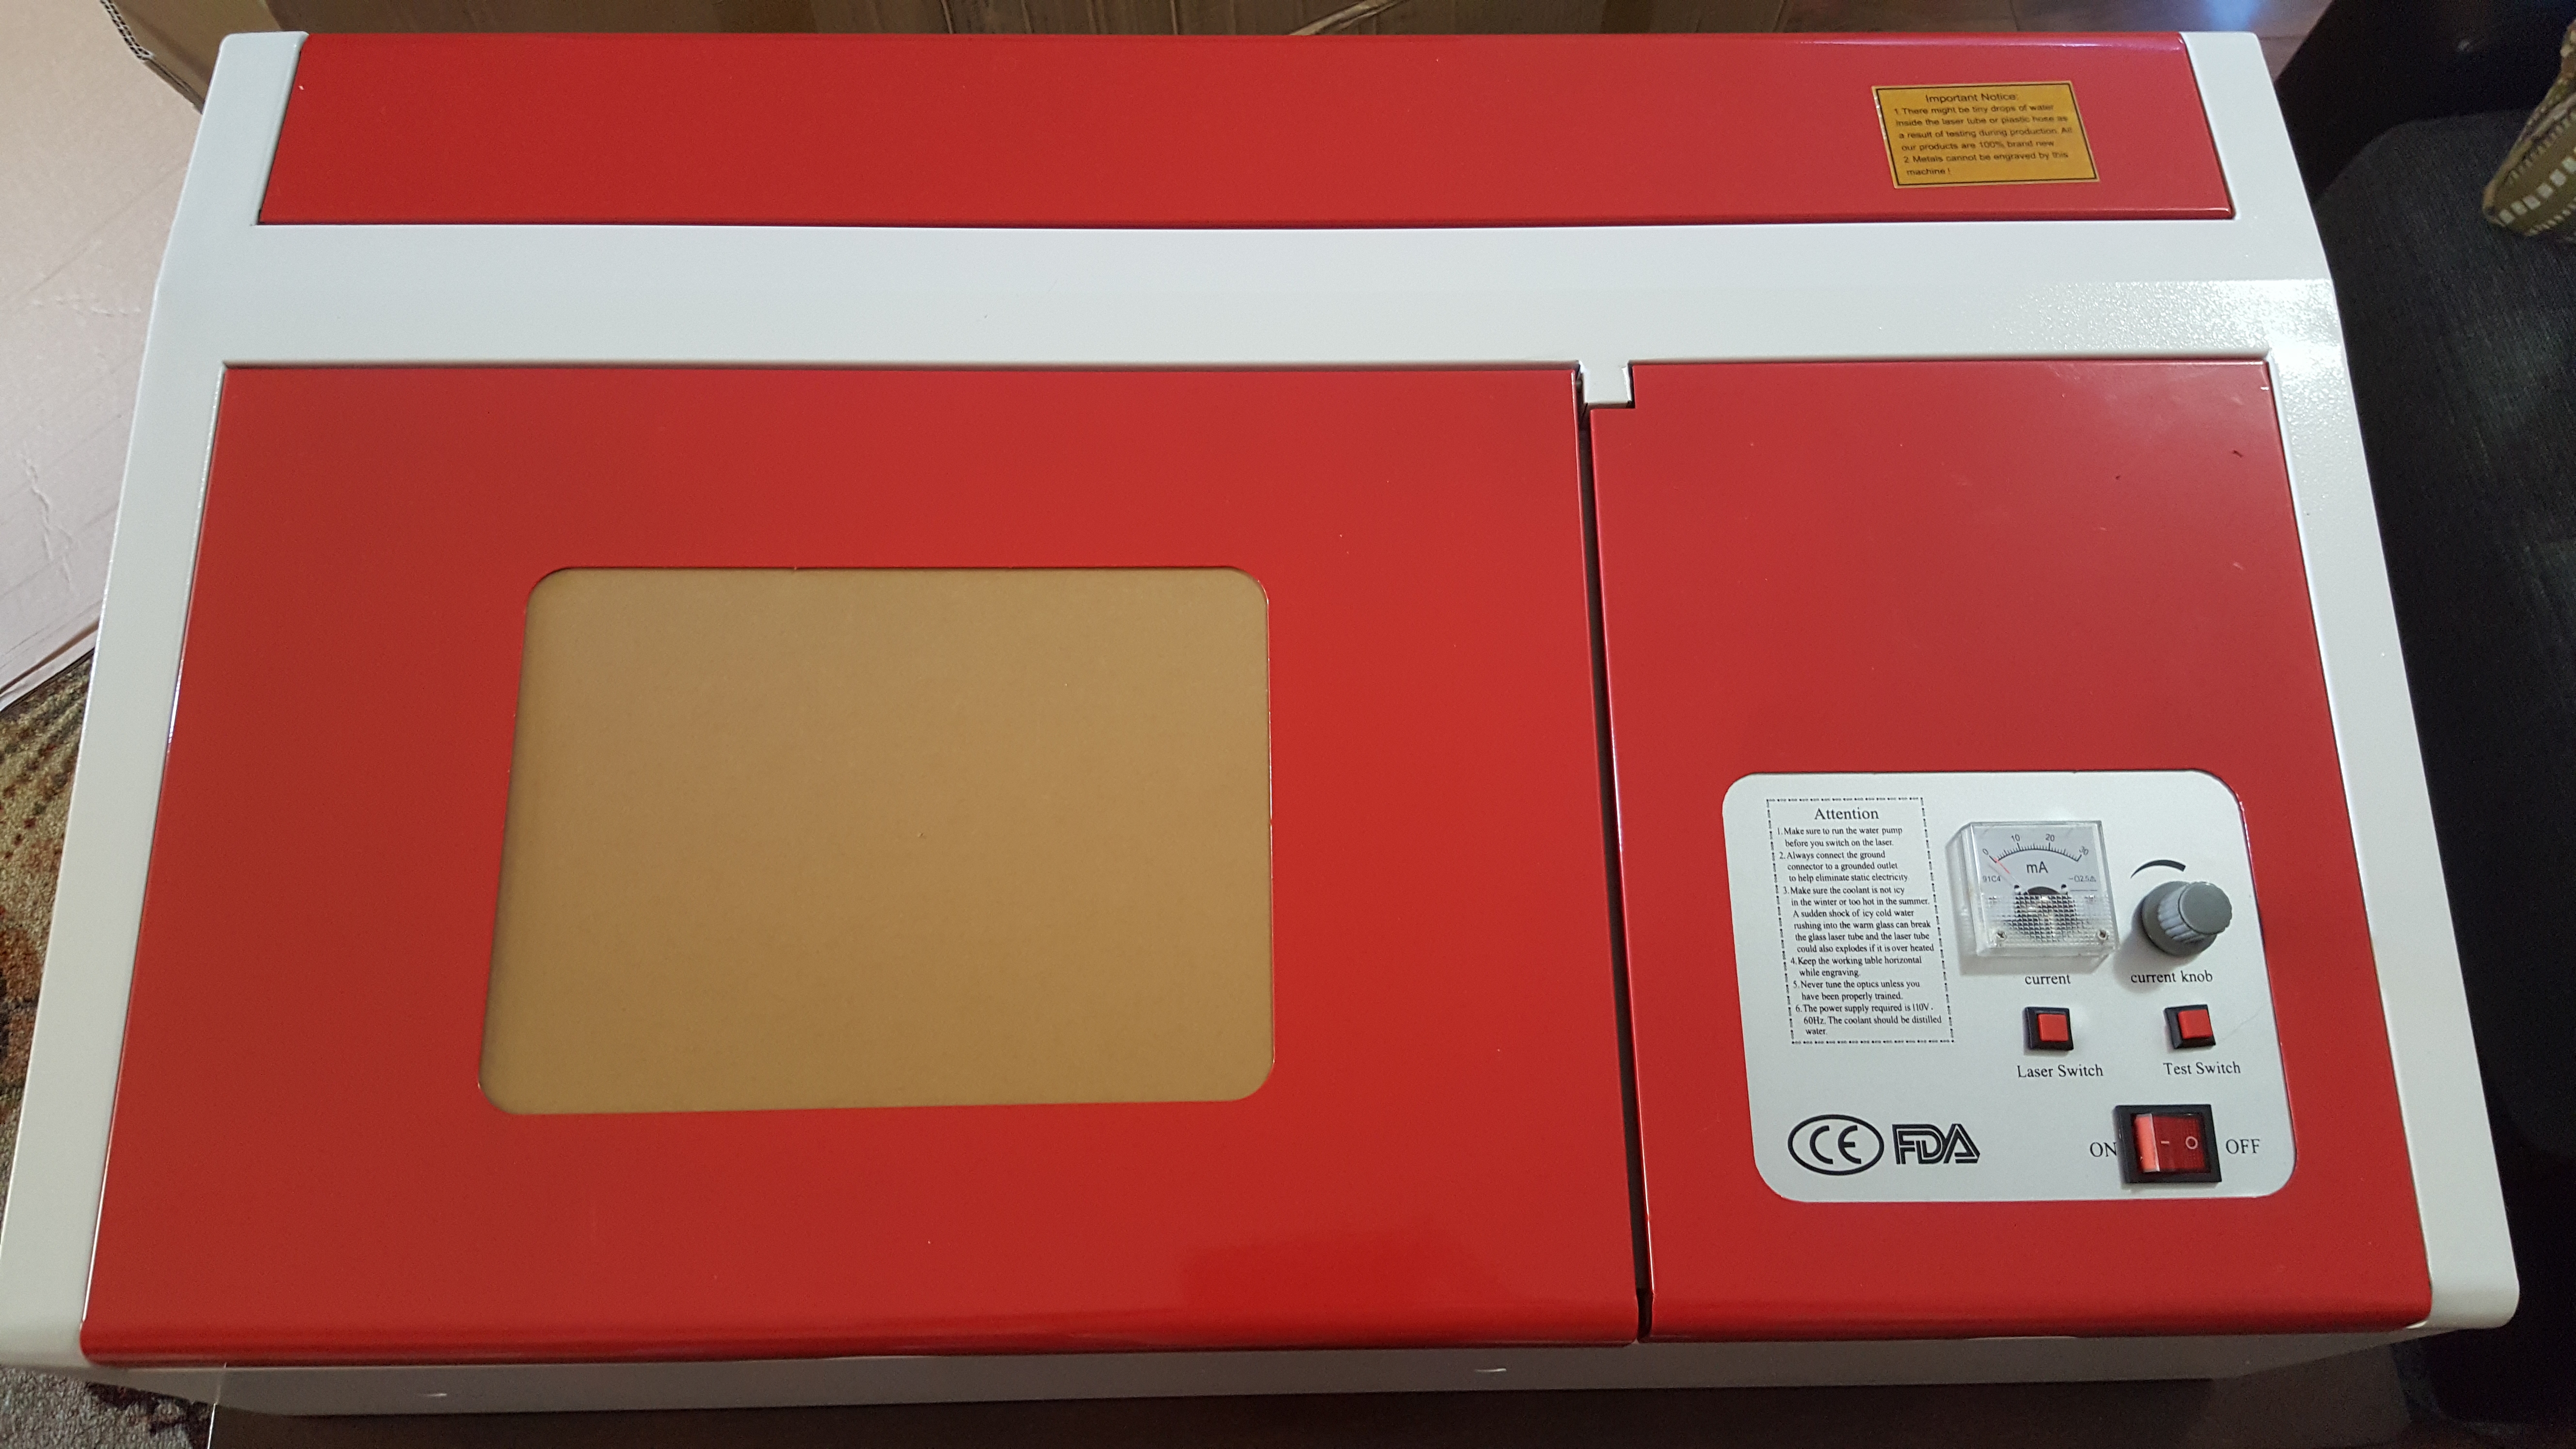
I ordered and received a K40 laser engraver its a low cost "40 watt" co2 laser cutter/engraver. It has many deficiencies at its price range but they can be remedied and create a pretty useful piece of equipment to have in the shop. The PSU is only enough to barely cover the electronics and laser so you definately don't want to wire any additonal powered objects on the existing psu. Many of the turnkey 40watt lasers from reputable manufacturers are $3000-$6000 so i dont expect this to not be alot of work and tuning. After building my cnc I feel confident to tackle one of these units. Ill go over all the parts, the laser cooling, fume extraction, tuning and mirror alignment, making a adjustable bed etc.
It was packed nicely and didnt sustain any damage making it to me as far as I can see (havent powered it up to verify everything works.

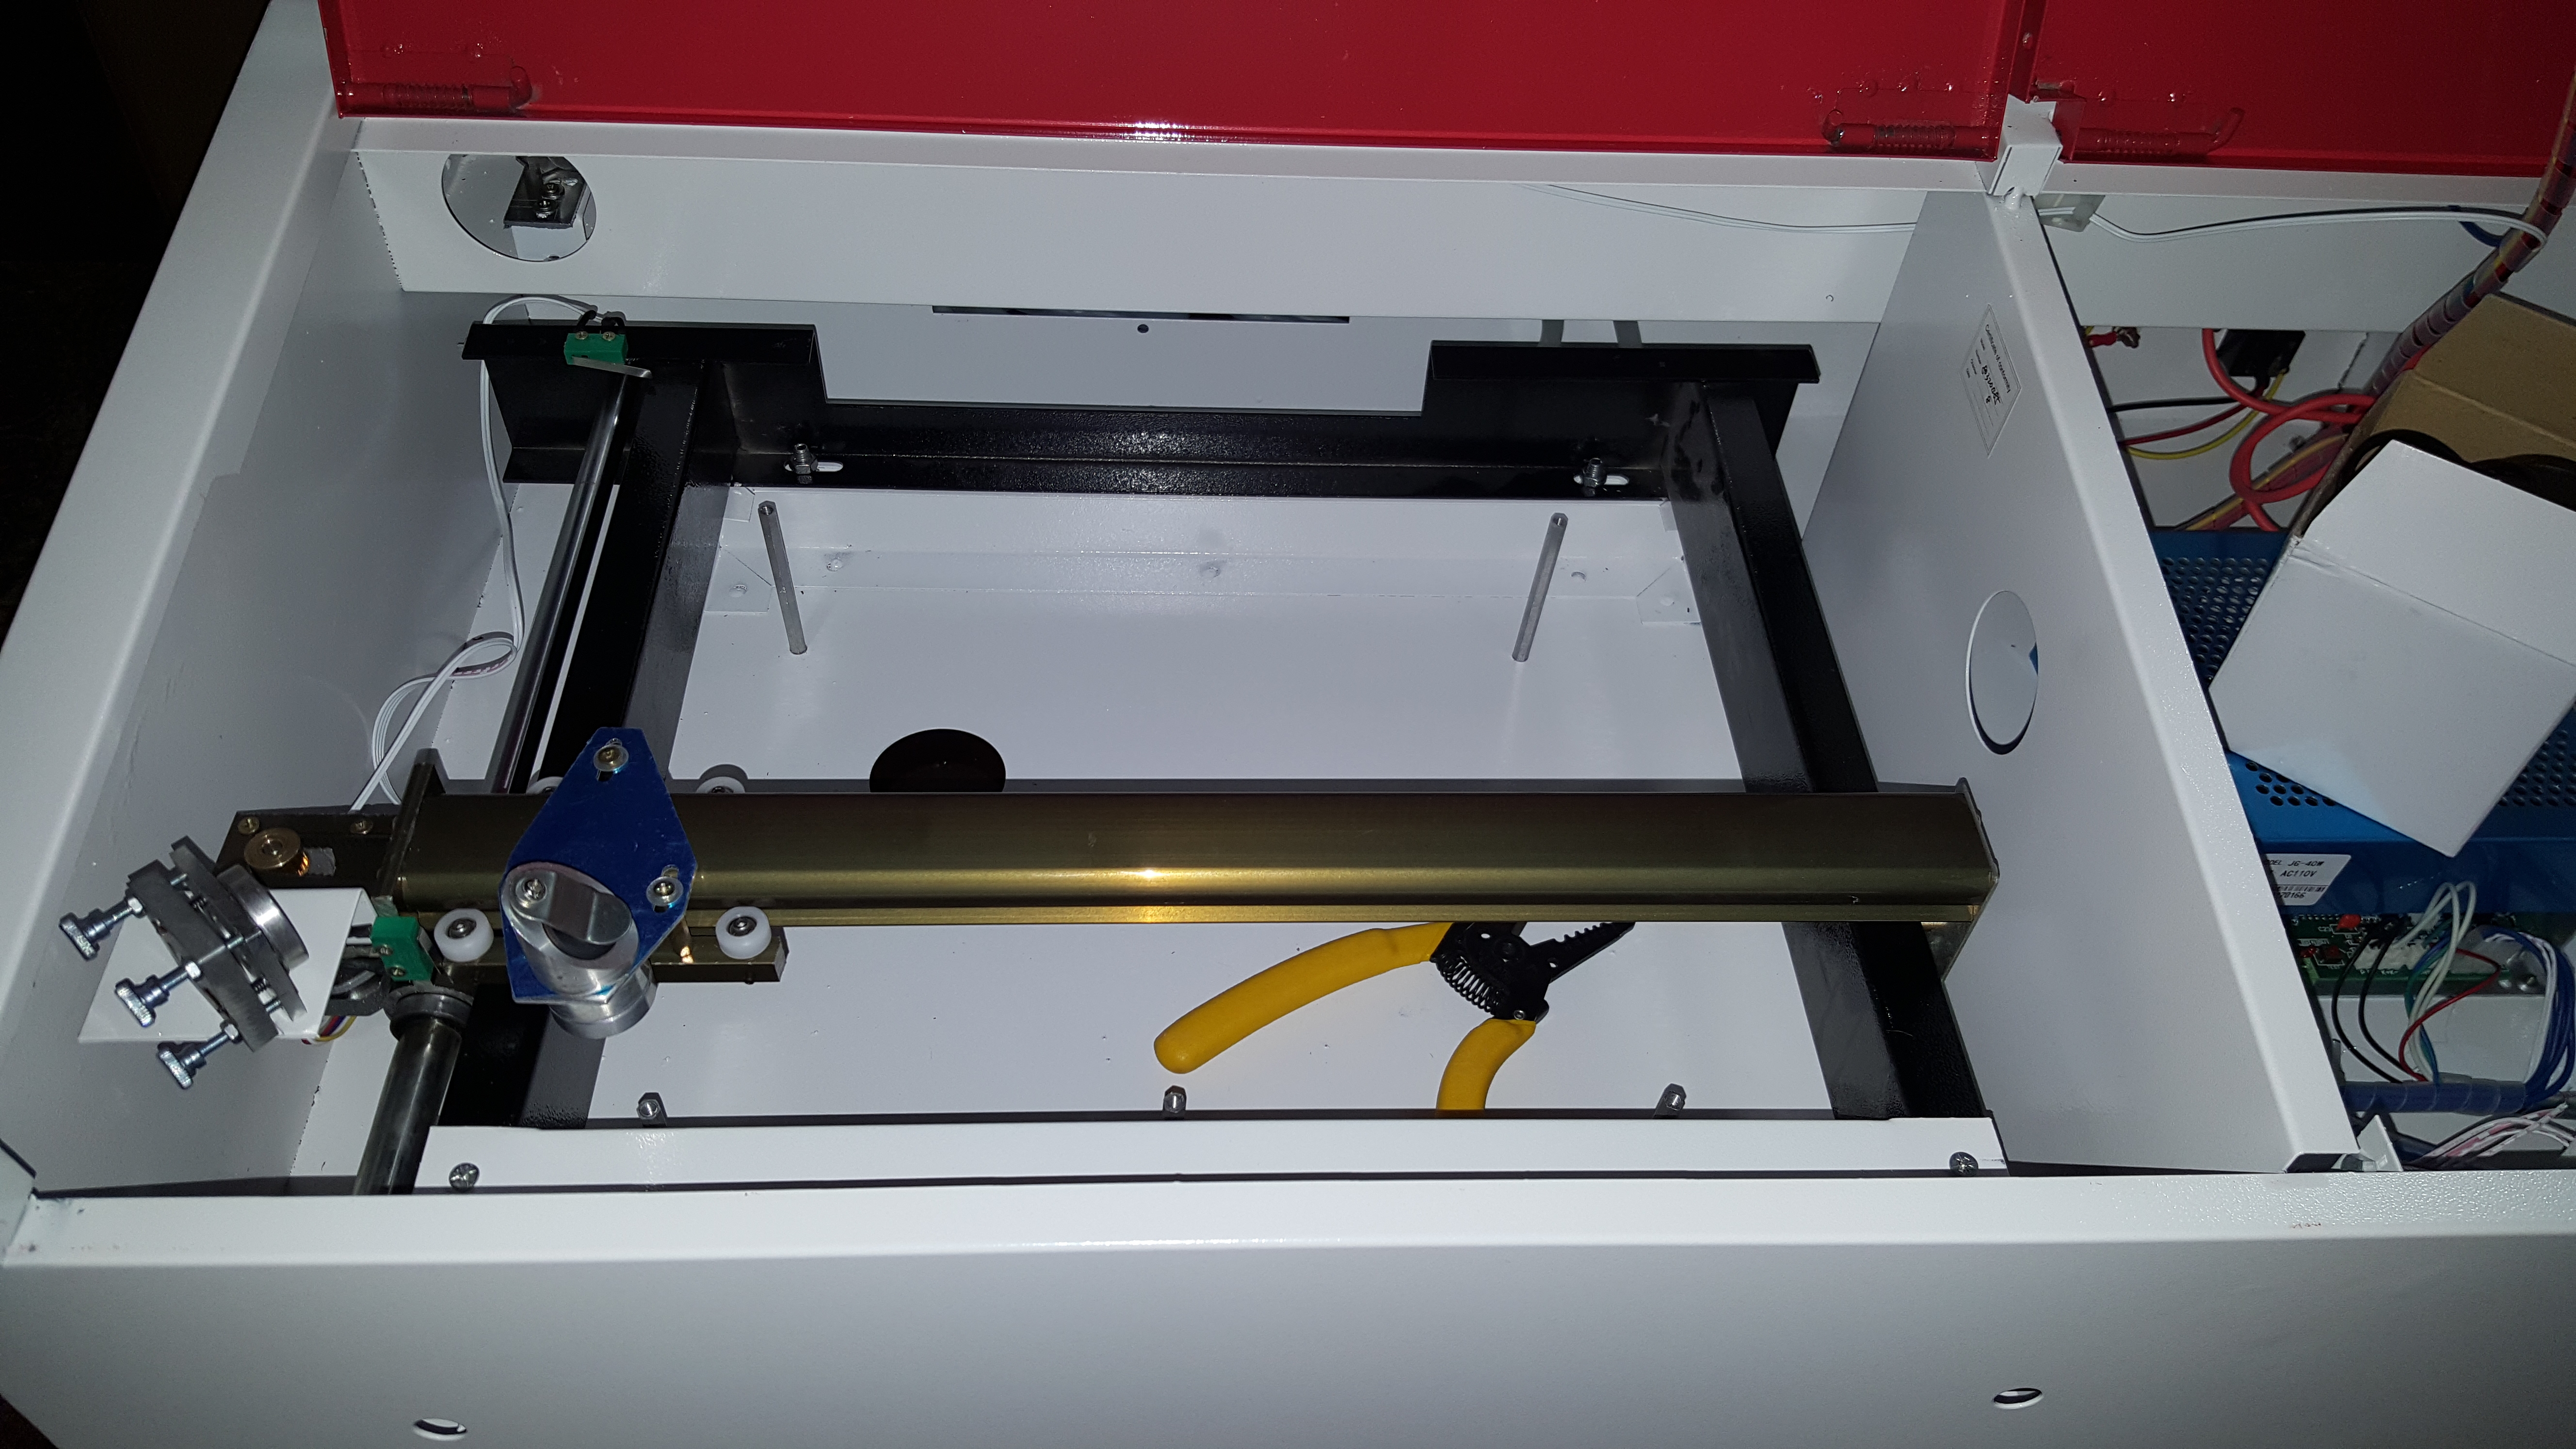
Its advertised as a 12"x8" cutting area but that little spring clamp mechanism is like 4"x5". If you look close you can see how uneven the bed is. My first order of business is to remove the bed and exhaust shroud. This should give me the full 12x8 work area. It creates a minor problem where I need to maintain the correct focal length for the to focus optimally for cutting and engraving. I bought an 8x8 lab jack or scissor lift to place inside.

It came with a flimsy super thin duct and far for the back of the unit. The housing doesnt align well at all with the white exhaust shroud (it necks down really small and the port is offset to not function well). I bought a 6" duct fan and supporting connectors to install that. I have a fan speed control so i can adjust as needed if its too much restriction at full speed.
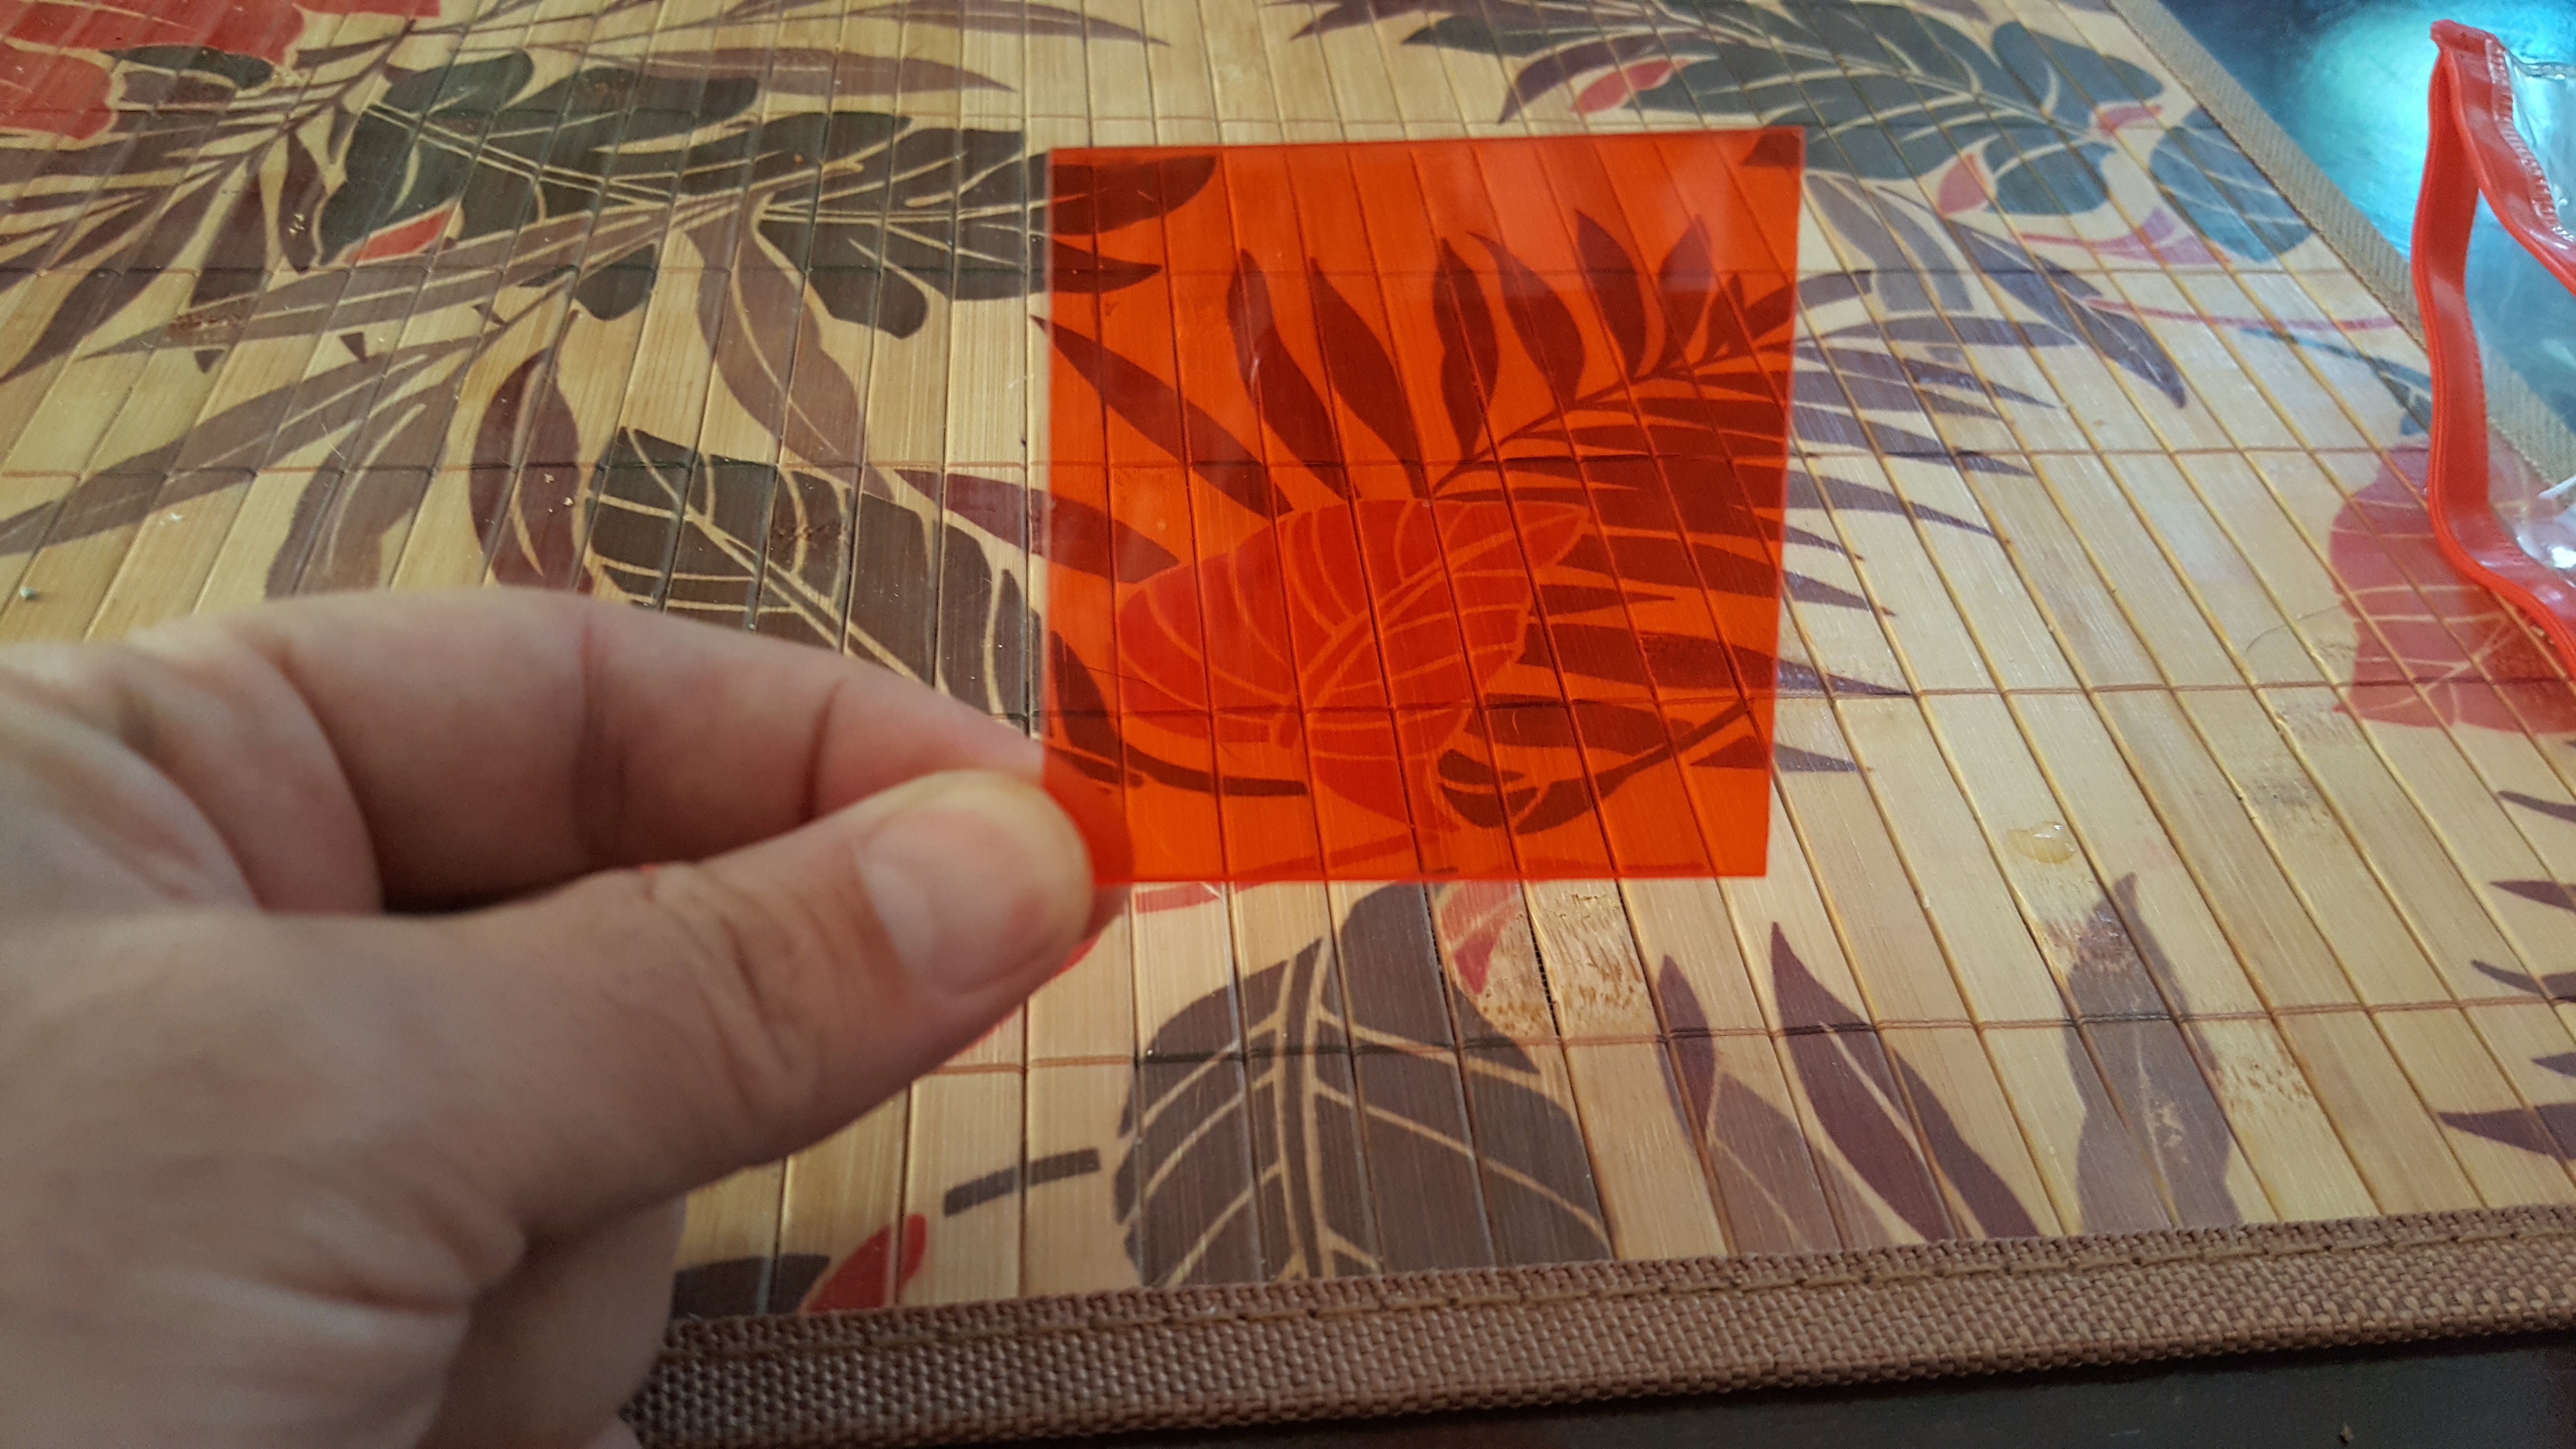
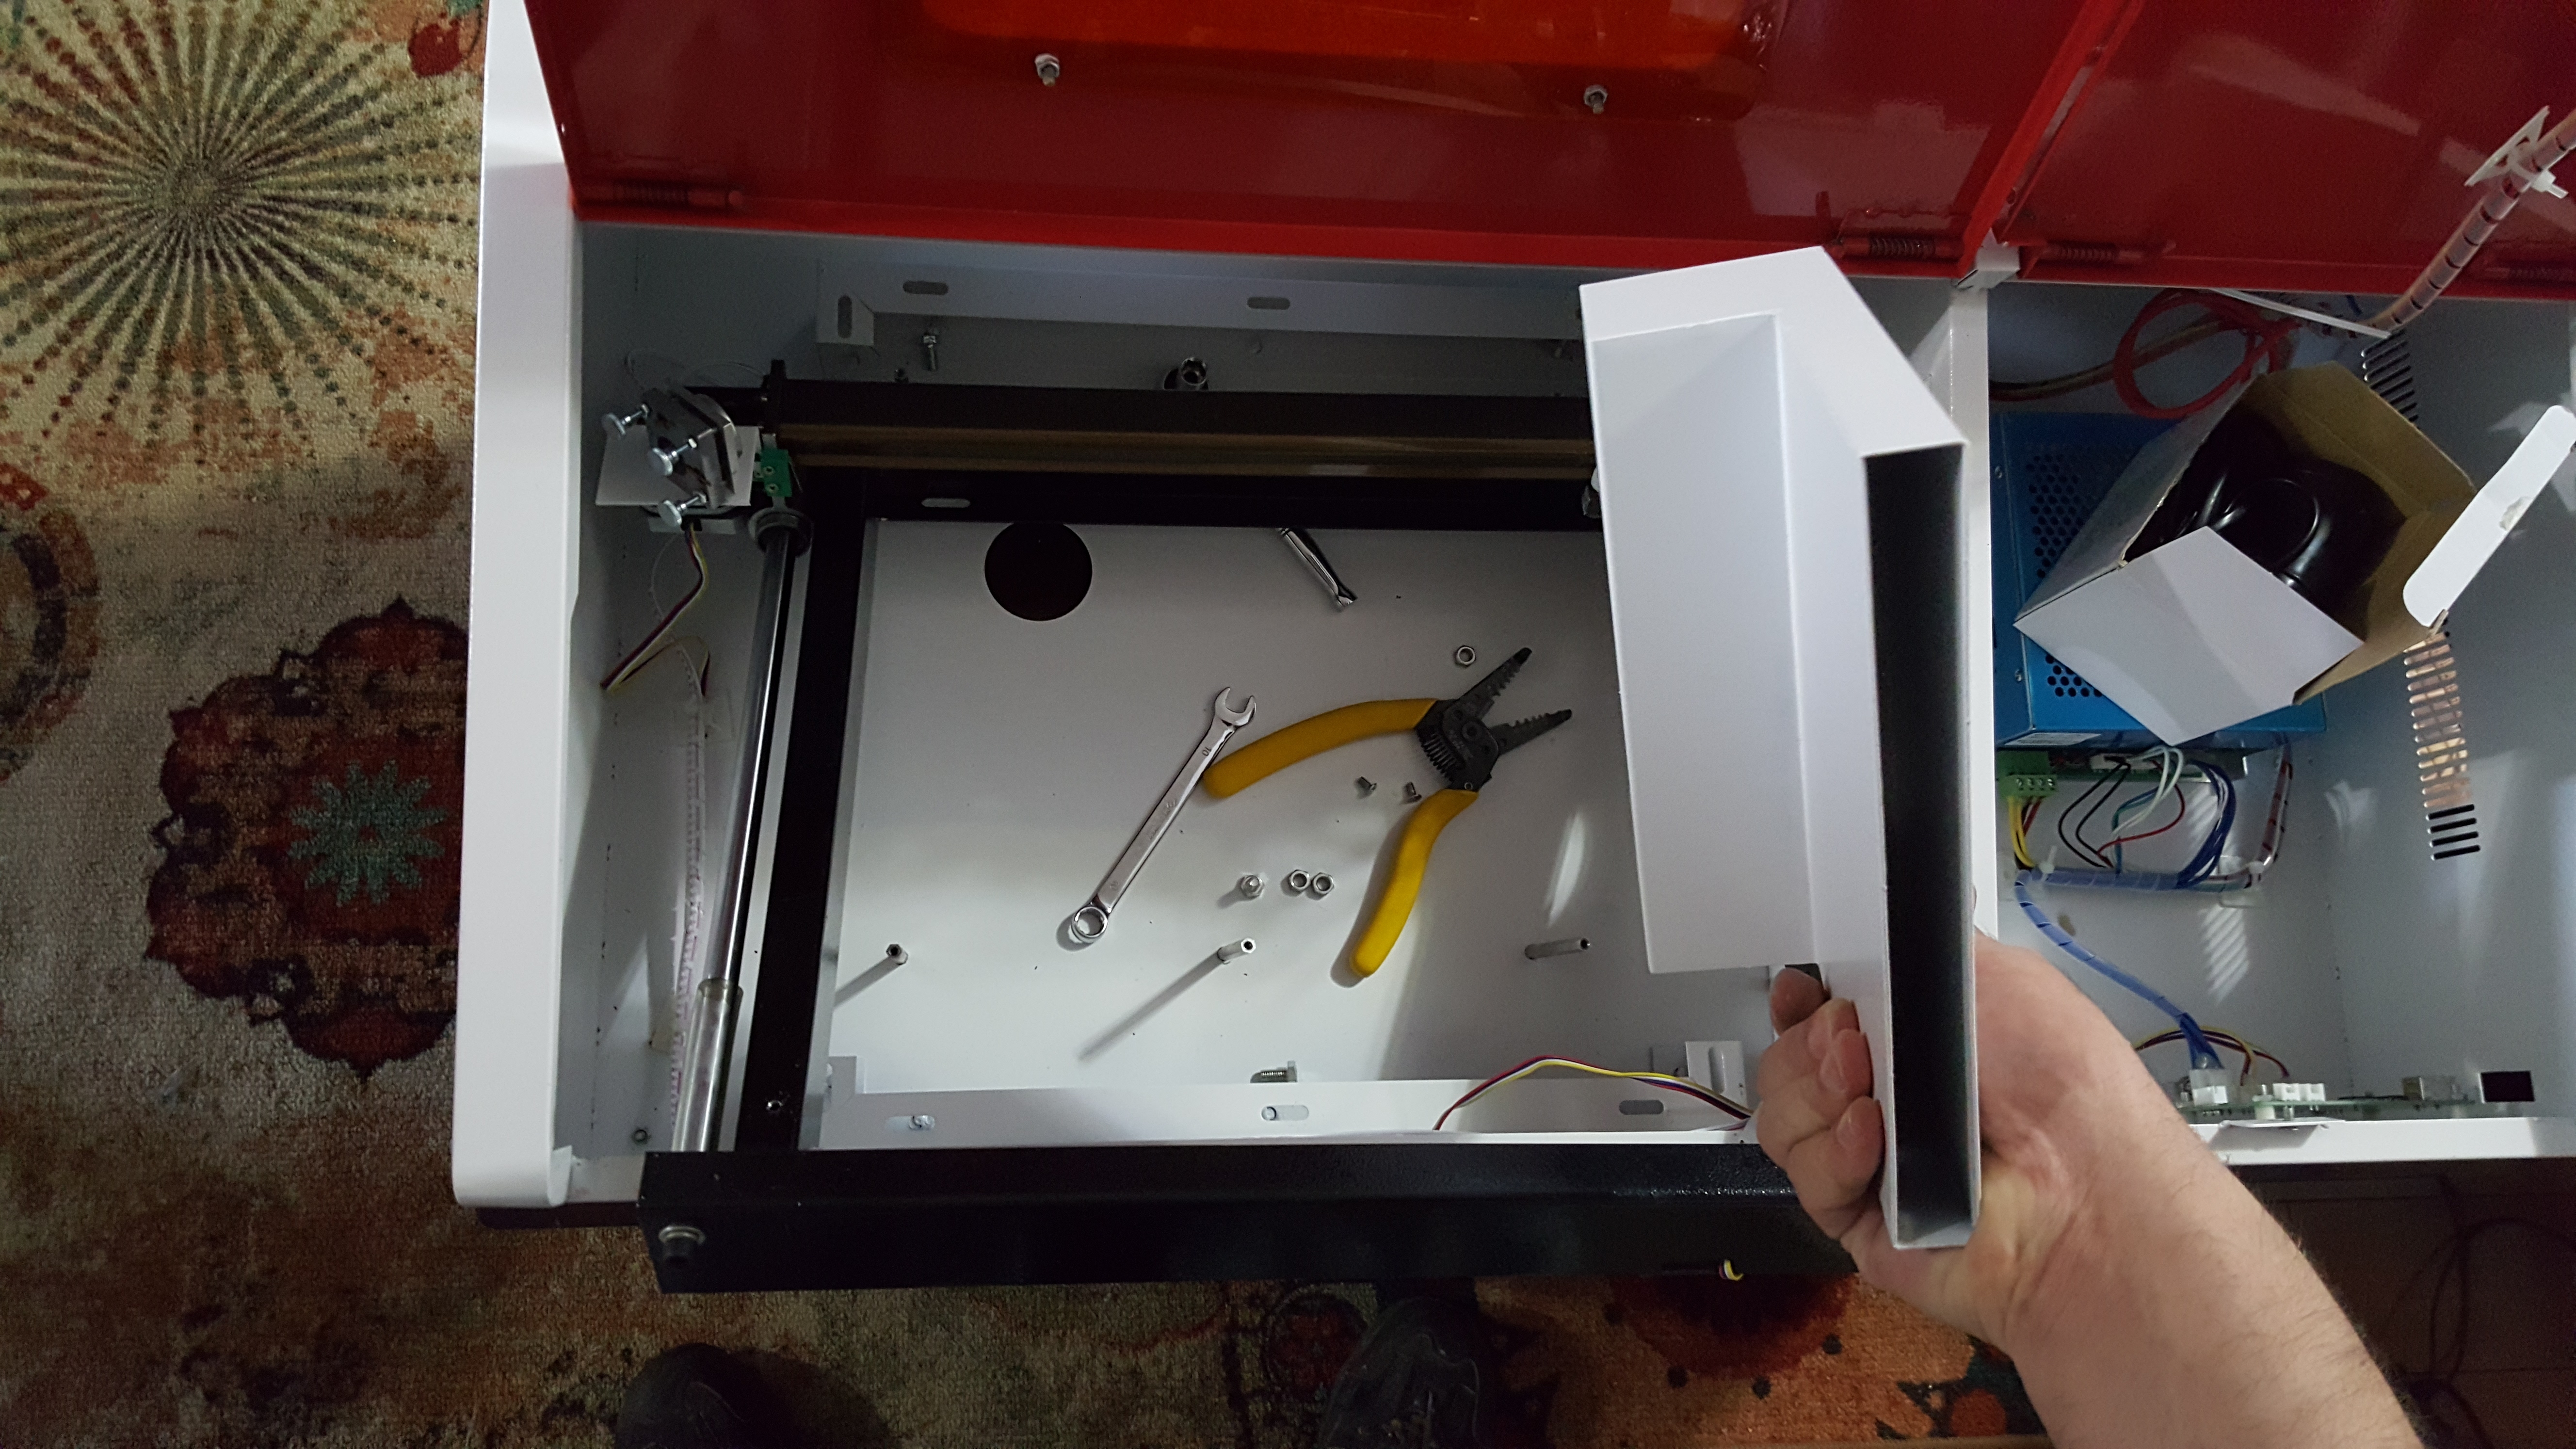
I had to remove the entire gantry and mechanical parts to get this exhaust shroud off. I was hesitant because I assumed it would be reasonably square. However they added a piece small square of acrylic that was cut on the laser to verify it works its definitely not square so i wont mess up anything more than it is lol.
I got a little rolling cart from harbor freight to place it on. I have lots of miscellaneous parts coming in this week for it but I will keep posting my progress. It will be a journey to figuring this out as i run into problems.
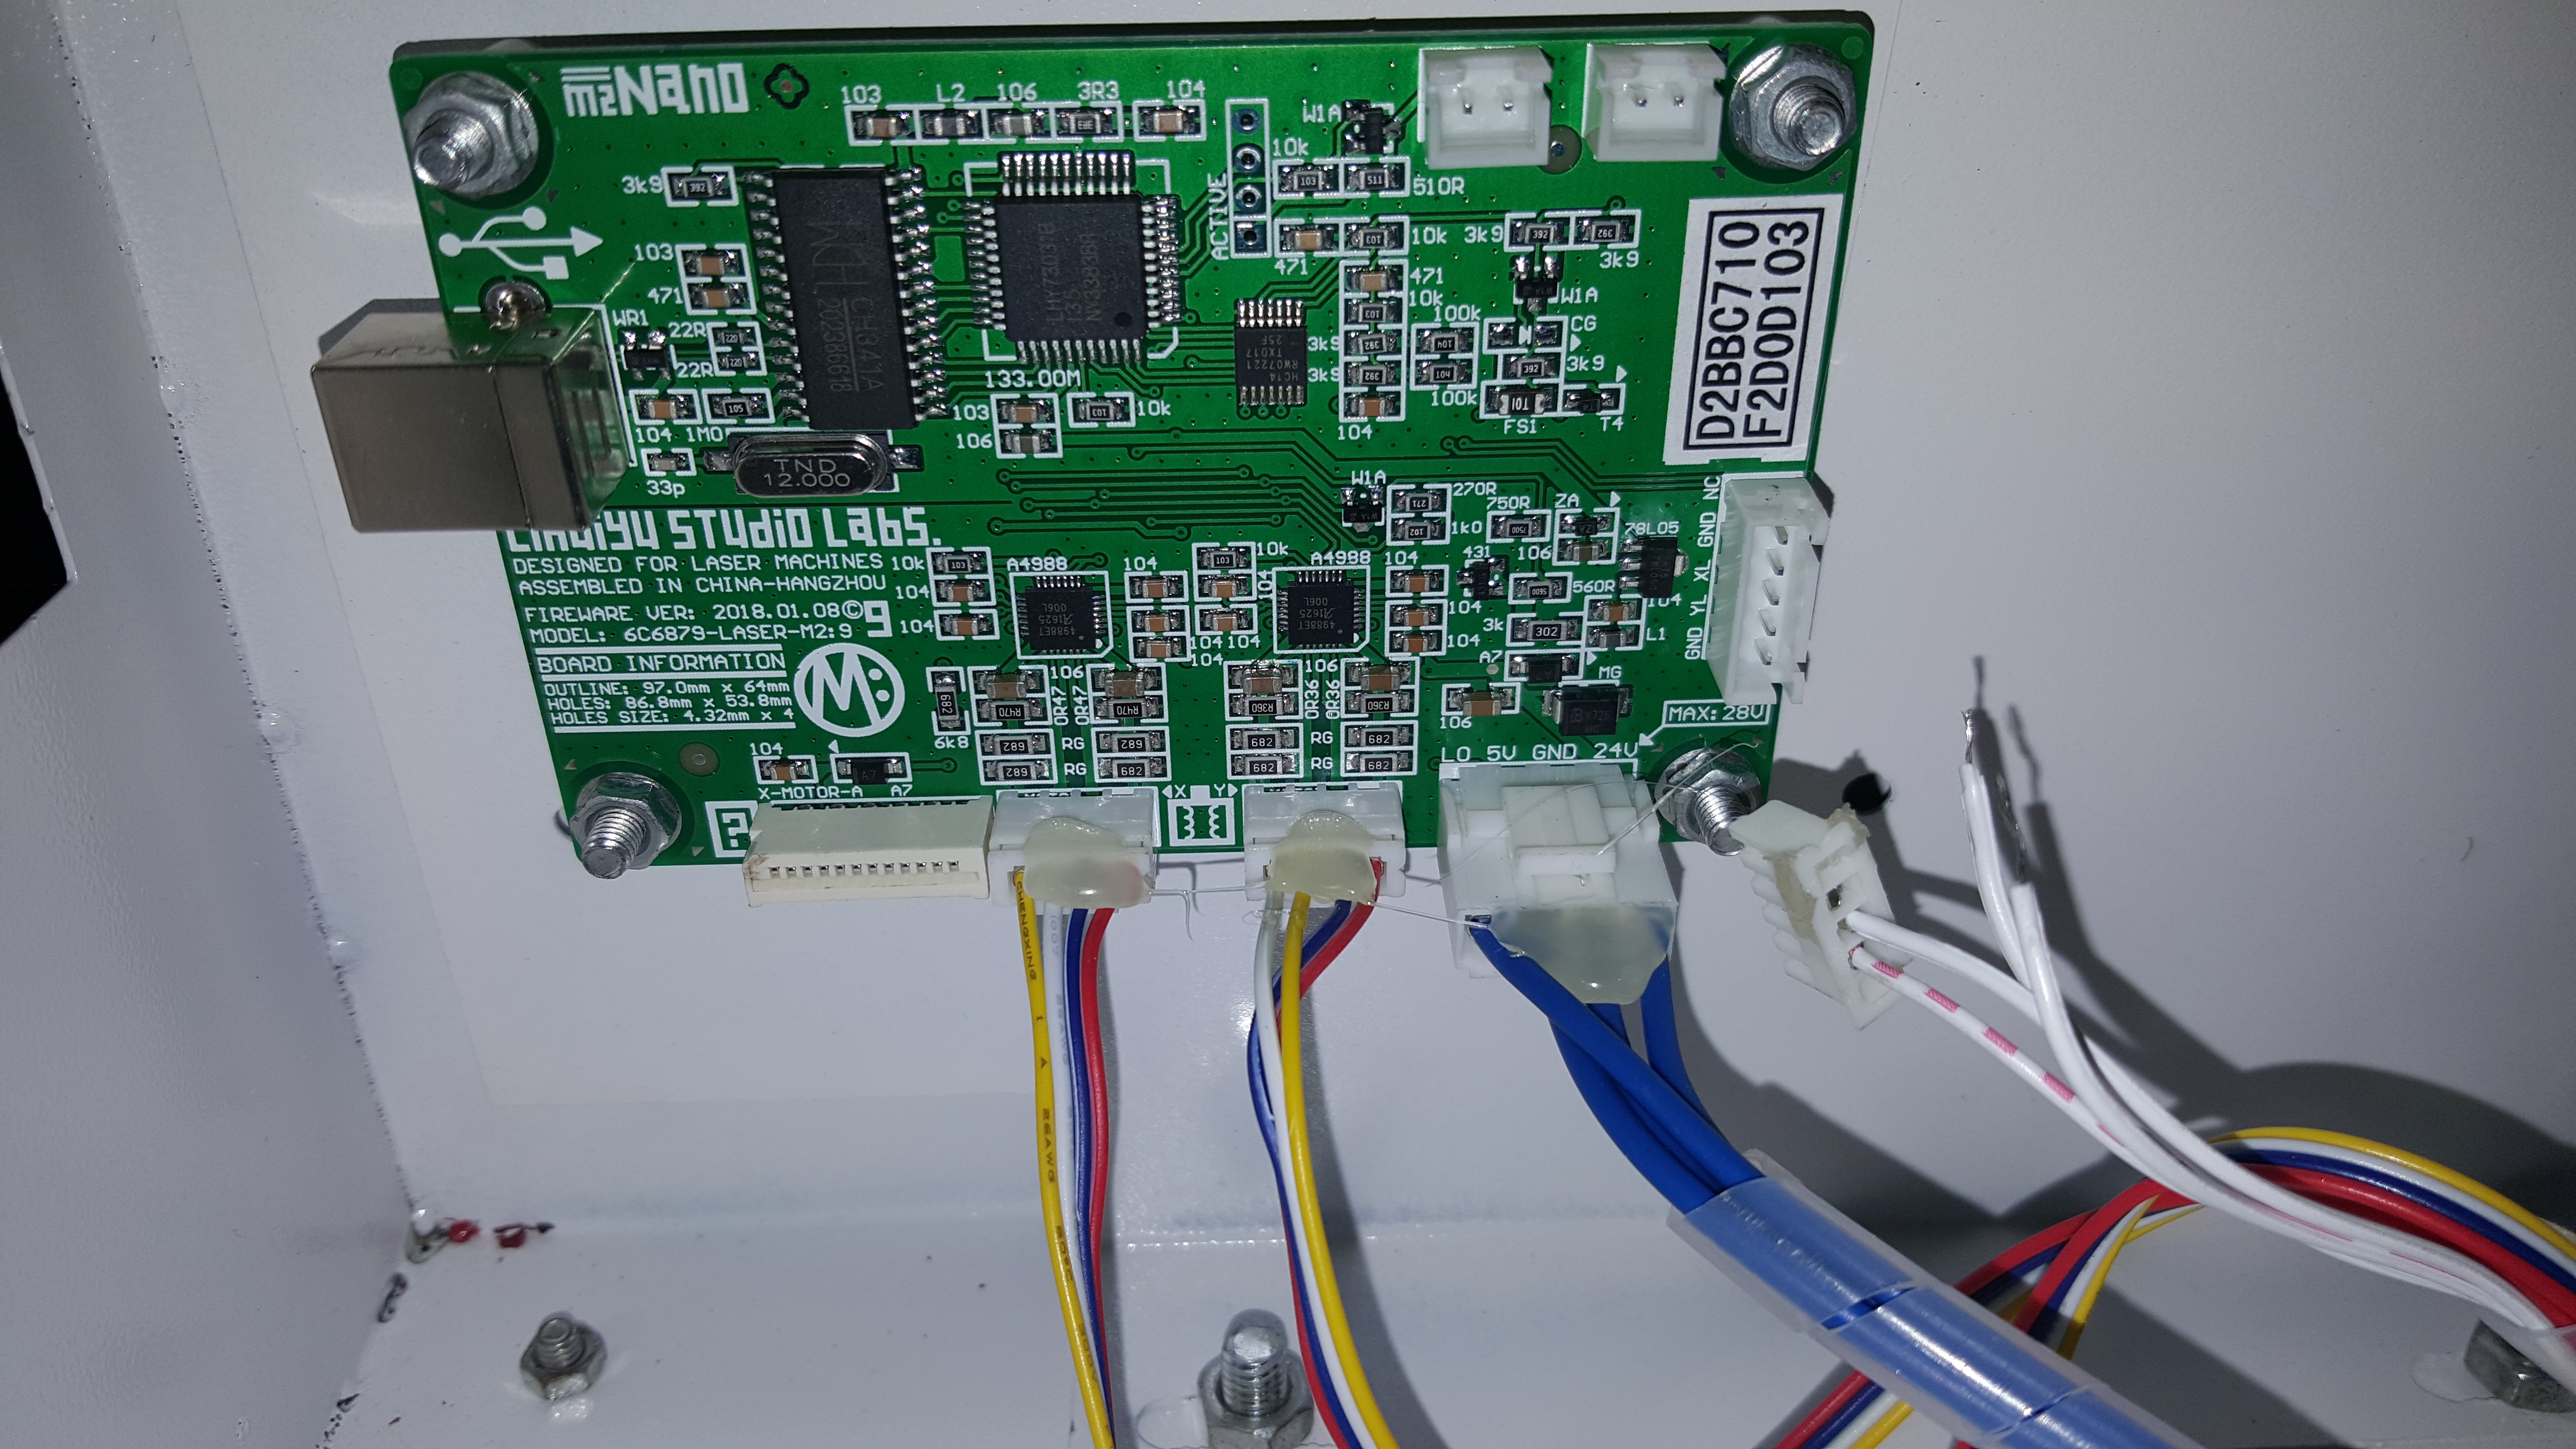
The limit switch wires got knocked loose in transit its an easy fix but wanted to make a note of it. I also need to order some water cooling parts and an air compressor to make an air assist nozzle for the machine.
Day 1 completed!
It was packed nicely and didnt sustain any damage making it to me as far as I can see (havent powered it up to verify everything works.
Its advertised as a 12"x8" cutting area but that little spring clamp mechanism is like 4"x5". If you look close you can see how uneven the bed is. My first order of business is to remove the bed and exhaust shroud. This should give me the full 12x8 work area. It creates a minor problem where I need to maintain the correct focal length for the to focus optimally for cutting and engraving. I bought an 8x8 lab jack or scissor lift to place inside.
It came with a flimsy super thin duct and far for the back of the unit. The housing doesnt align well at all with the white exhaust shroud (it necks down really small and the port is offset to not function well). I bought a 6" duct fan and supporting connectors to install that. I have a fan speed control so i can adjust as needed if its too much restriction at full speed.
I had to remove the entire gantry and mechanical parts to get this exhaust shroud off. I was hesitant because I assumed it would be reasonably square. However they added a piece small square of acrylic that was cut on the laser to verify it works its definitely not square so i wont mess up anything more than it is lol.
I got a little rolling cart from harbor freight to place it on. I have lots of miscellaneous parts coming in this week for it but I will keep posting my progress. It will be a journey to figuring this out as i run into problems.
The limit switch wires got knocked loose in transit its an easy fix but wanted to make a note of it. I also need to order some water cooling parts and an air compressor to make an air assist nozzle for the machine.
Day 1 completed!
Comments
Im gonna halt any cnc orders for a bit i want to move my machine again, redo the spoilboard layout completely, relevel, (trying to buy a spindle) and then will have to verify square and level and calibrate the machine again. Its alot of work and kind of a pain. It will hepp efficiency though quite a bit.