Site Links
Howdy, Stranger!
It looks like you're new here. If you want to get involved, click one of these buttons!
Quick Links
Categories
Who's Online (0)
What ol' Dirk has been up to lately (3D printing cabs that won't suck)

Hello! My name's Troy McClure, and you may remember me from such movies as "Drinking with Mr. Jones" and "That's Shellac, Jack!"
Long time no see, eh? I've been hanging out up here in WI, watching my mental health ebb and flow with current events. Other hobbies have taken more of my time, but I've got a backlog of audio projects, and I'm beginning to make some headway. For starters, the SEOS-8 / RS270P mega-monitors started last summer are sitting in the living room, recently returned from the attic to see if I could actually make them work (spoiler...I did). I also took a small detour to build a set of Jeff's Quarks as a means to reflect life & loss. But today, I'm working with thermoform plastics!
I've made a couple attempts at 3D printing speaker cabs, and on the whole, the material really sucks acoustically. "High density" and "3D printed" don't mix very well. Not only would it take a small fortune in filament, but due to thermal expansion, big, solid, masses are always at risk of warping when thermal expansion rates and internal stresses express themselves in surprising ways. As such, 3D printing encourages sparsity in engineering and that makes it very hard to pass the knock test.
So my bright idea was to use relatively thin walls, but line the inside of the cabinet with channels that could be back-filled with some sort of resin:
That design, when printed, had more warping than I liked, but boy, howdy, did the resin pour make for some nice dense walls. However, I had clearly forgotten about was the exothermic nature of 2-part resins, and especially when poured 7/16" thick. It didn't get hot per se, but it did get warm enough to cause the PETG (basically water bottle plastic) to soften and release some of those internal stresses. My cabinet wall had deflected outward by as much as 1/16". After I noticed the issue, I did the next pours on my welding table, using it as a big heat sink. That helped, but ultimately I discovered PETG sands miserably. I couldn't reasonably fix the worst of the bowed wall. I scrapped one cab and threw the other in the recycling bin to let the whole idea sit over the winter while I pondered whether I could actually do what I wanted. They weren't as handsome as I expected, either. That was an $80 learning experience.
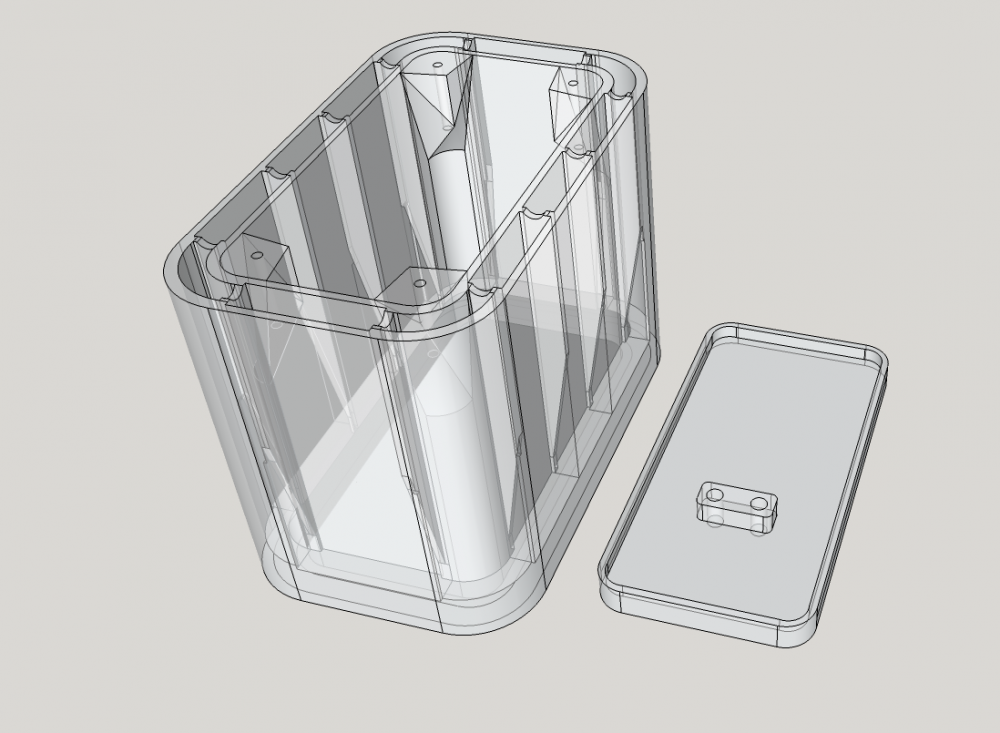
Then I saw a video by a 3D printing enthusiast named Thomas Sanladerer where he printed his own speakers. While his design wasn't exactly audiophile approved, it did change my mindset about the whole thing and revitalized the project. Also, I kind of liked his aesthetic, so here's what I came up with next:
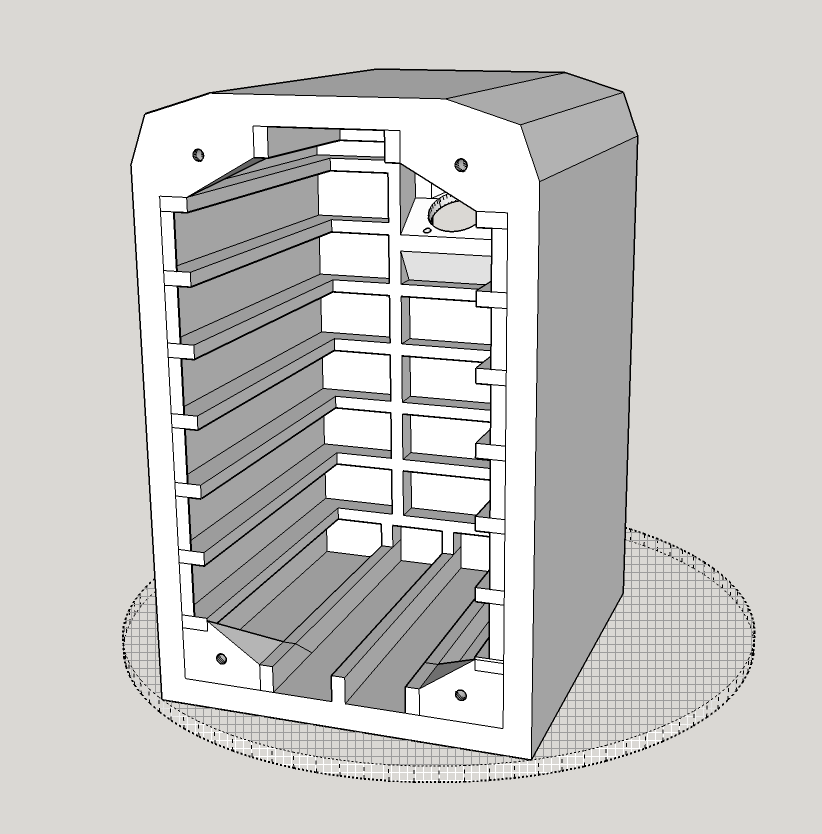
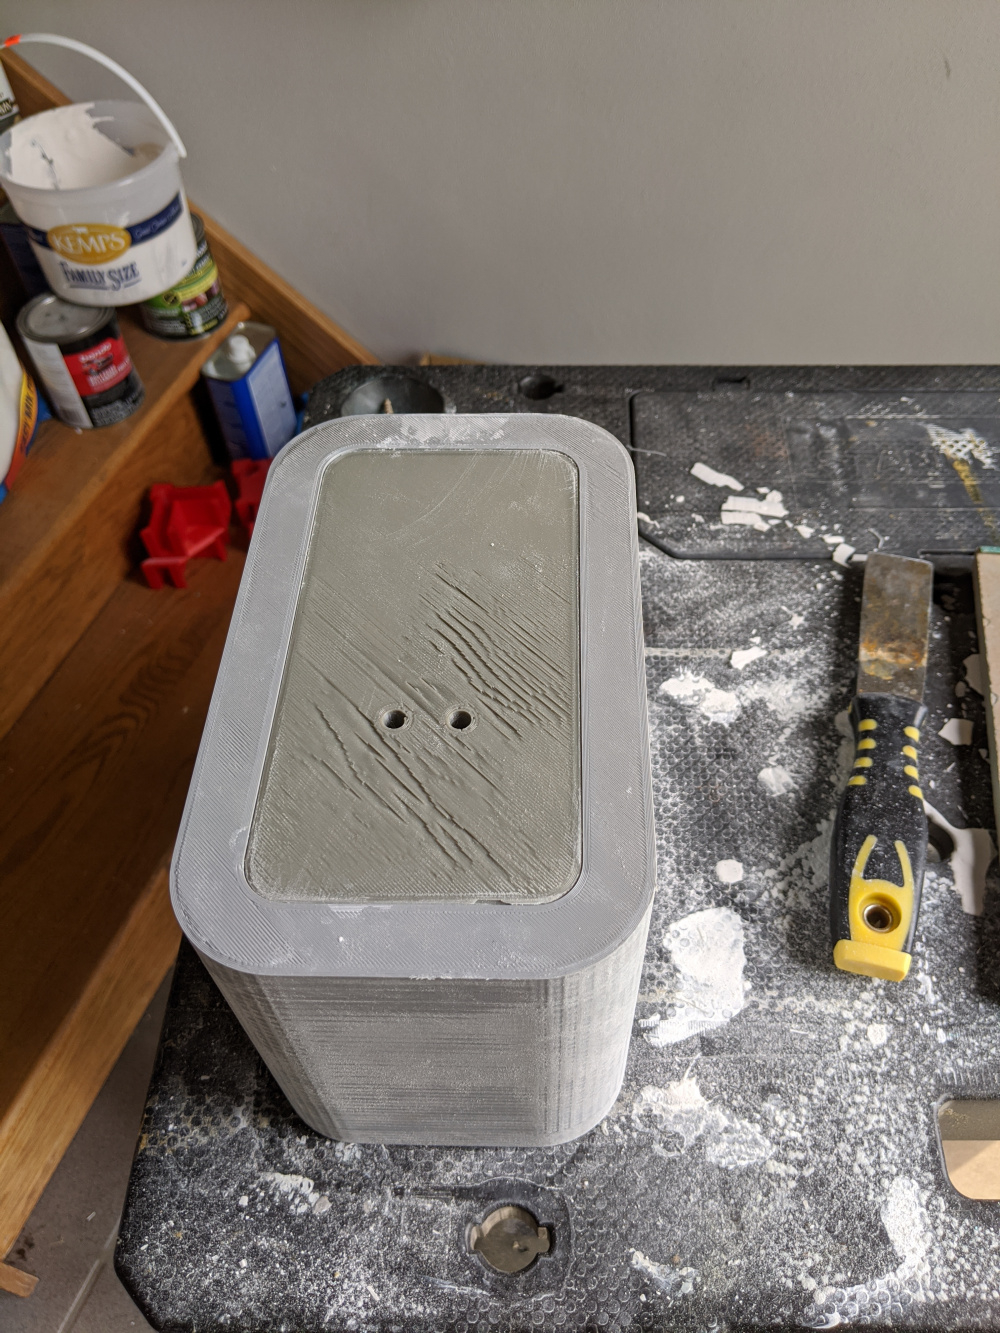
Ooooo, right? Because the logistics of actually pouring the filler was such a pain in the butt in these ~2.2L cabs and I wanted to use even less filament this time, I changed the design to pour from the top, with built-in channels to help the filler self level:
Due to the big curves, this design printed with nominal warping:
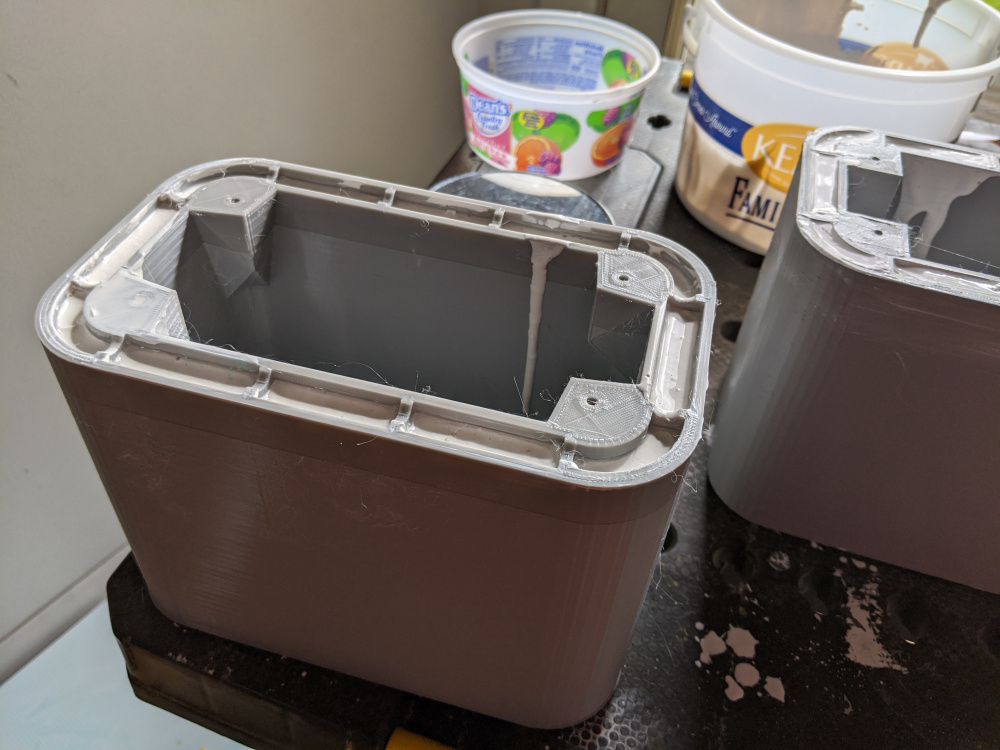
I ran out of the grey filament with about 1" left to go on the 2nd cab, but I caught it mid-print, and was able to swap without losing the print. I still had to print the backs, as well, which is why they're a slightly different shade. Annoyingly, this other roll of filament did NOT adhere to the bed very well, so I had some ugliness in surface texture that I was going to have to fix in post.
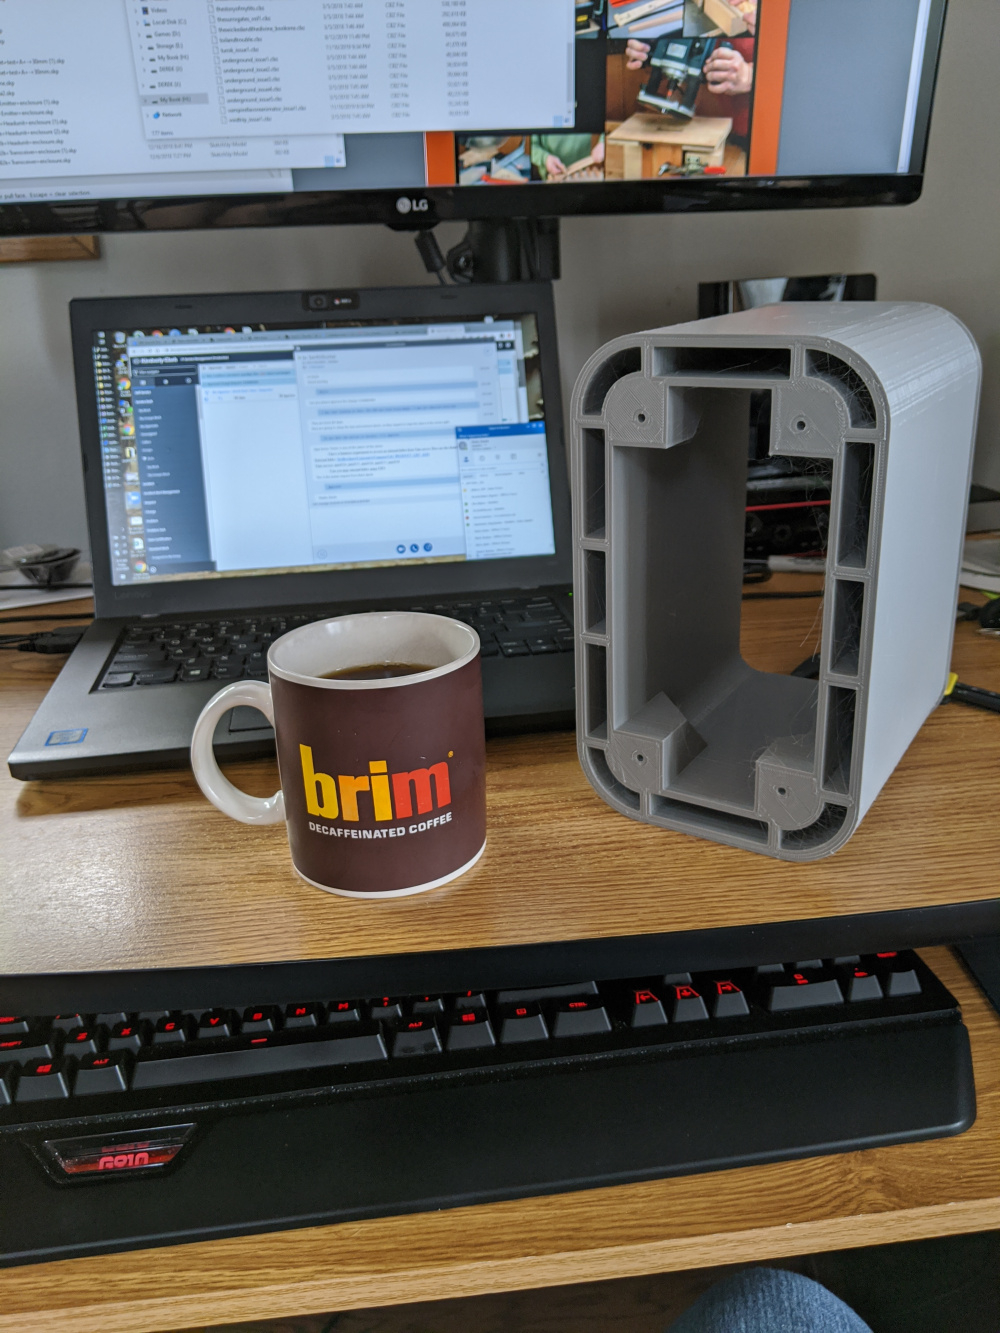
A clever Englishman on Javad's Facebook group gave me the idea of using concrete or plaster as my filler, and it was a heck of an idea. It's still exothermic, but not NEARLY to the same degree. It's also dirt cheap. A 10lb bag of plaster of paris was like $13 at Hobby Lobby. Oh, and I can do this process indoors with no VOCs and just a little dust cleanup.
OH YEAH, that was the stuff. Each cab weighs almost 3lbs now, and my knuckles tell me they're about as solid as 3/4" MDF. Also, I can tell people the enclosure is "mineral impregnated" for all the snob points.
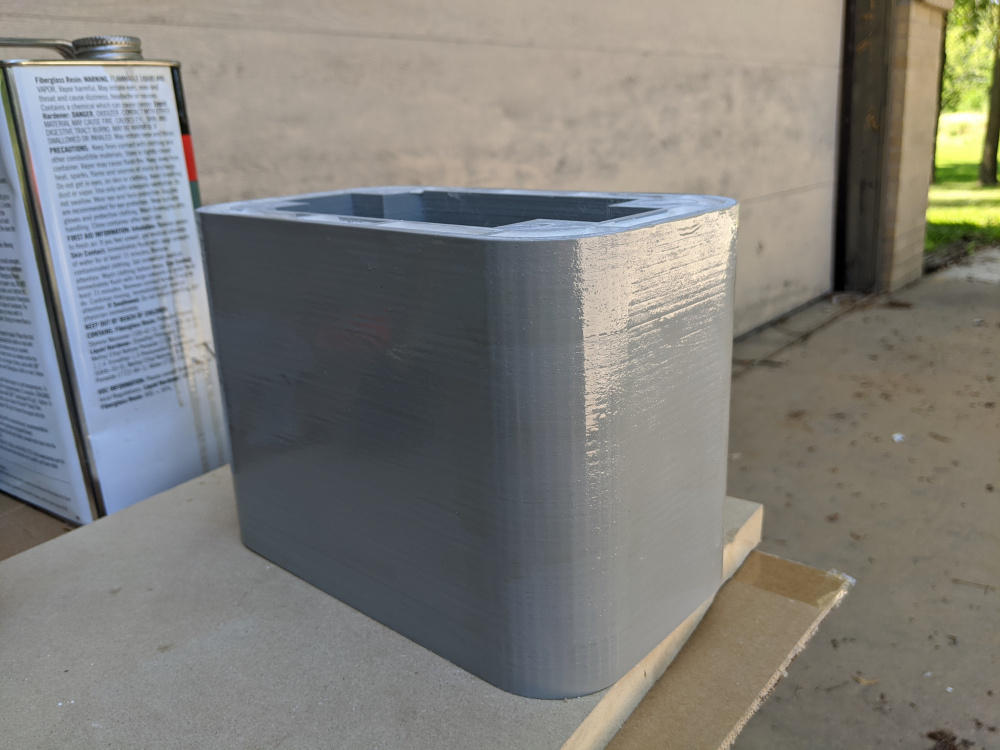
One unavoidable artifact from the fused-filament process is layer lines. Doesn't matter how dialed in your printer might be, they're just going to happen. The texture is like corduroy, but on a sub-millimeter scale. Not unpleasant, but for the first speaker in my catalog, I'm shooting for a gloss finish. Since I still have plenty of fiberglass resin left from before, both cabs got a skim coat brushed on:
And then sanding, and more sanding, and spot putty, and more sanding. The resin filled in that ugliness on the back so well that my camera had no idea what to focus on.
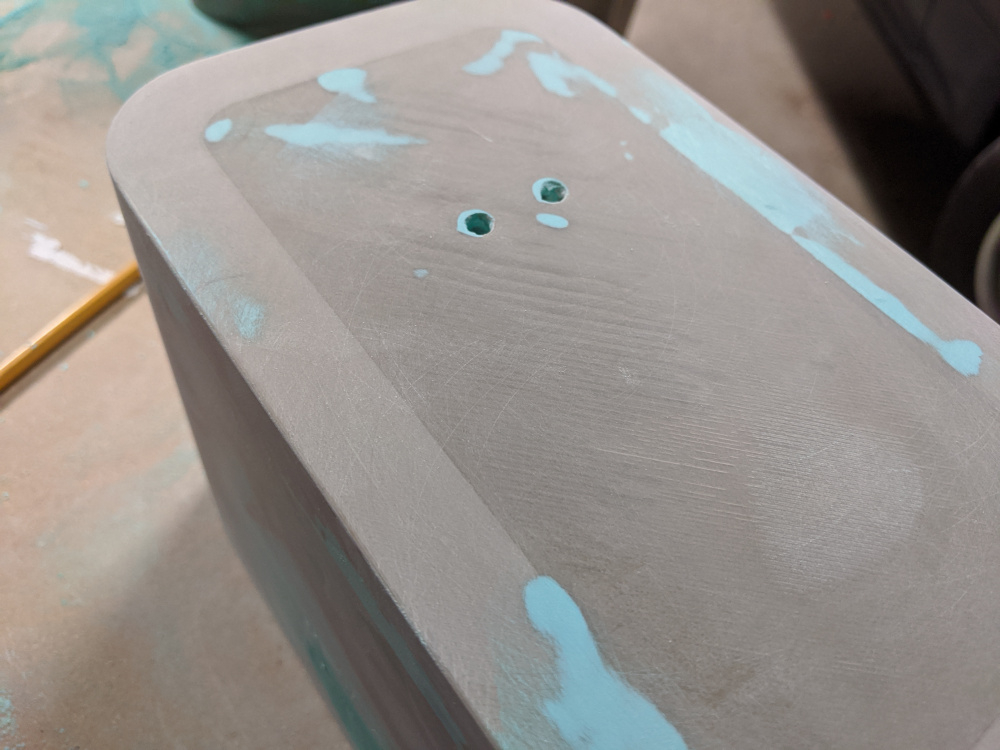
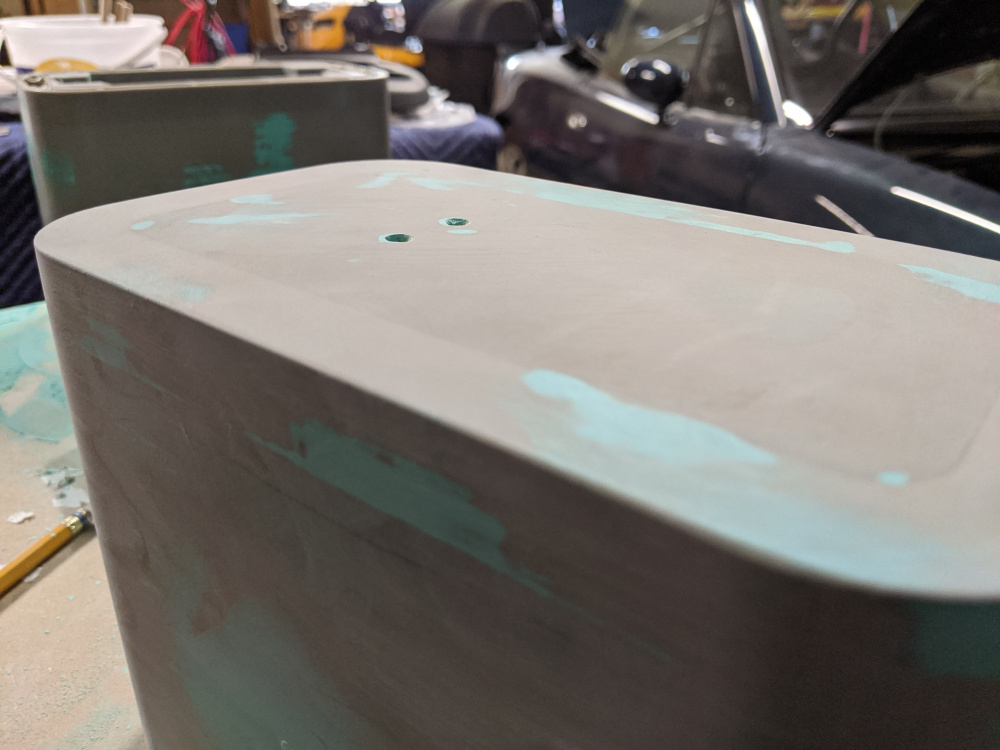
I think I'm finally ready for primer. I have to put them aside for the weekend to host my youngest's graduation party, but I'm extremely excited with how things are going.
And that's all the news that's fit to print.


Comments
What about flexible silicone as a sealer?
You mean on the outside?
Meant to type filler; instead of the plaster.
What is flexible silicone?
Only caulk seems to come up in search... Is that what you mean? That stink like anything and that amount will raise a big stink indoors and would be de-gassing forever...
Several different types, some stink, some not so much, but yes it's most often packaged as calking or in pails as roof sealant. Just thinking out loud and wishing I had a printer and knew how to use it to make neat stuff like that.
You can get pourable silicone for creating casting molds. I looked at that as a potential when I was going through the Smooth-On catalog looking for resin systems. But I dunno, man. For me, the astonishingly low price and general availability of plaster makes it hard to compete with. My ultimate goal is to come up with a reproducible design that could be enjoyed by anyone with a 3D printer and zero woodworking. This design should fit on any "standard" print bed.
I haven't 100% decided if I'm doing a full-range with BSC filter or proper 2-way. Probably a proper 2-way with the RS100 or RS125, but I may do both. Either way, I've also decided on a solid wood front baffle.
Ironically, I started out doing CAD as a way of visualizing my traditional speakers. It's really not that hard to learn.
But owning a 3D printer, though...it can be a hobby all of its own. As in, like, "here be dragons". Figuring out how to get your prints to transition from "OK" to "great" can be a tooth-grinding venture. That's part of the reason I did that external skim-coat and wasn't afraid to hit the 3M autobody putty. Just fix it in post. LOL
Boy Howdy? Has the pandemic caused you to assume the shape and personality of flightless waterfowl?
Not yet. Too hot out.
'sup, Dirky!? Still driving the MR2? Wow- kid graduating... been awhile since we chatted.
Liking the printed-plaster-project!
InDIYana Event Website
Plaster is no doubt going to be the least expensive and found nearly everywhere.
Our son had to finish his ME degree online this Spring with no graduation ceremony. We had big plans when he walked the stage and it never happened. Doesn't feel right.
Anyhow, you have a preference for the metal or P version of the rs?
Haha, dude, this is even my youngest! She's off to college, and I am somehow on my way to empty-nesting.
And I sold the MR2 some time ago. It's all about the Miata life now!
Did you drop the 5.0 in it? (joking really, but it seems to be a thing...)
I know I'm old enough to be an EN myself too, but we started later. My daughter is 8 tomorrow, 3rd grader.
InDIYana Event Website
I feel ya. She's a musician, and as with any honed talent ( sports, art, etc ), this was to be "her year". The state recitals, honors band, all those jazz band songs for which she was soloing (or the ballad she was to sing)...none of it happened. The kid's been gutted. She's just...done with it all. She's doesn't even want to go to the small-group "two guests only" graduation ceremony this week. A little disappointing as a parent, but we get it, and respect it. Upward and onward is her motto now. Heck, it probably would have sent me into full blown depression.
I've never used two of the same size back-to-back. There have been some definite preferences, though.
I chose the RS270P over the A because it could play fair bit higher without having to slam it with some mega steep filter. That was pretty critical getting it mated up to the waveguide @ 1.3khz. I mean, it's active now, but I'd like to go passive without needing a billion crossover parts.
I really like the RS150A as a "general purpose" driver, especially for home theater builds. In a sealed box it hits a ~85hz F3, which is perfect for subwoofer integration and there are a lot of high-value tweeters that'll mate up with it. A pair of them is enough to do It's a good choice when you need to buy 7-10 of the things.
For this build, I had originally planned the RS100A-4, since it's a full range for simplicity's sake (I still planned for a contouring filter or two). However, as this is a commission of sorts, and after having learned more about his intended use, I decided that a small tweeter like the ND16 or 20 would be a good idea. Since the RS125P uses about the same sealed box as the 100A and I no longer need the high frequency extension, I might as well go that route for the extra output via its greater sensitivity and Sd.
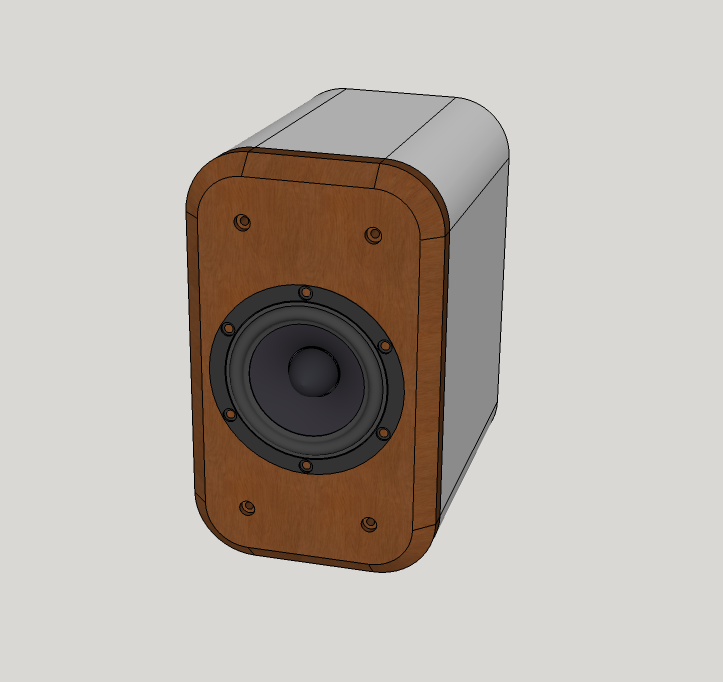
Sooooo, yeah. 2 years later. Thought I'd stop back by and show how it all turned out:
I can't seem to find my screen captures of the measured response, but there wasn't much special to the crossover. 2nd order electrical on the RS100, 3rd on the ND16 for 4th order acoustic slopes. I included about 3dB of BSC since my buddy was going to use them either on his desk or on a literal bookshelf. As far as the crossover went, the biggest challenge to this project was trying to get decent vertical axis lobing, but I probably stressed over it much more than my buddy did.
How do they sound? Honestly, a lot like my Quarks, which were the small small reference speakers I had on hand.
The full album (with annotations) is here:
https://imgur.com/a/6hx5mZz
Perhaps my favorite part of the whole thing was the 3D printed grill cover for the sub. I also printed the crossover mounting board, which is affixed in the cabinet via the terminals. Felt dang clever about that one.
That's very similar to the way we did the Minimus 7 crossover revamp in this in the Synchaeta, very very clever way to do it.
Those look great!
InDIYana Event Website