Site Links
Howdy, Stranger!
It looks like you're new here. If you want to get involved, click one of these buttons!
Quick Links
Categories
Who's Online (0)
Moon Drops
in DIY



Comments
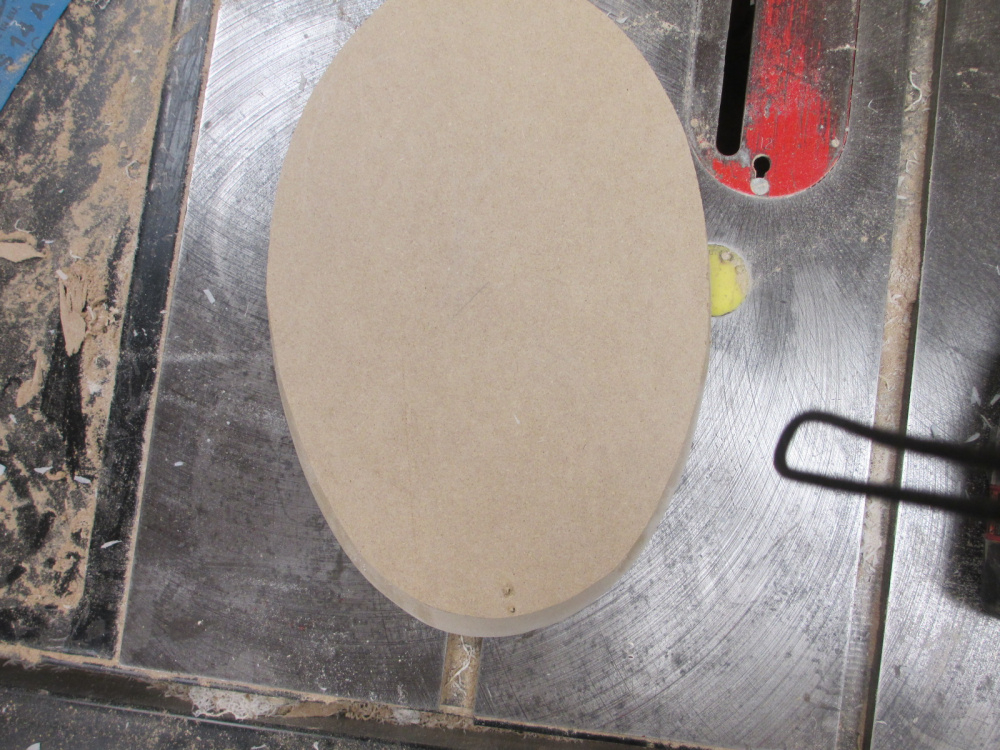
When dealing with pvc, keep in mind that it is very often roundish and not perfect. Here's two pieces of 12" sdr35 that I cut for isobaric tunnels on another project. They are rotated 90 degrees to one another from their original connection.
Stellar!
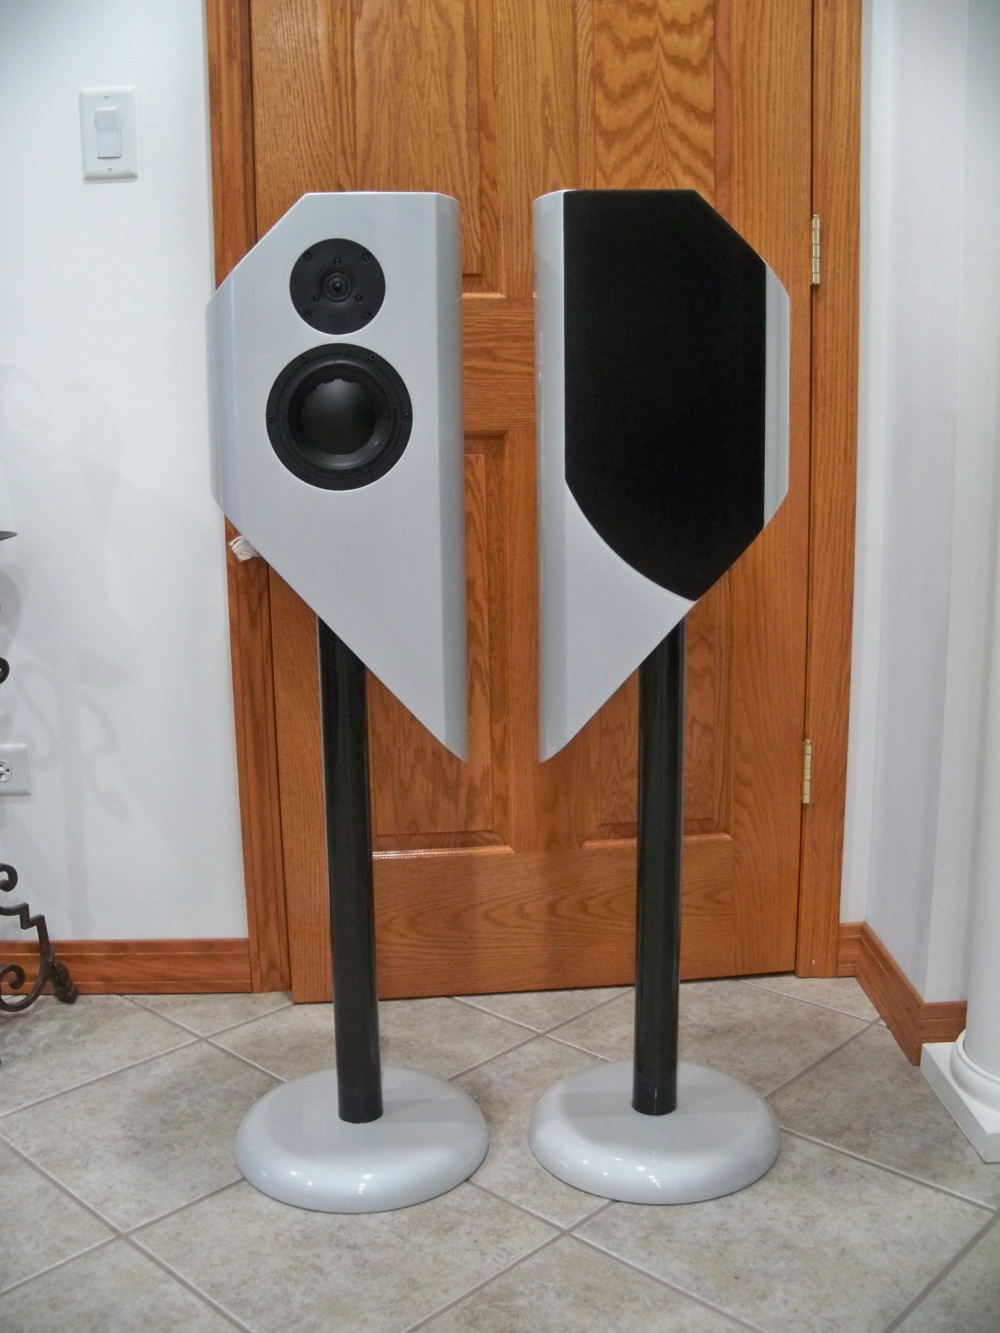
The black grills look nice, really gives them a finished look. Very cool overall design!
The next step was to attach the bottom. I used epoxy and countersunk screws.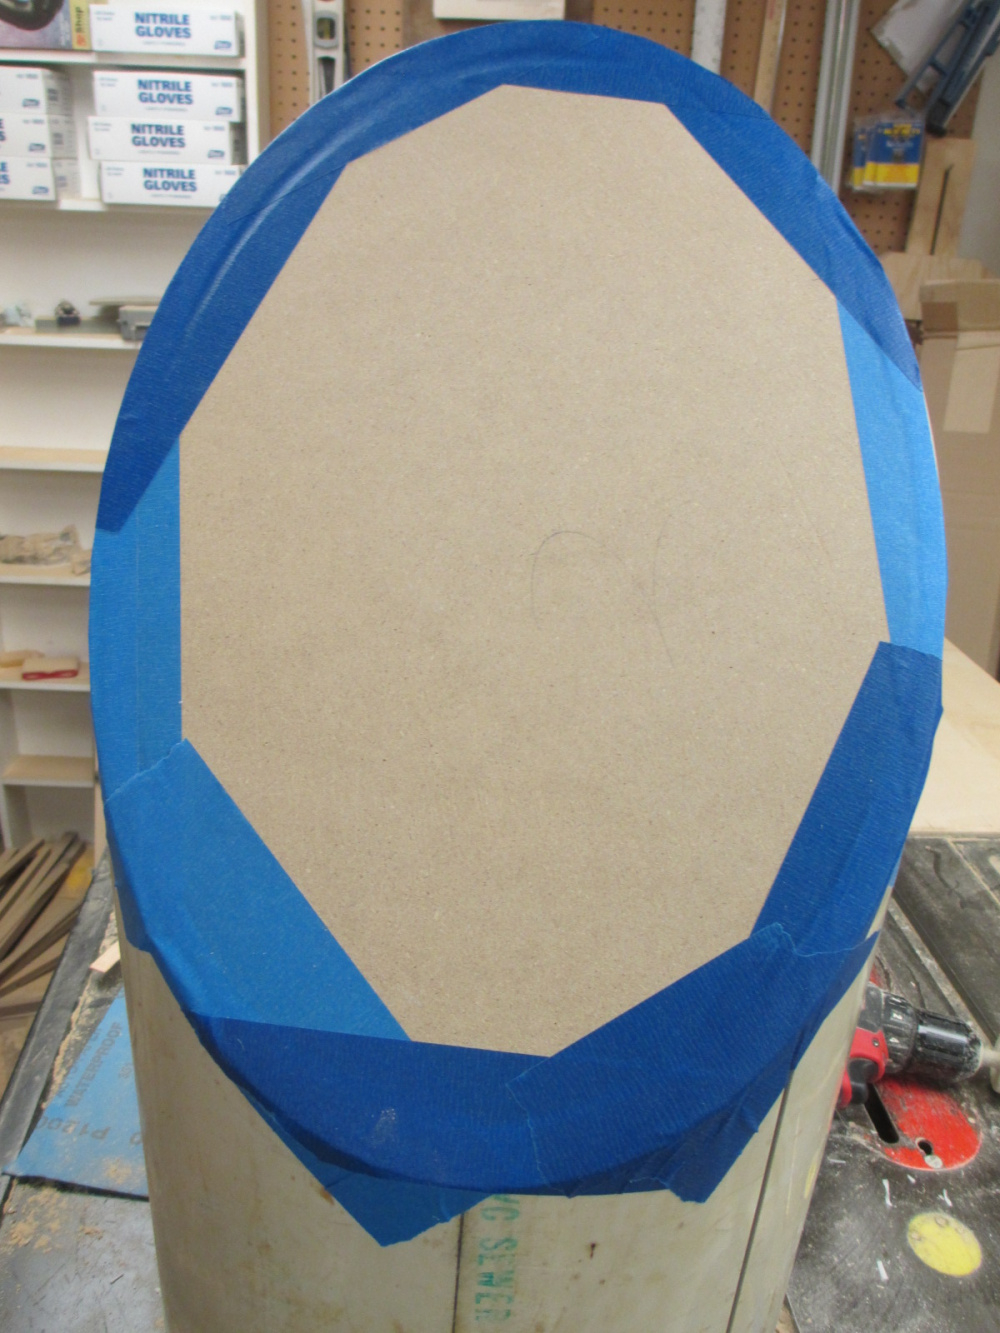
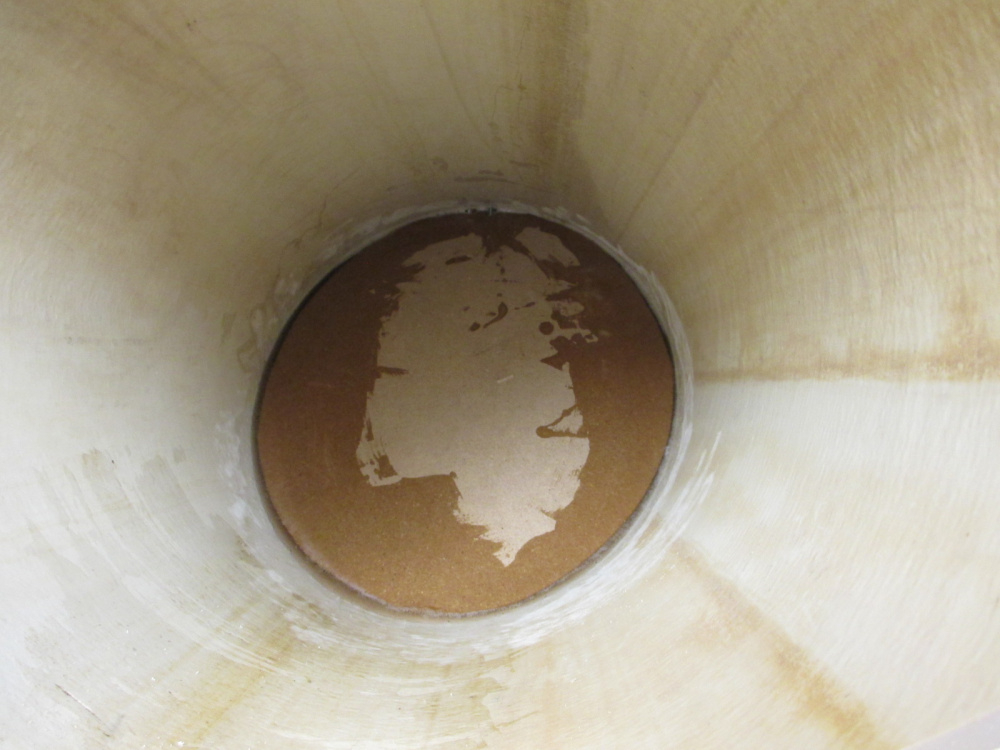
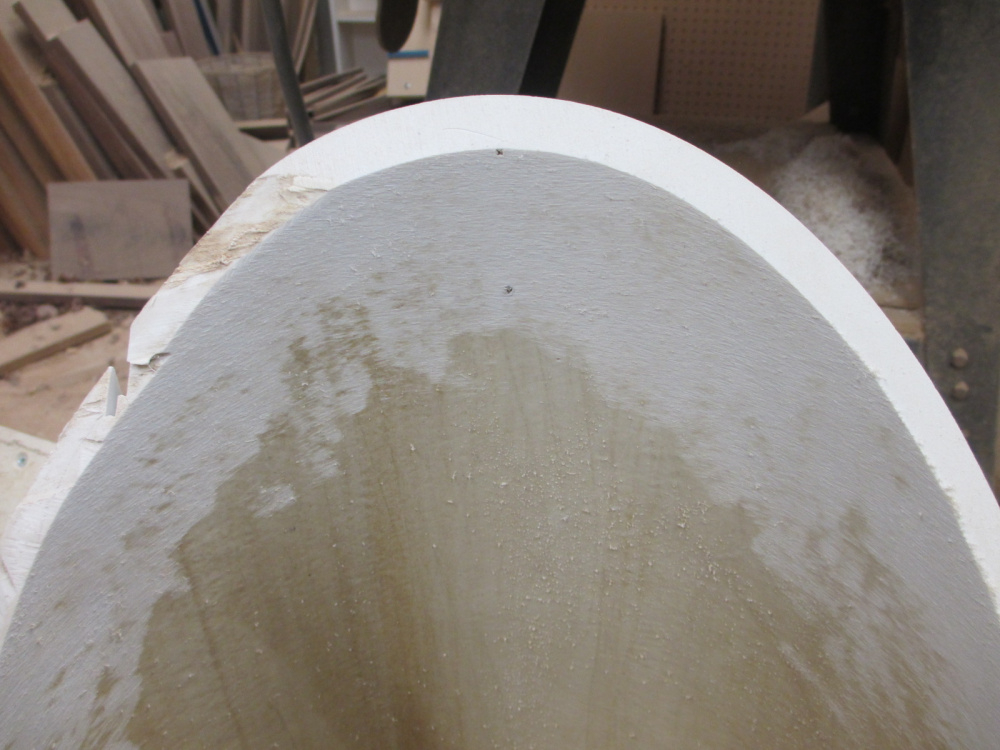
The pipe has to be roughed up, as the epoxy needs some tooth to adhere to.
Nice set of photos. This was one of the most difficult speakers for me to photograph at events. Bright white against black drivers. I had to get the exposure just right or I would either blow out the whites or stop up the blacks. John H's Synergy horns were also very difficult to photograph for the same reason. But when you get exposure just right against a contrasting background, they really look nice.
I can't take credit Bill, the camera was on auto.
The next step in construction was to kerf the tubes lengthwise for a gauge prior to mounting the front baffle.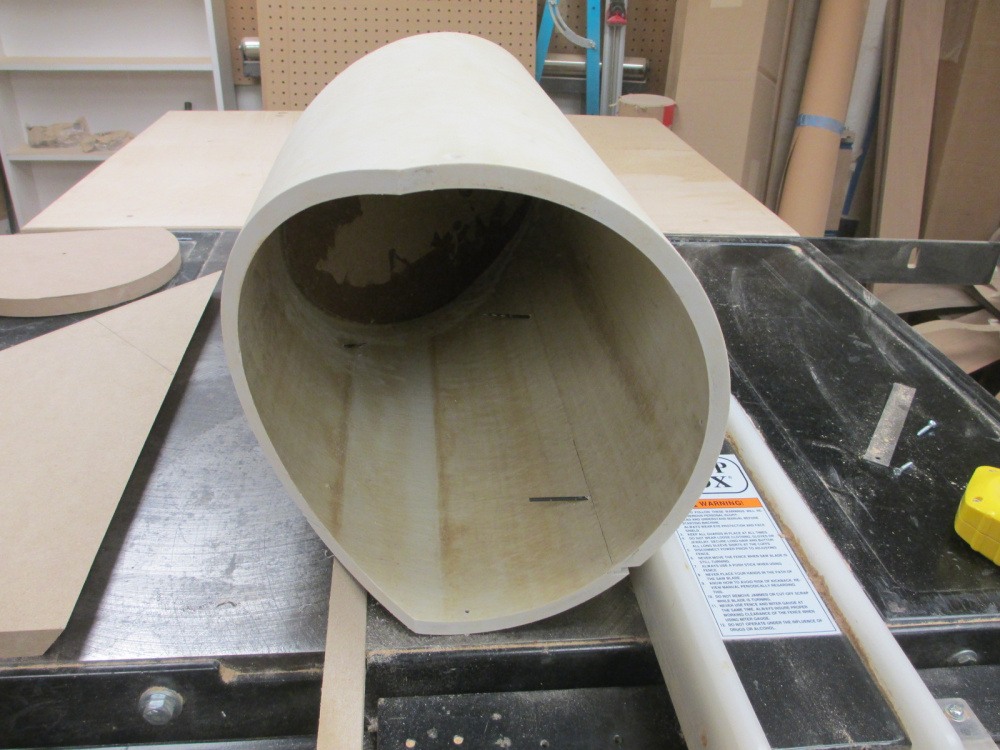
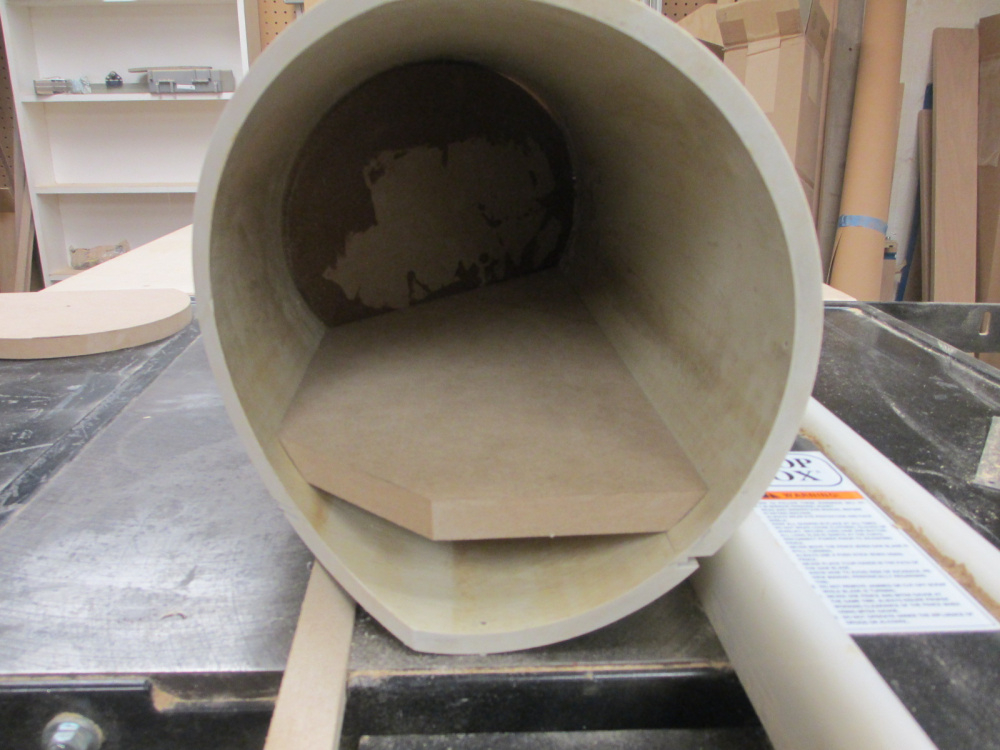
I then glued the baffles using the same method as the bottoms. The baffles had to be installed before cutting all the way through the tubes, because pvc is under stress and will collapse upon itself, trapping the blade.
It took two attempts for proper placement.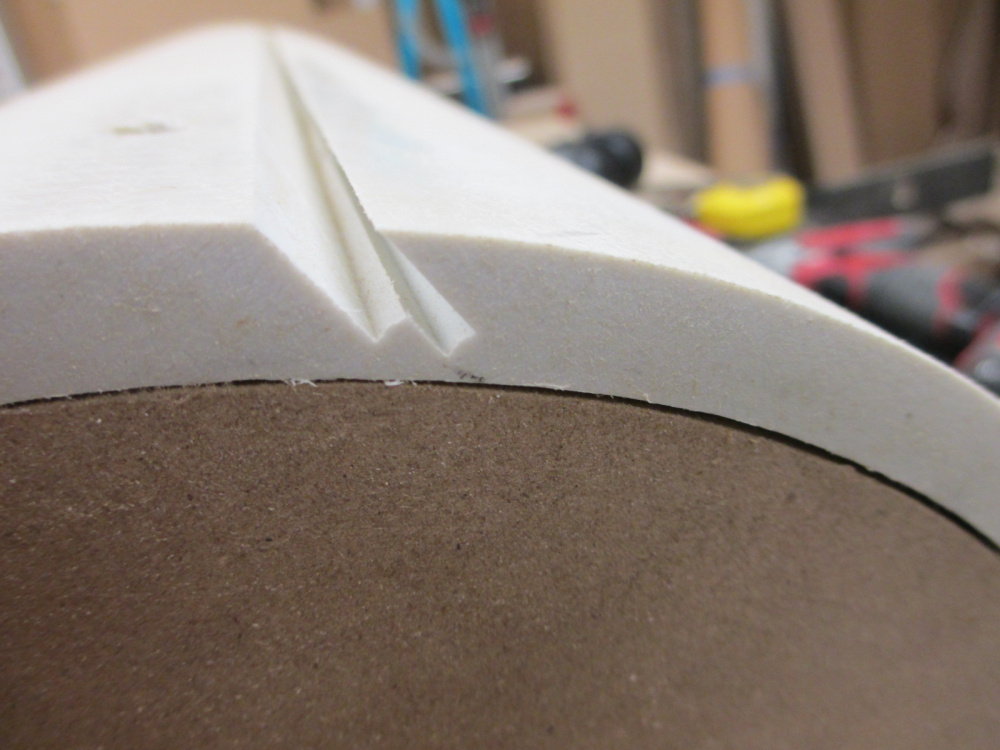
I attached the top temporarily with just screws, and then finished cutting the tube down to the baffle. I did it with a hand saw, and flushed it up afterward.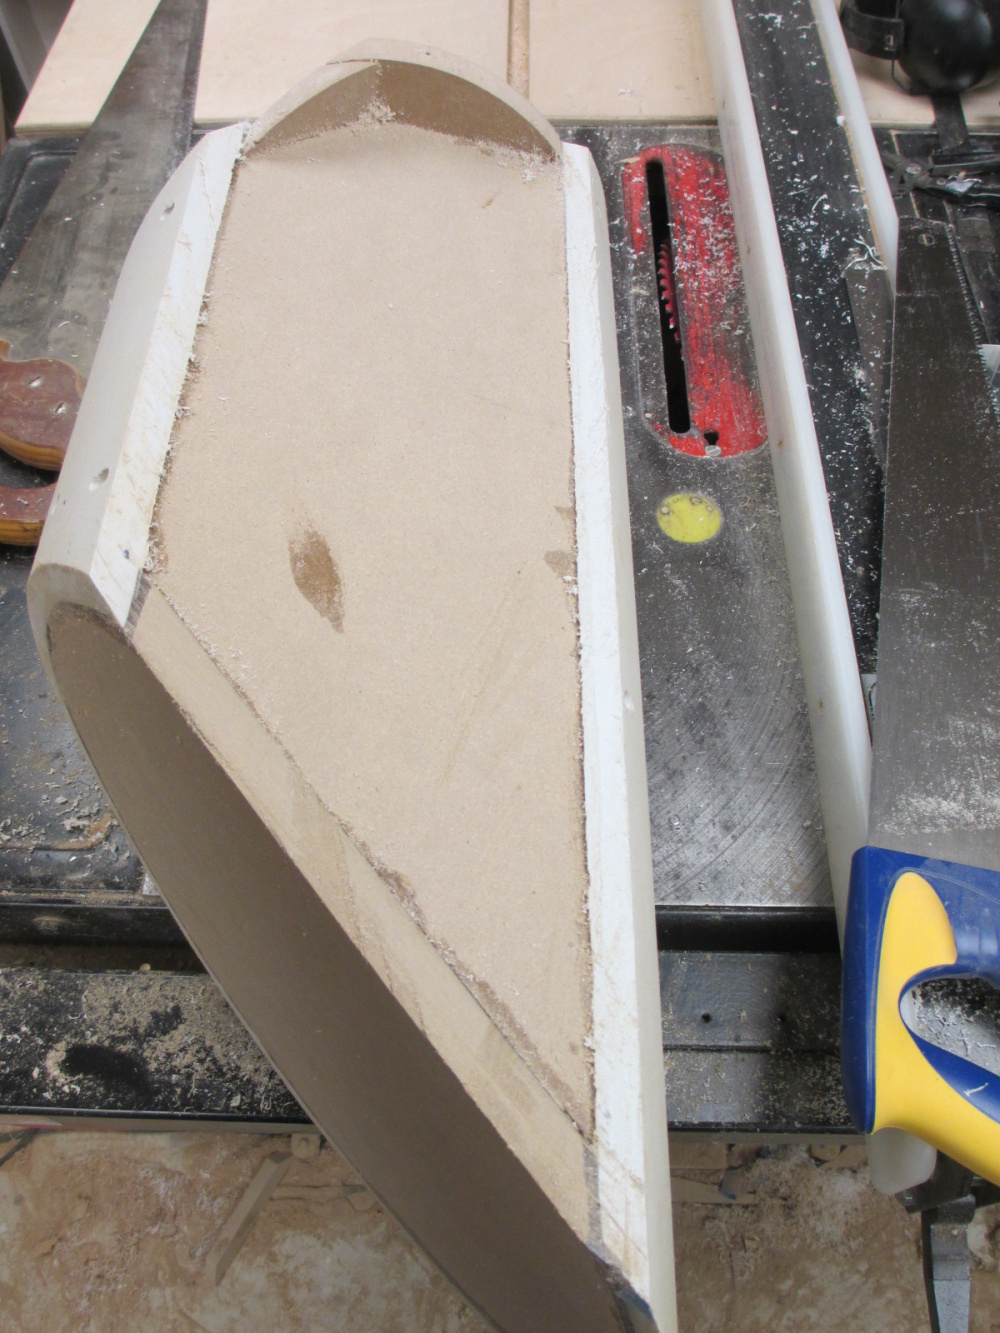
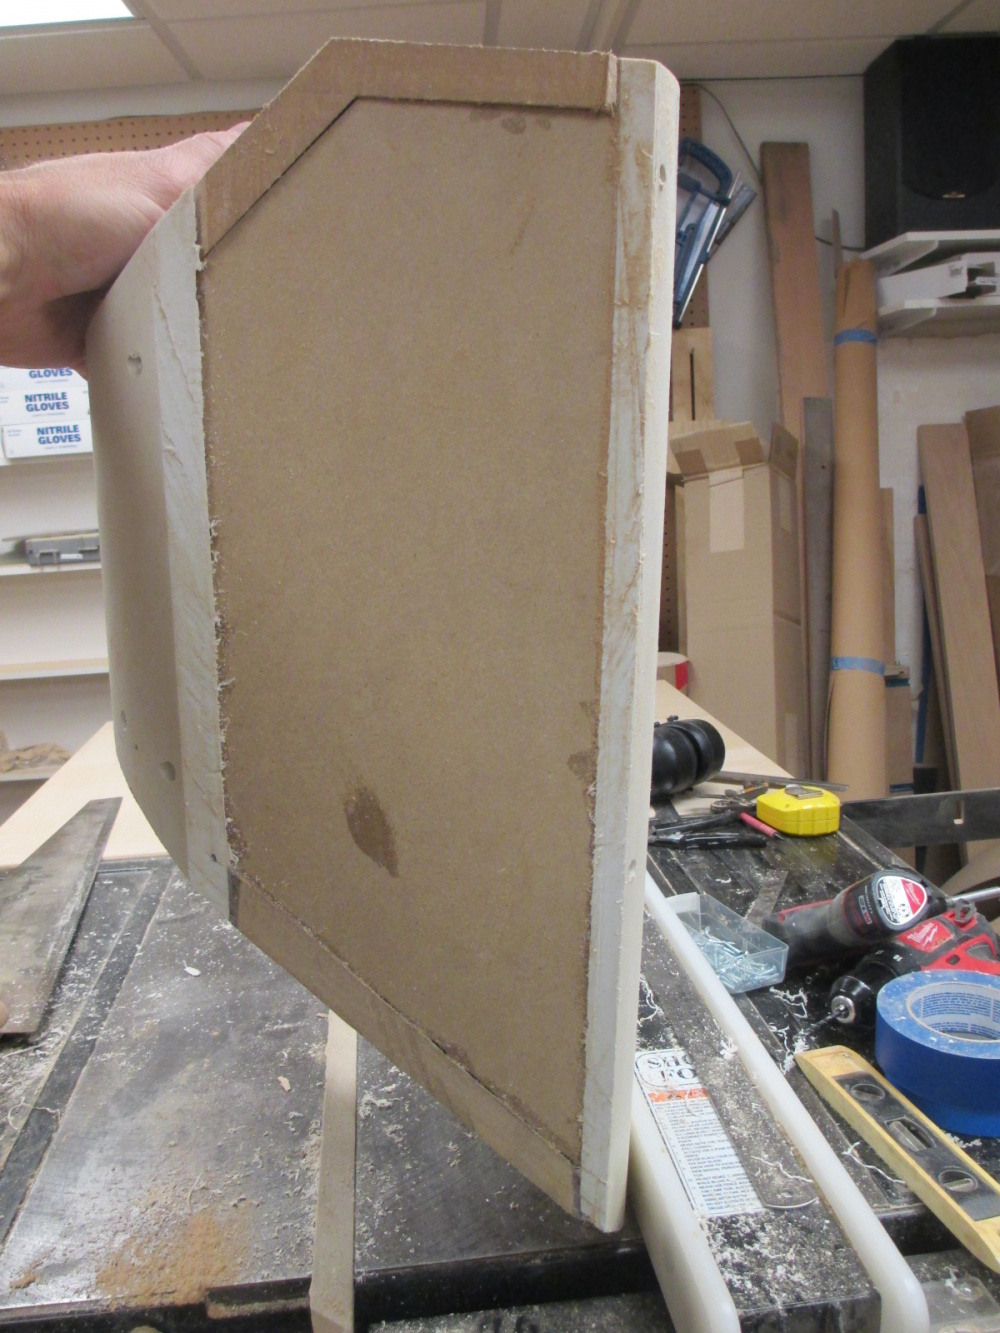
The top was removed and the port was cut in. You can see that I blew the fitment of the bottom, but epoxy to the rescue.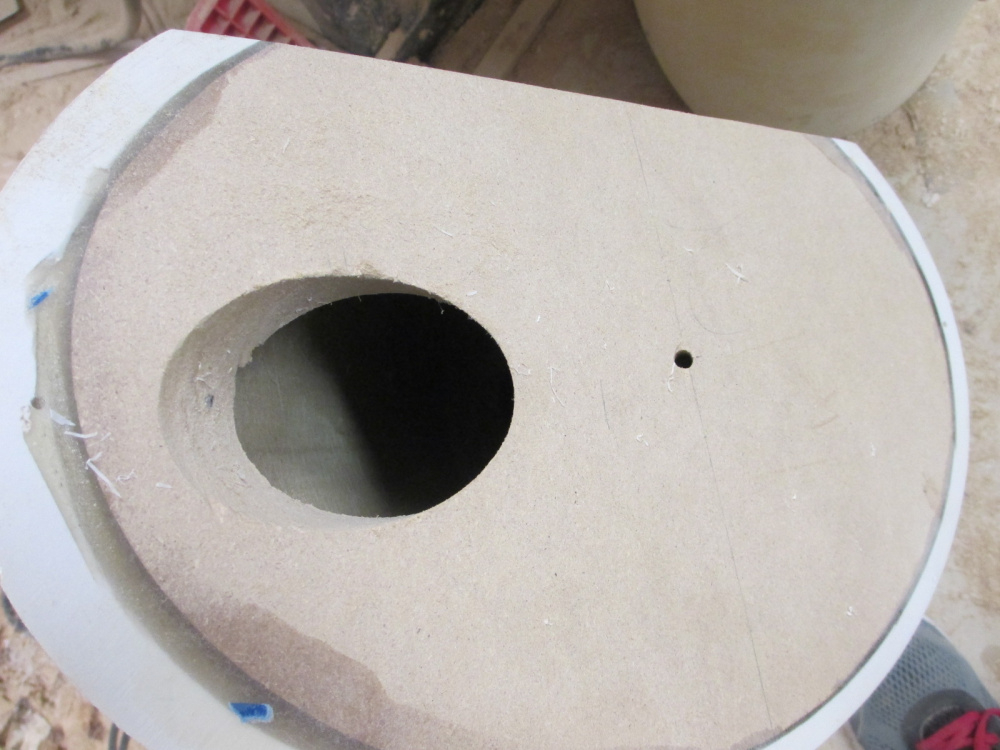
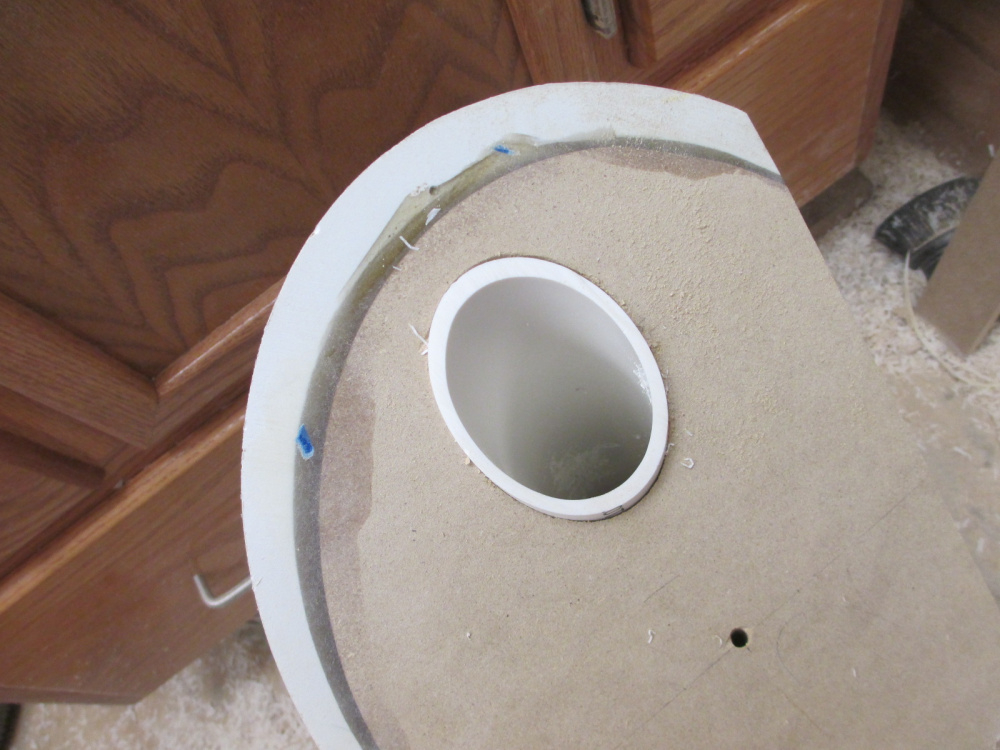
The stands are made of DOM tubing with one end capped using 1/4" plate and the other end with a 3/16" x 6" round plate. I then made a MDF base that slides over the tube and gets screwed to the bottom six inch plate. The steel was covered in epoxy primer and the base in polyester primer before actually connecting the two.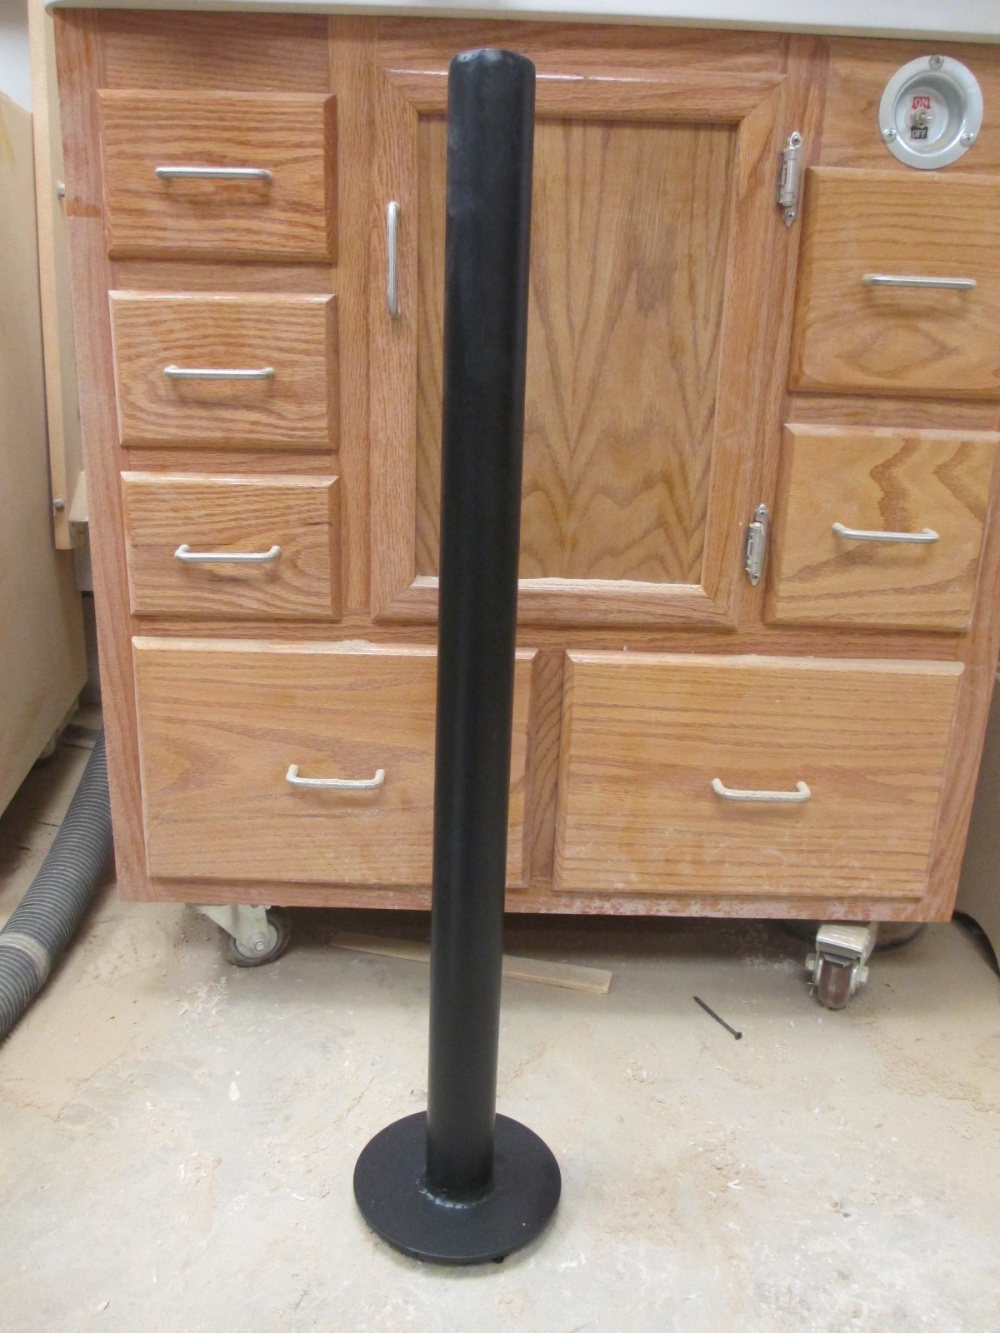
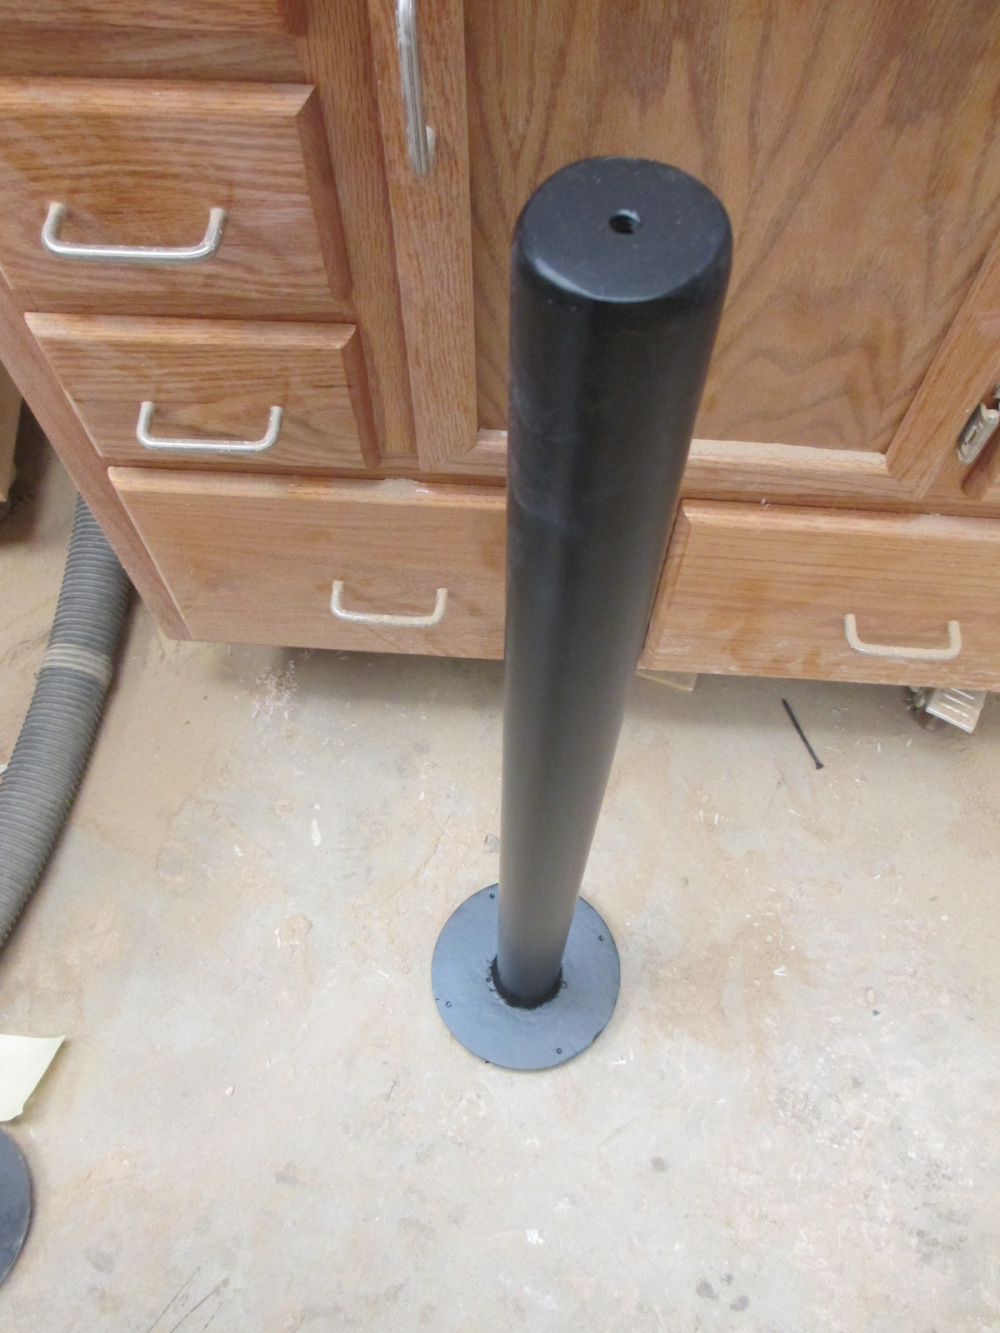
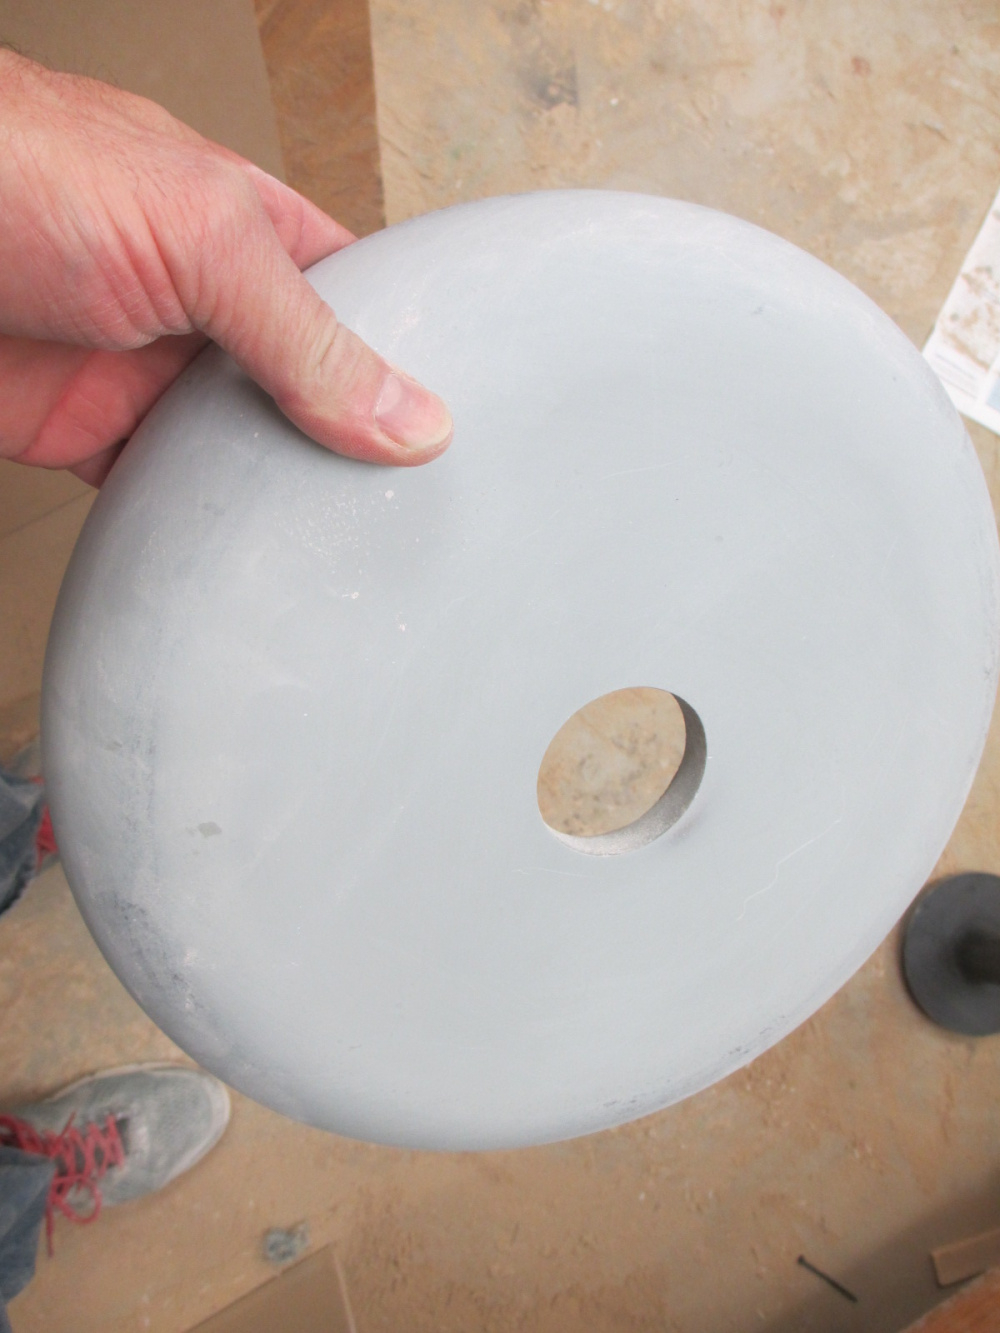
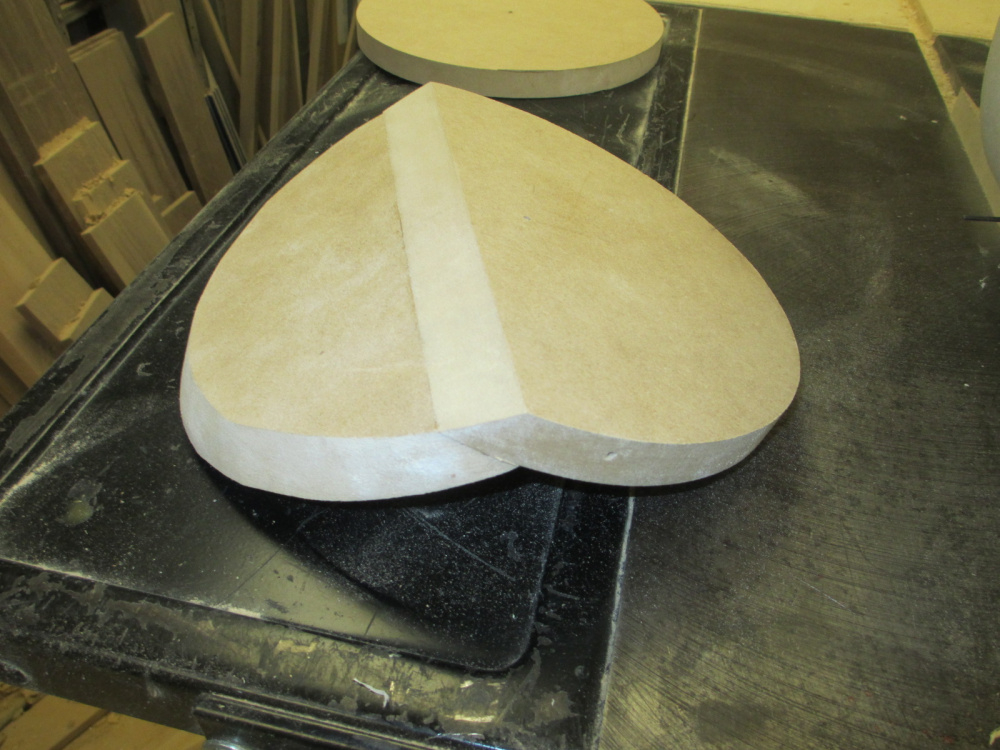
The center brace was next.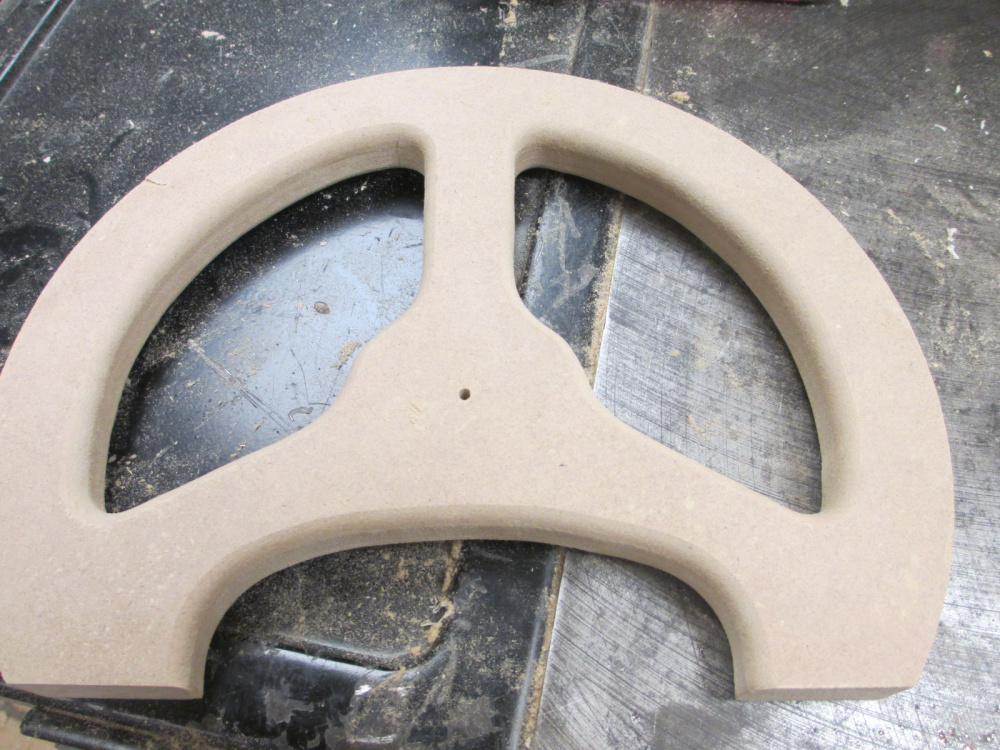
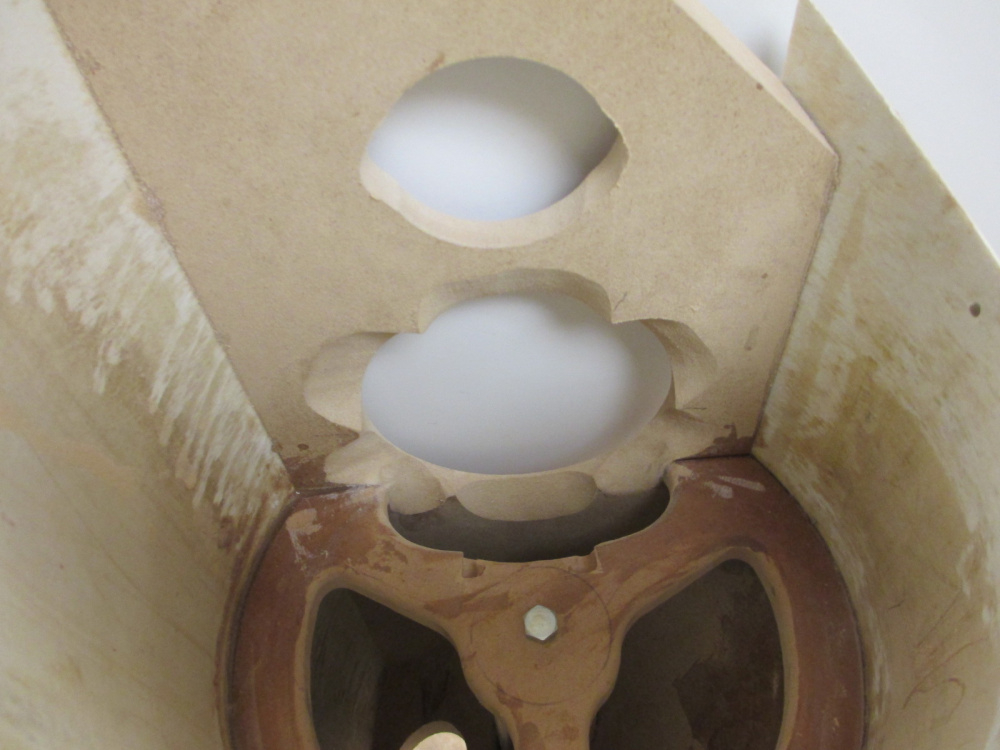
Ah- the required scallops for a Dynavox midbass. Yep- won't breathe without 'em!
InDIYana Event Website
Assembled, wrapped in fiberglass and skim coated with body filler.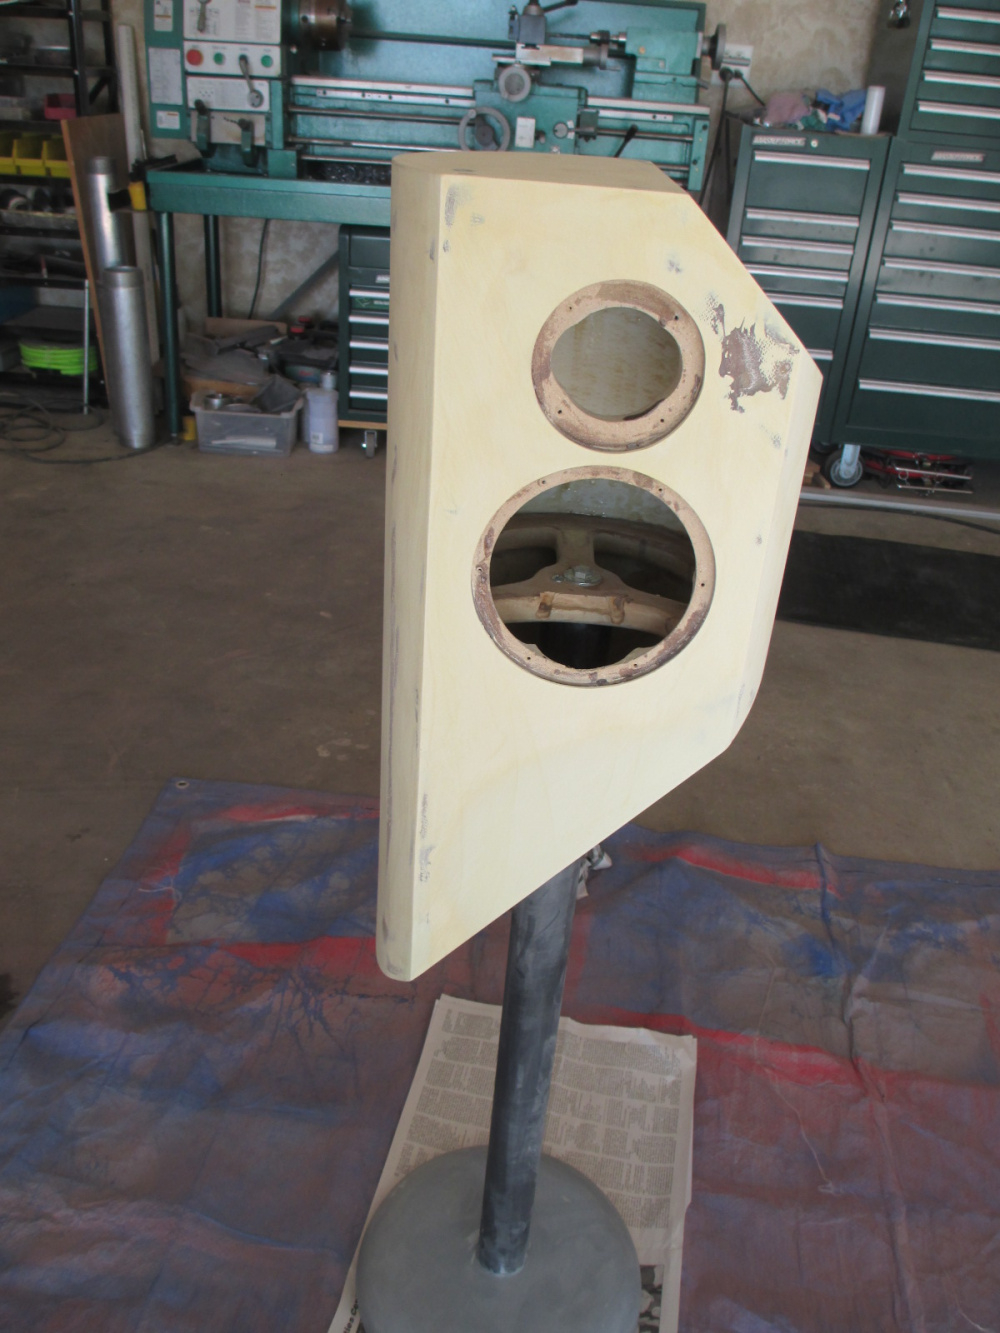
Covered in primer.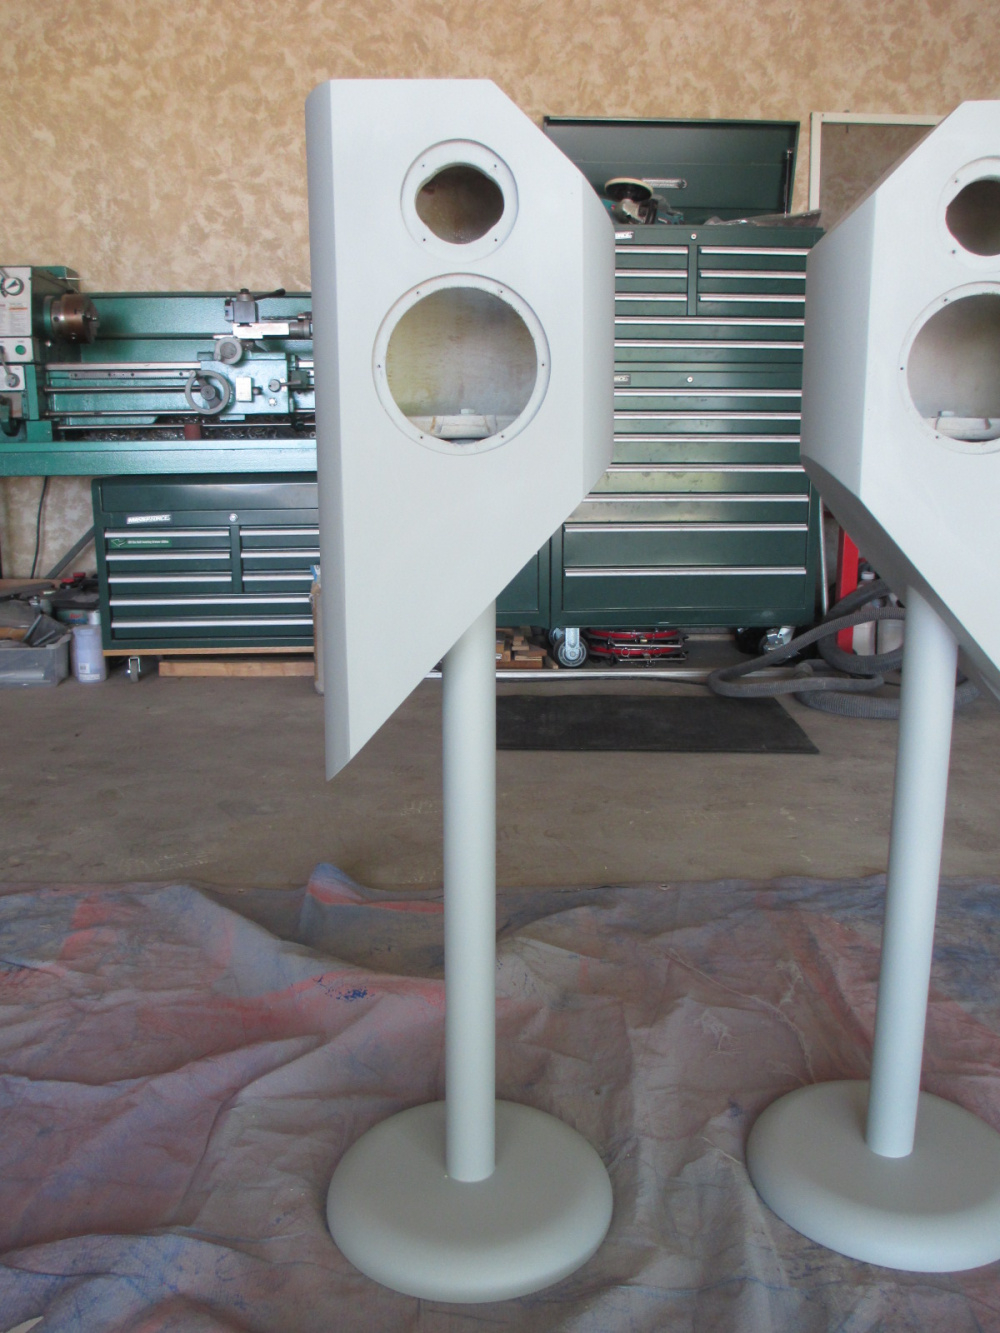
Did you sponge paint your workshop walls?
Yes, it hides dirt really well.
Thanks for the detailed construction pics. Looks like a lot of elbow grease went into these. How thick was the fiberglass wrap? I'm asking because if I tried to do something like that, I would more than likely create a real mess and would probably be unable to sand it back to a flat and smooth surface again.
I didn't measure the thickness Bill, but I would guess between 1/8 and 3/16 give or take.
I know you did fiberglass to prevent seams from showing; did you use a cloth wrap or just a skim coat of polyester resin? They sure turned out flawless!
I used cloth and some mat. They weren't perfect, but thanks.
For me a good finish is just elbow grease and a willingness to sand back and start over. I never get it right on the first try.
Dude ... your stuff looks sweet. I sand everything off multiple times and it never looks anything like your stuff.
Thanks. Maybe when everything gets back to normal I can get together with some of you guys and give some pointers.
If that came off as condescending, I apologize it wasn't meant that way. I just get a fair number of finishing questions.
It was not taken that way. I have a buddy who has worked in autobody since HS. He attempted to teach me some basics way back then and gave up.
I didn’t take it that way either. Your build finishes are highly regarded. You’re good at it and I would be happy to get some pointers from you.