Site Links
Howdy, Stranger!
It looks like you're new here. If you want to get involved, click one of these buttons!
Quick Links
Categories
In this Discussion
Who's Online (0)
Speaker Stands
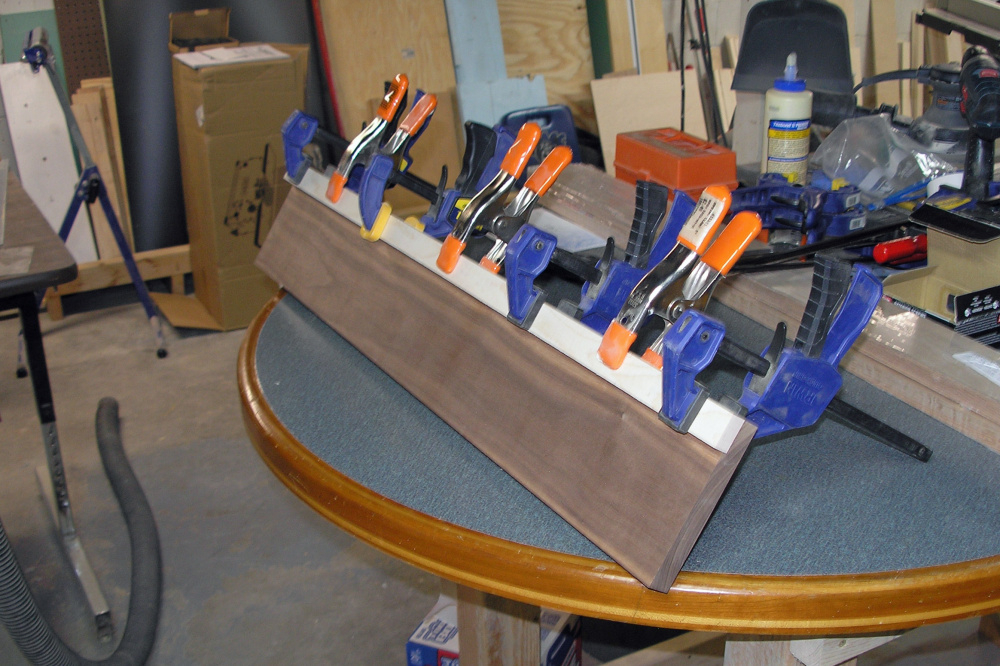
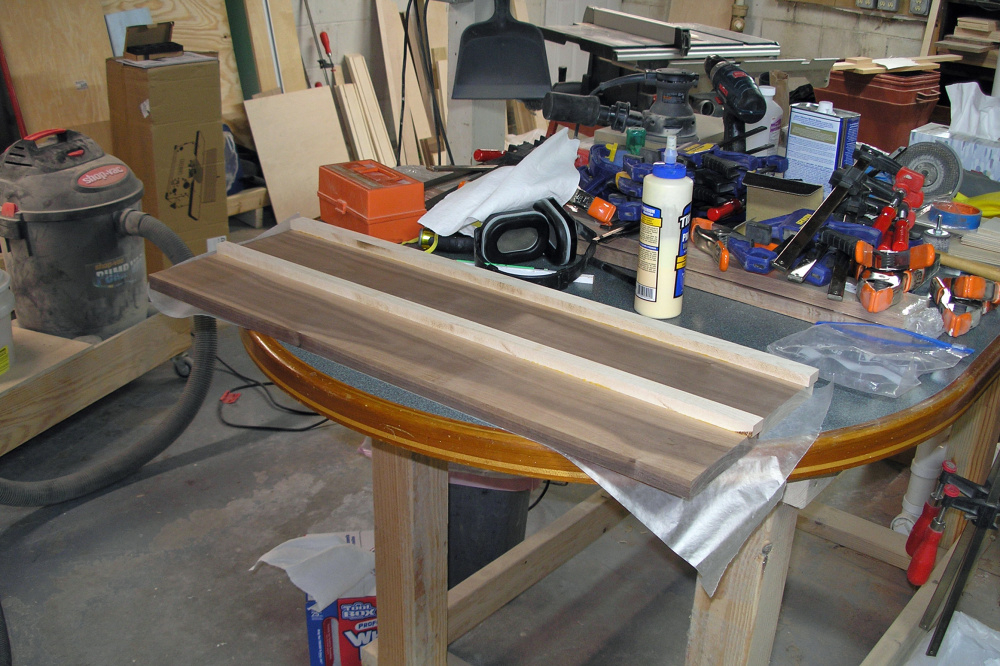
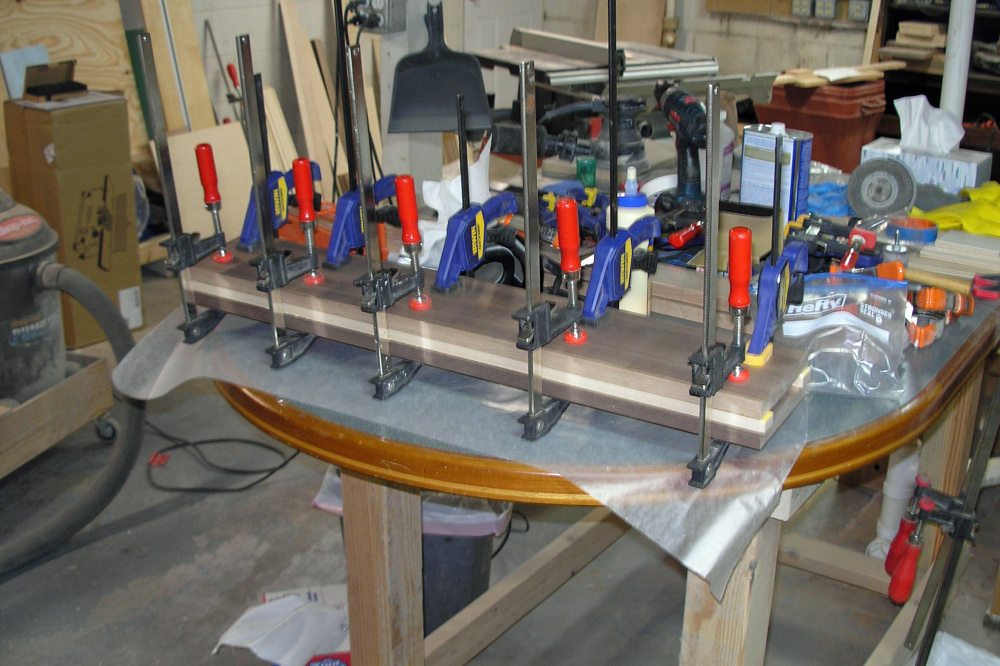
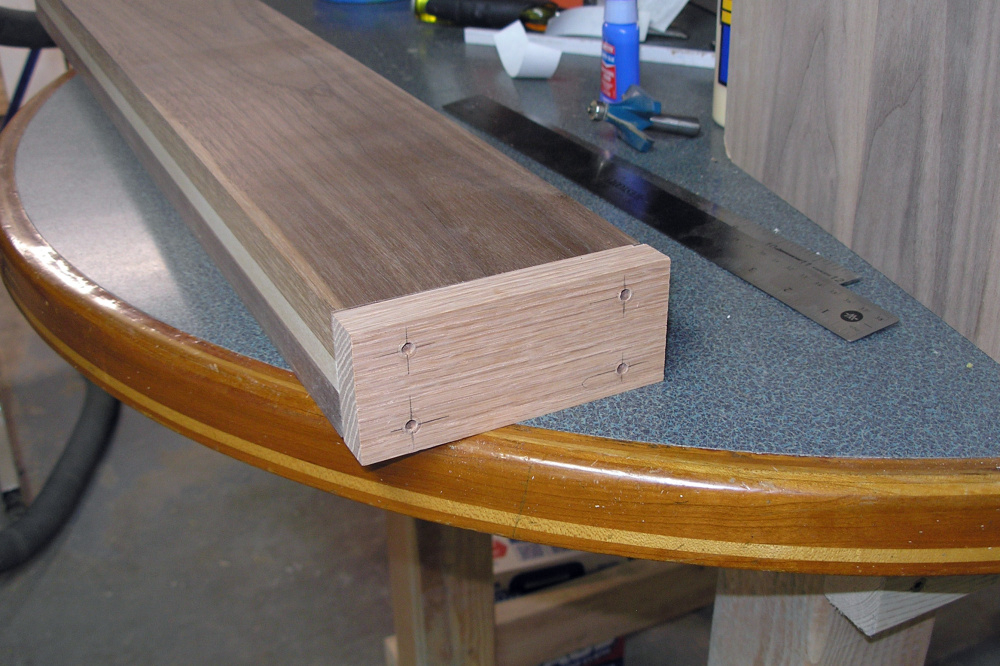
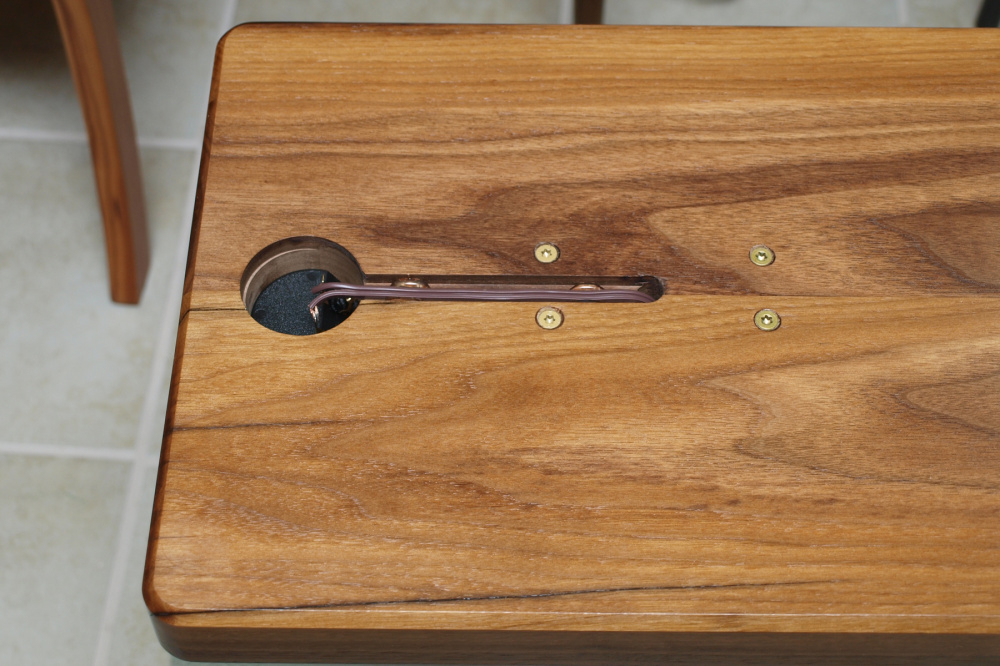
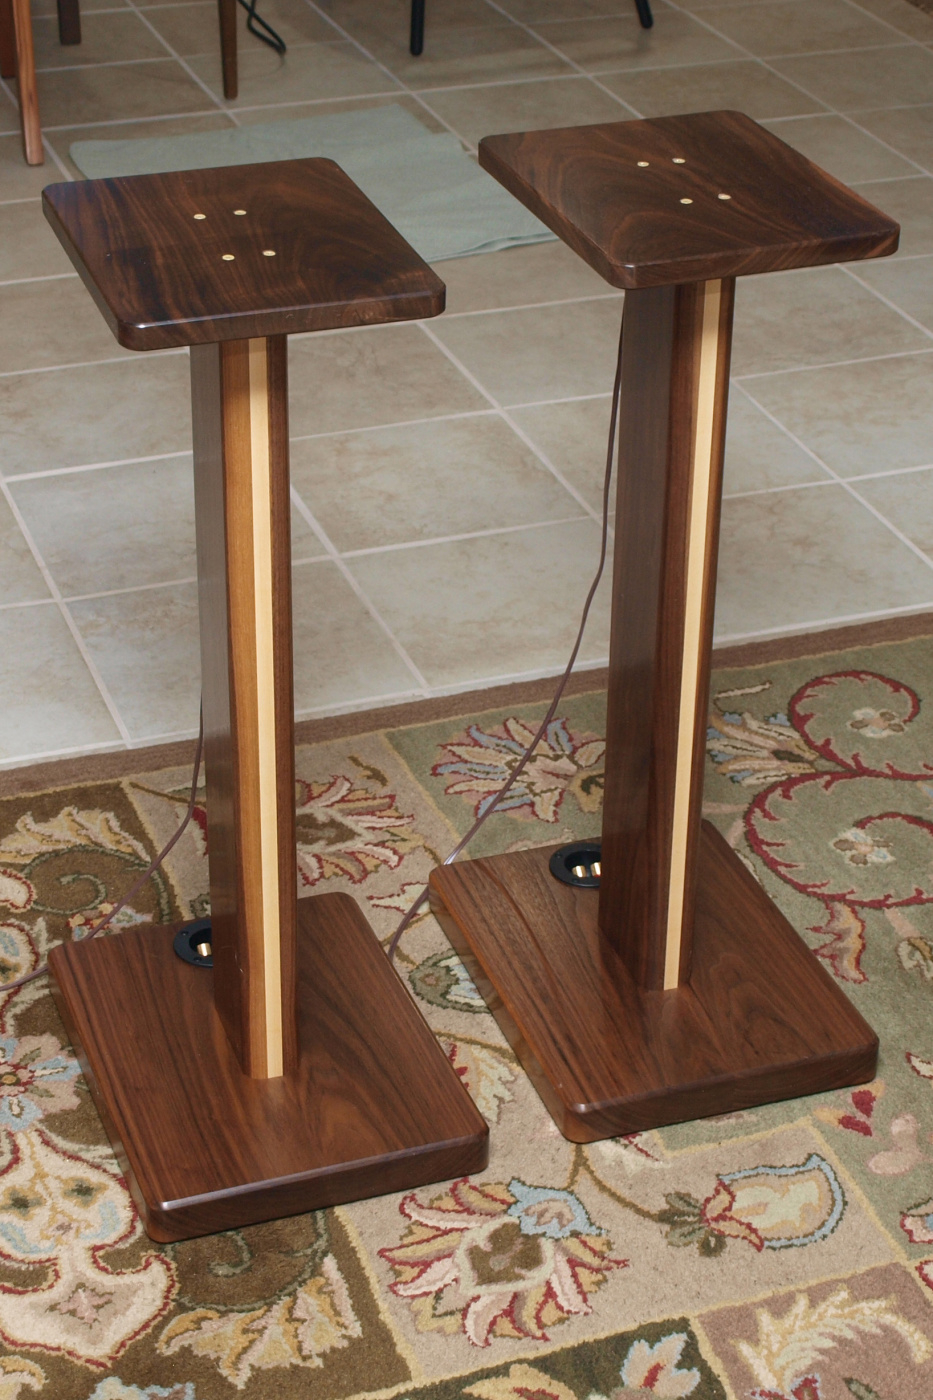
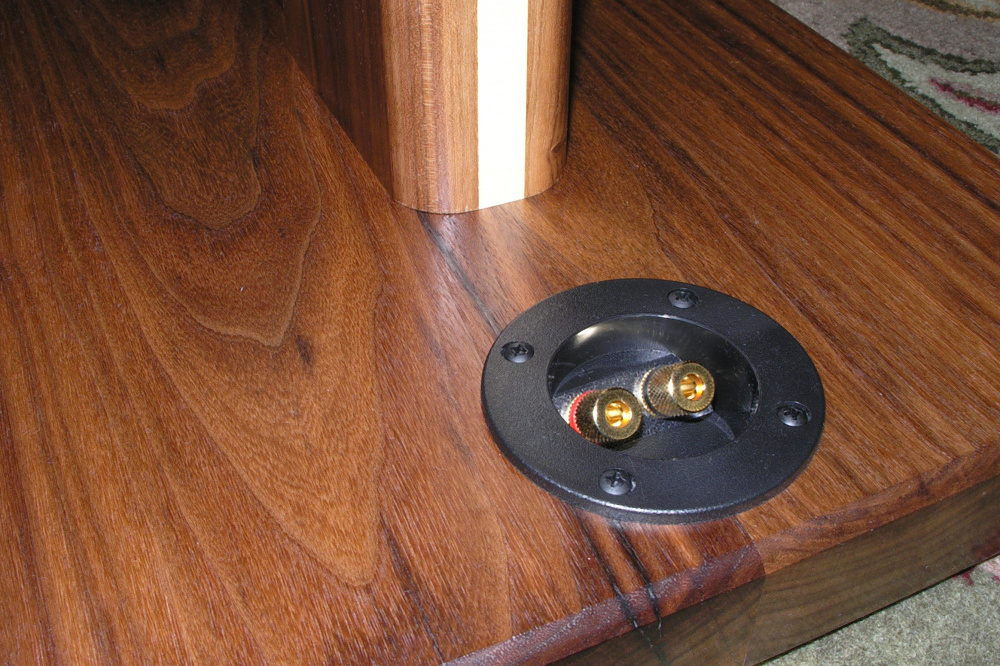
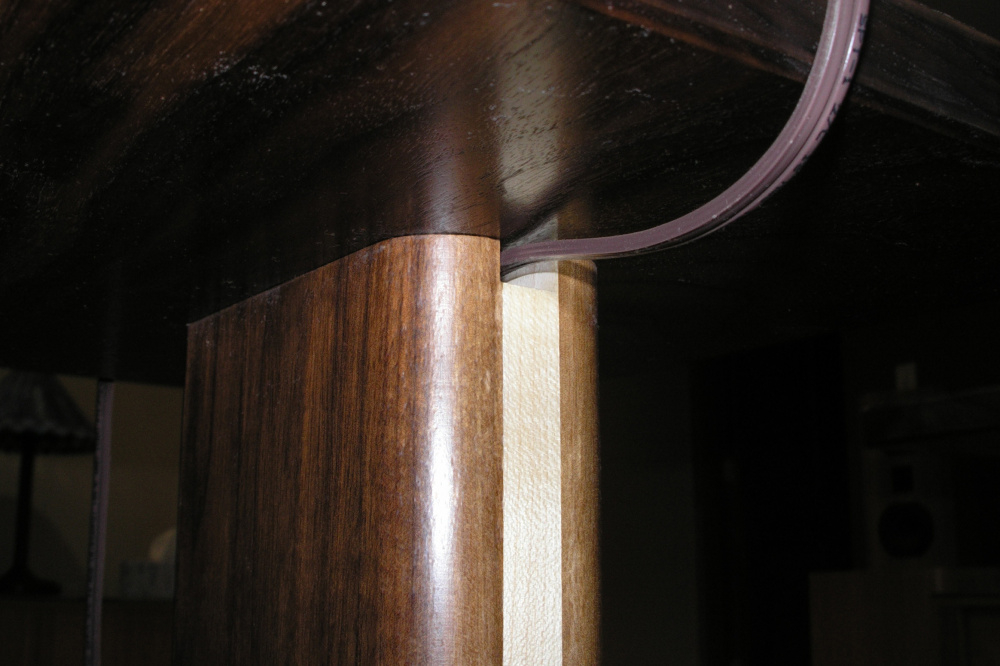
I recently finished up these stands. The center column is hollow and once the speaker cables are trimmed to length to reach the speaker terminals they will be hidden from view. The wood is walnut with a maple accent finished with Natural Watco Danish Oil followed by Minwax wipe-on poly. The tops and bottoms were attached with long #10 deck screws.
I made a drill guide from a piece of scrape oak and attached it with double stick tape so all the holes would align.
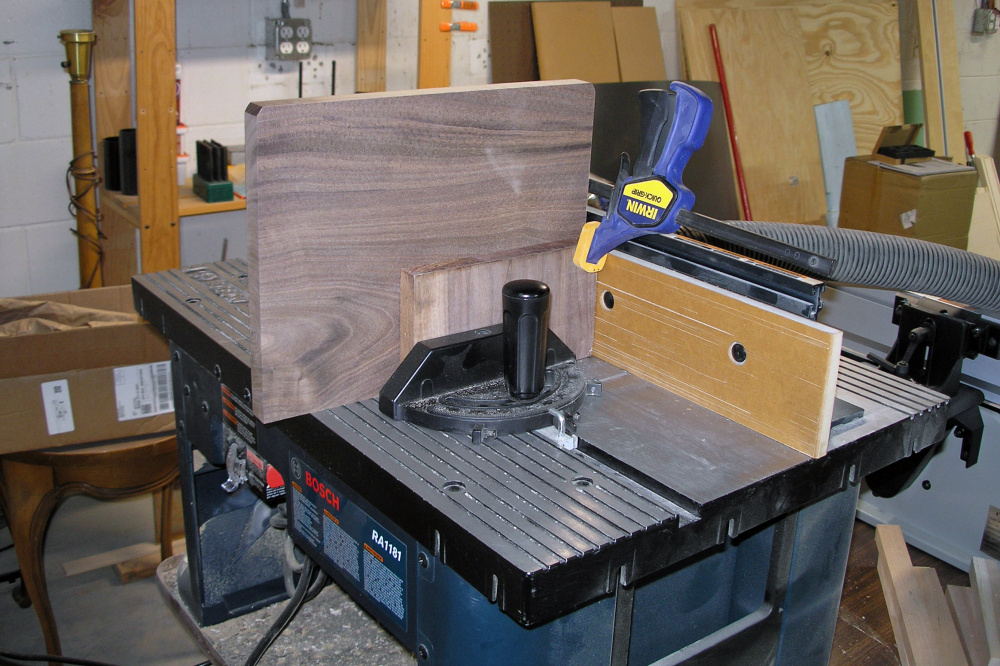
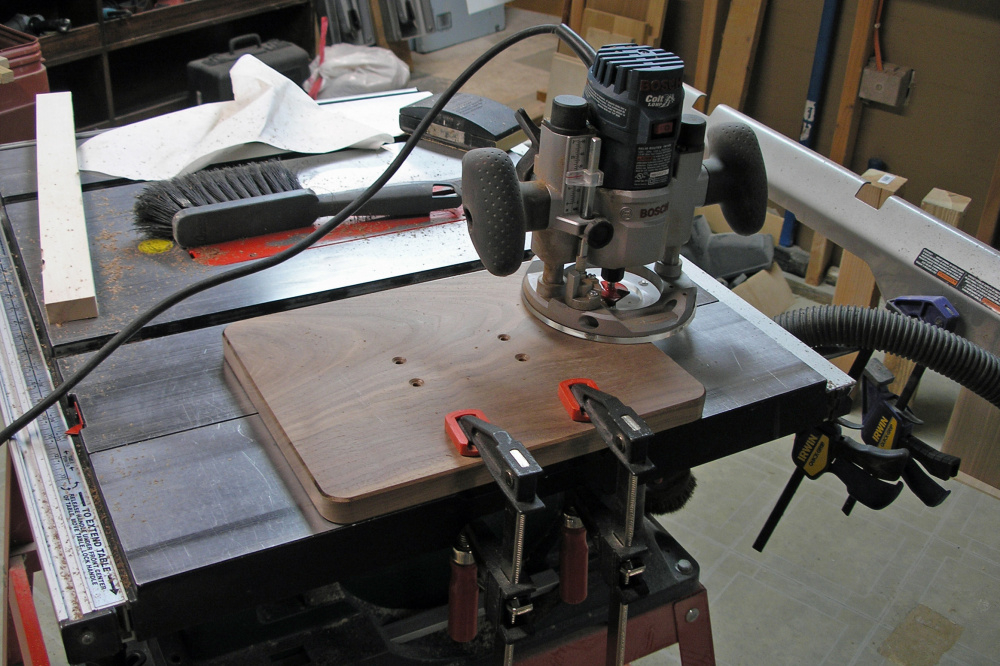
I attached a backer block to the miter with double stick tape to route round overs on the corners of the tops and base.
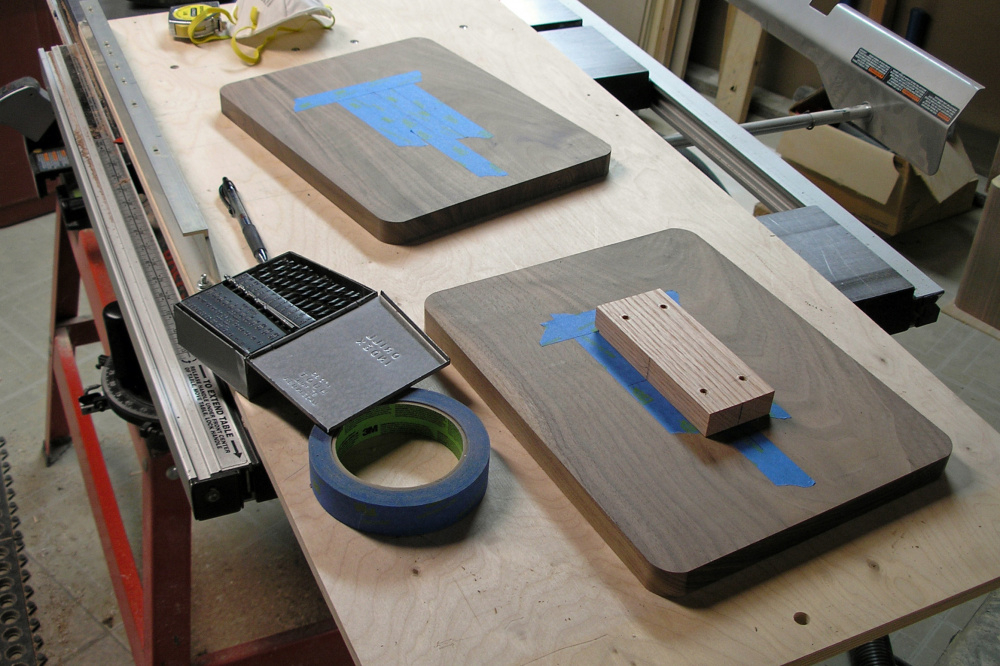
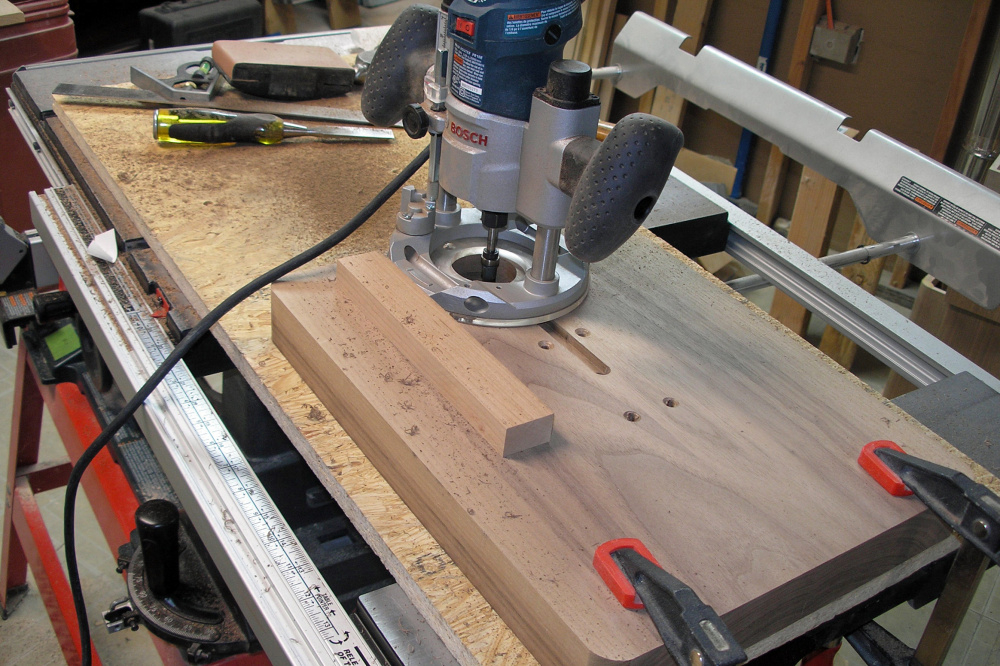
Attached a scrap of wood with more double stick tape to cut a slot between the terminal plate and through hole to the center post.
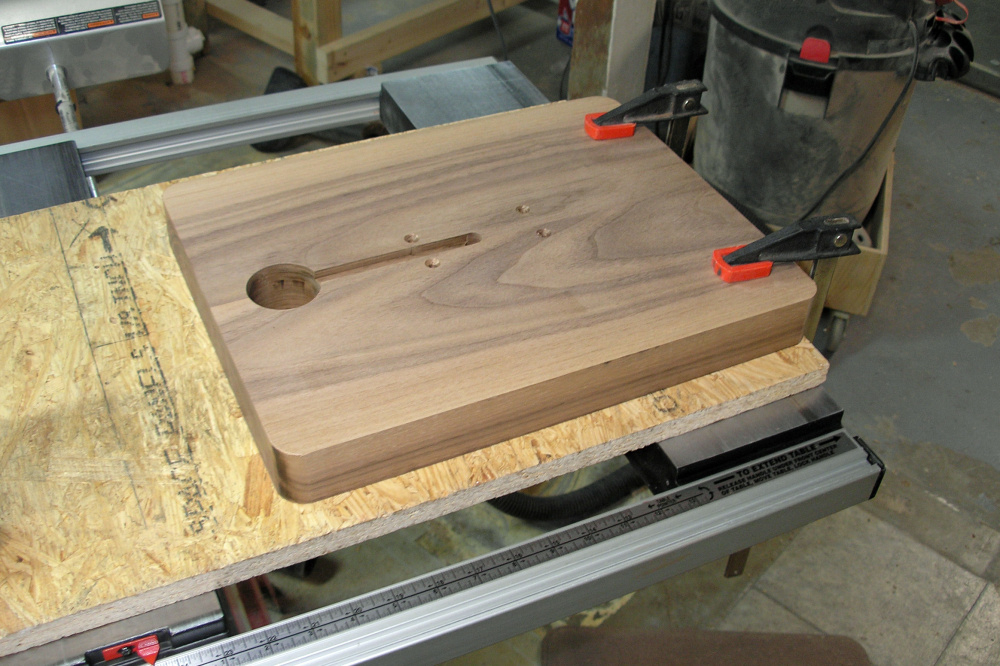
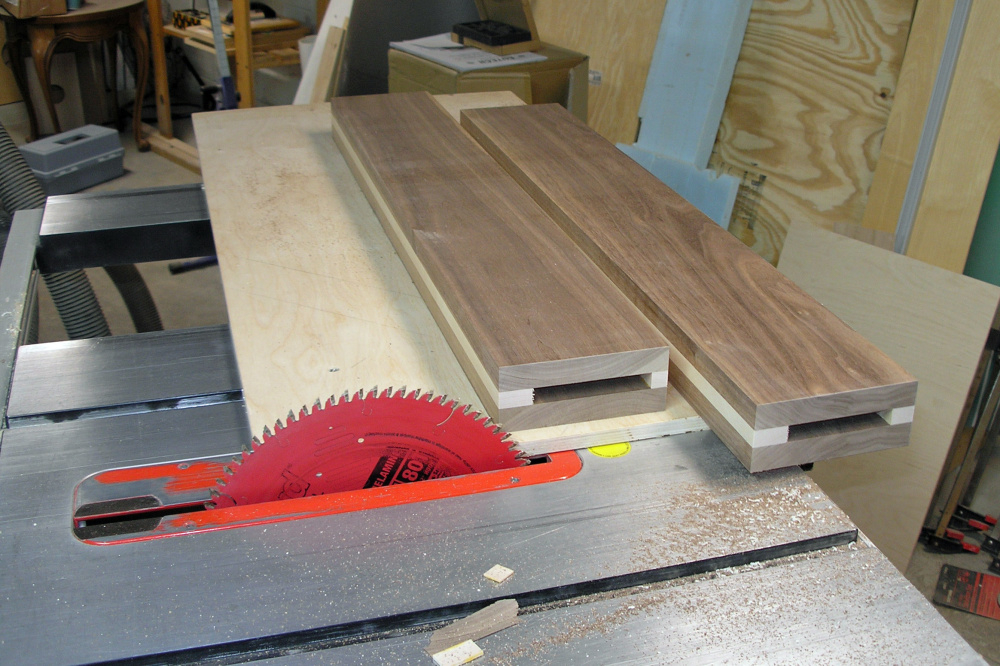
Adding a 45 miter to both tops and bottoms.
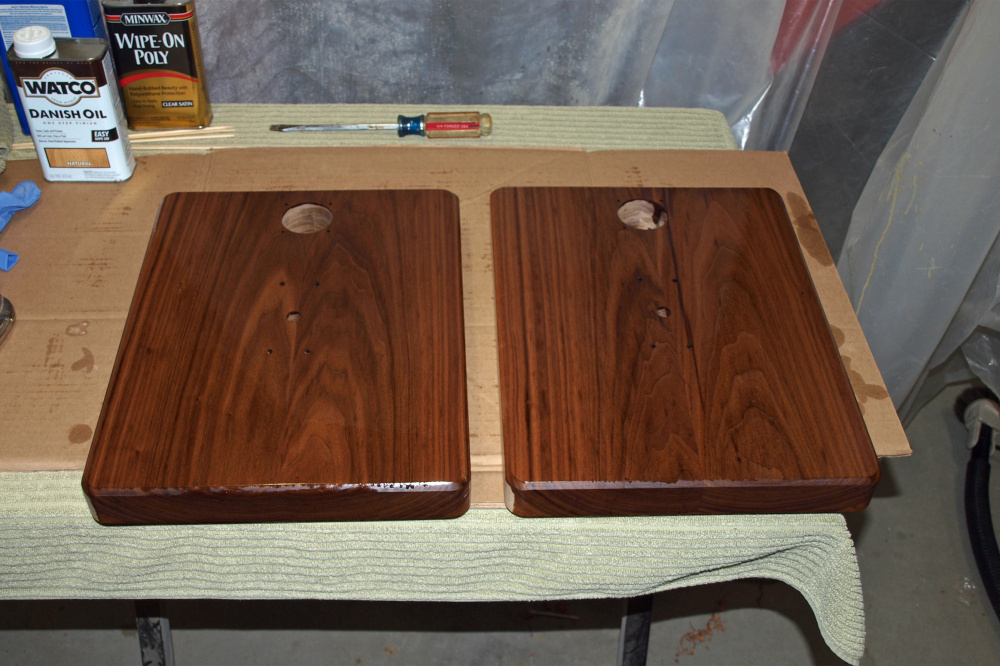
I'll try to remember to get a picture with the speakers installed when I deliver them.
Ron


I made a drill guide from a piece of scrape oak and attached it with double stick tape so all the holes would align.

I attached a backer block to the miter with double stick tape to route round overs on the corners of the tops and base.


Attached a scrap of wood with more double stick tape to cut a slot between the terminal plate and through hole to the center post.


Adding a 45 miter to both tops and bottoms.


I'll try to remember to get a picture with the speakers installed when I deliver them.
Ron


Comments
Ron
Ron
Ron
Ron