Site Links
Howdy, Stranger!
It looks like you're new here. If you want to get involved, click one of these buttons!
Quick Links
Categories
In this Discussion
Who's Online (0)
DIY manual turntable for measurements
I didn't want to derail hifiside's JF Components thread about my own turntable, but have been meaning to post something.
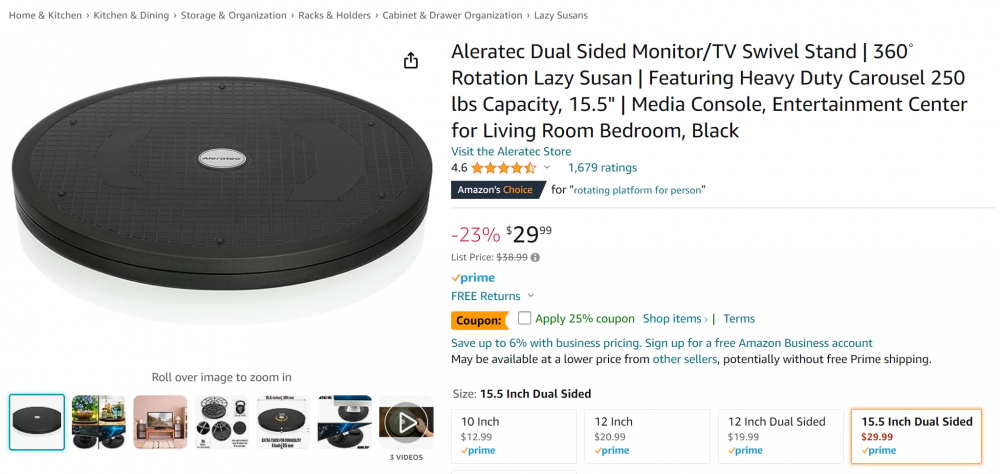
The biggest challenge for me was that I wanted the capability to measure some very large tower speakers. The weight limit on some of the steel Lazy Susan's would work. But because you need to rotate the baffle around the pivot point, the speaker is only on the back half of the turntable. I used a large 15" TV swivel with 250lb capacity and then built it into a 24" diameter turntable made from scrap plywood and mdf. (Base is 26" Diameter and platform is 24" diameter.)
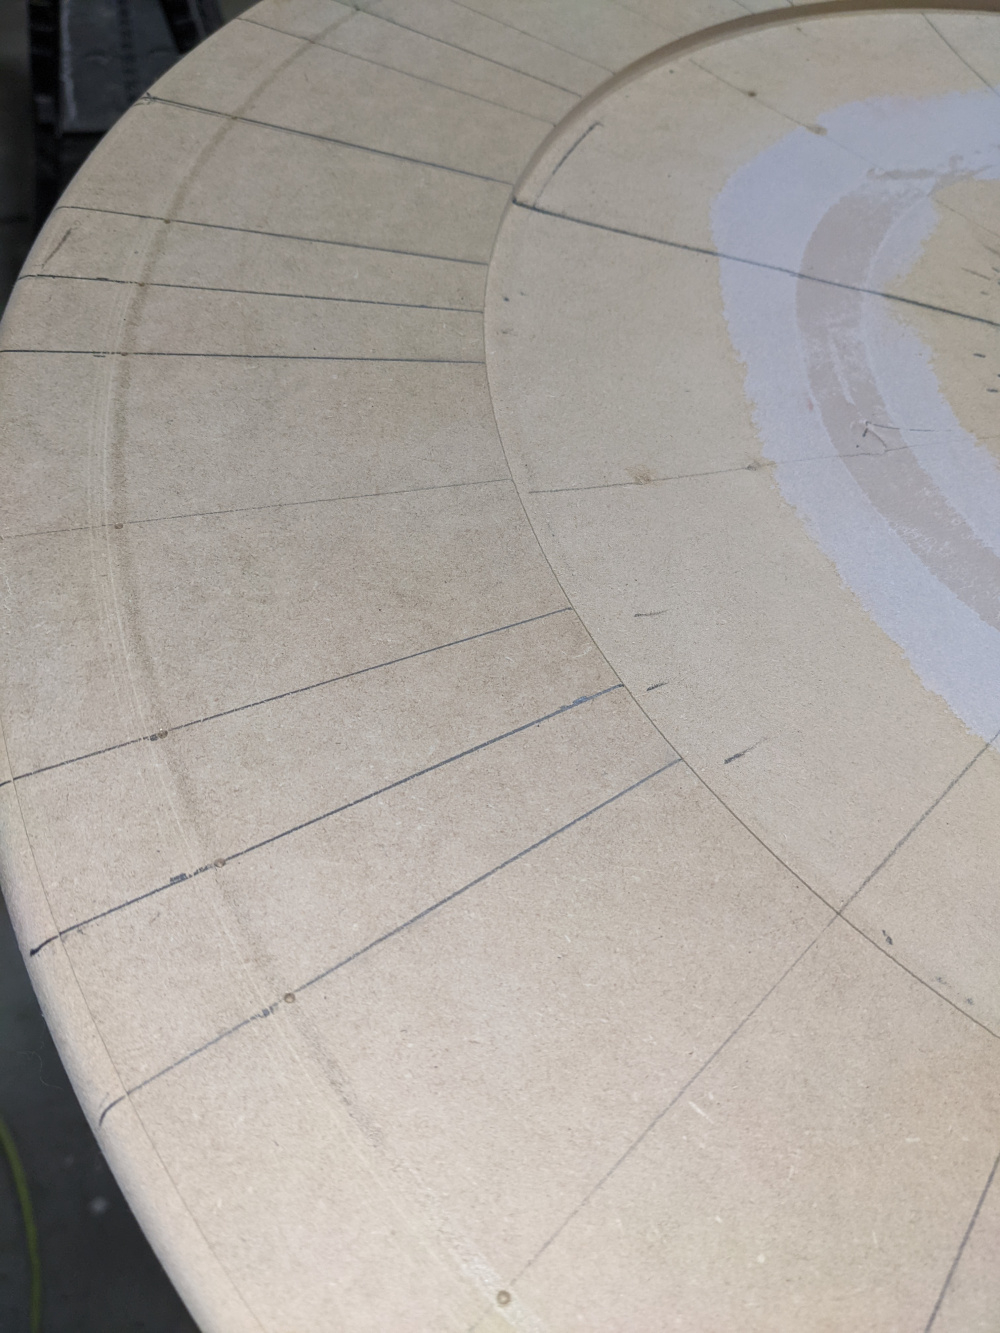
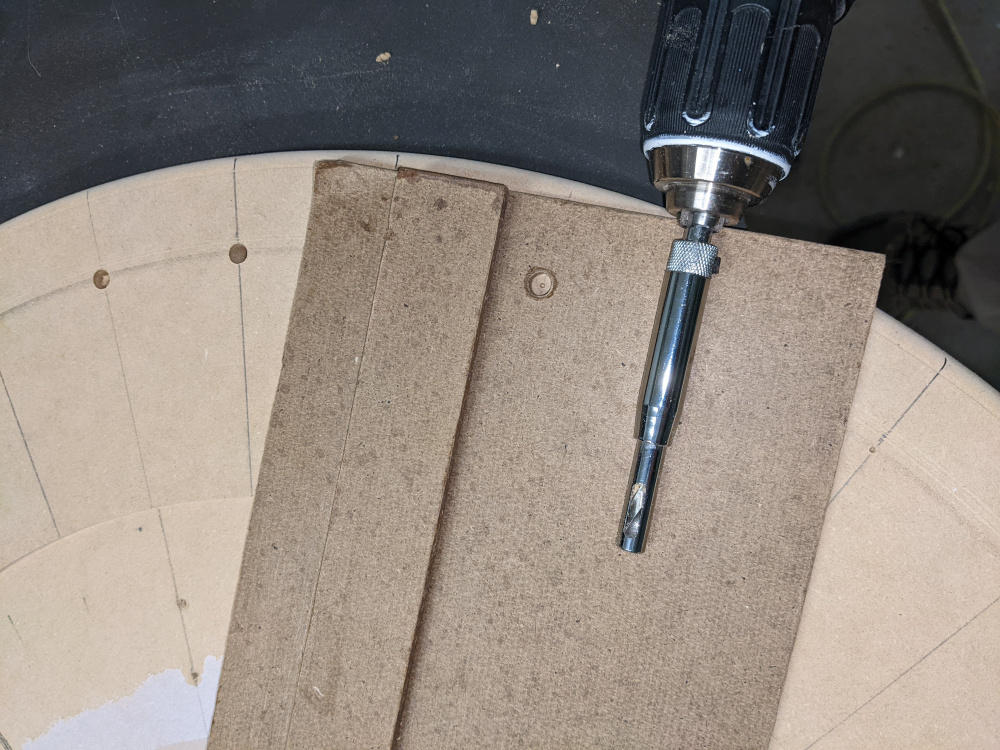
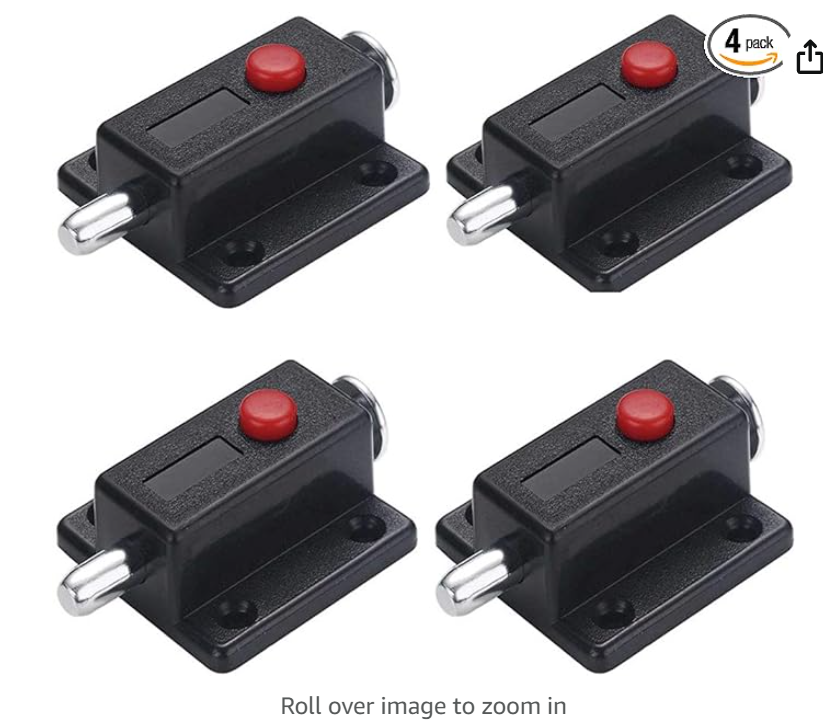
I routed a recess in both the top and bottom pieces. I marked my angles, and drilled holes with a self-centering drill bit and installed a cabinet latch. It turns out, with the weight of the stand and speaker, I don't really need the latch.
The TV swivel has a slight bow to it, so there was some wobbling. So I added some 1/4"mdf spacers, with a 1/16" plastic on top to glide better.
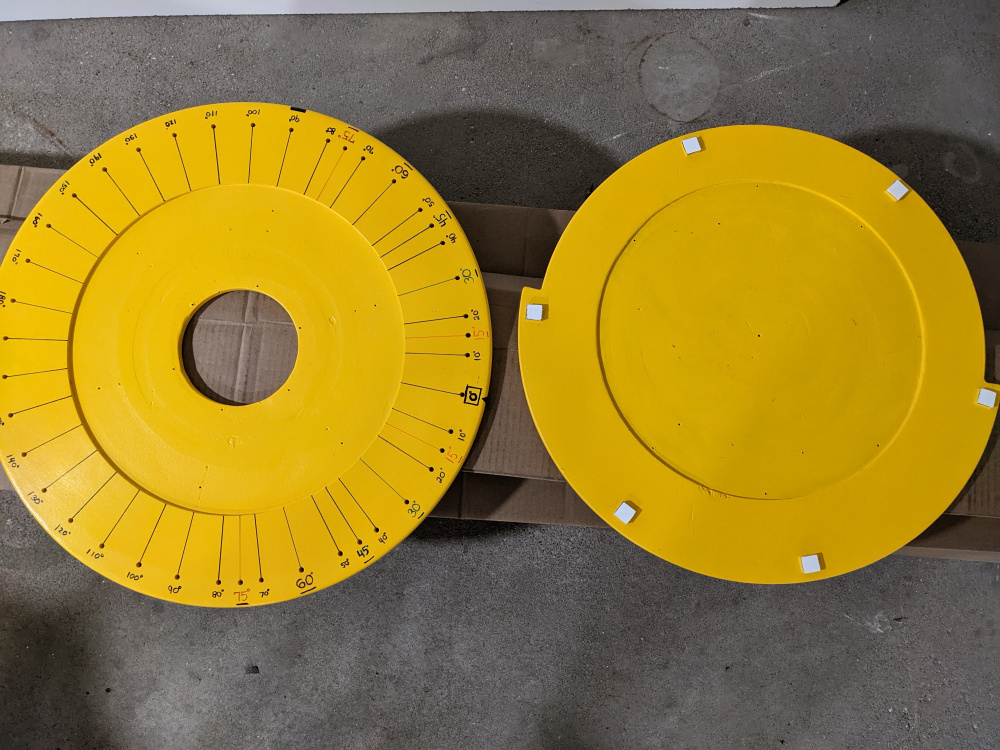
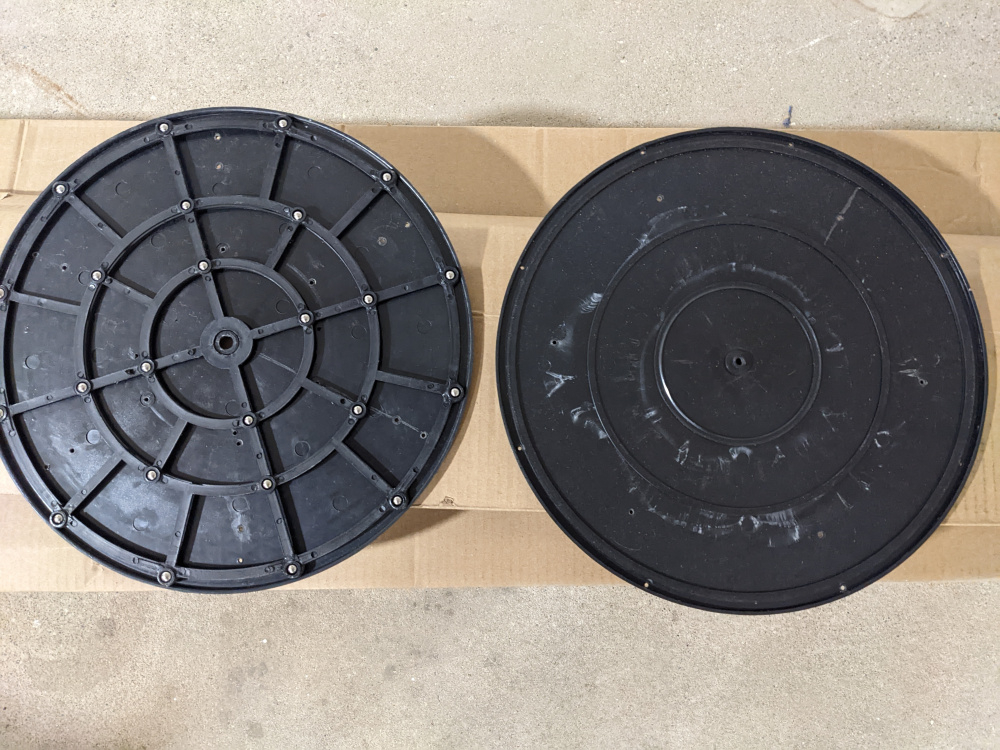
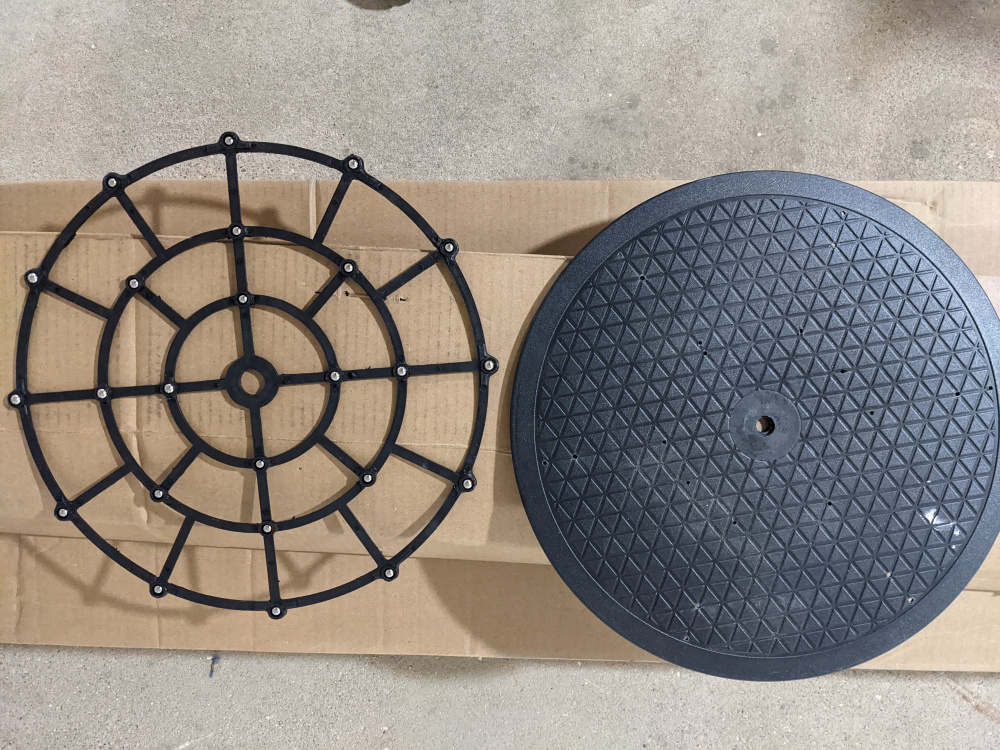
I routed the recess before I actually took apart the stand, which is a spider-web like frame of bearings, sandwiched between two pieces of plastic, held together by a pretty solid center bolt. I probably could have just used the bearings in the frame and tossed the plastic top and bottom pieces. ( @Wolf - this is close to your marbles idea.)
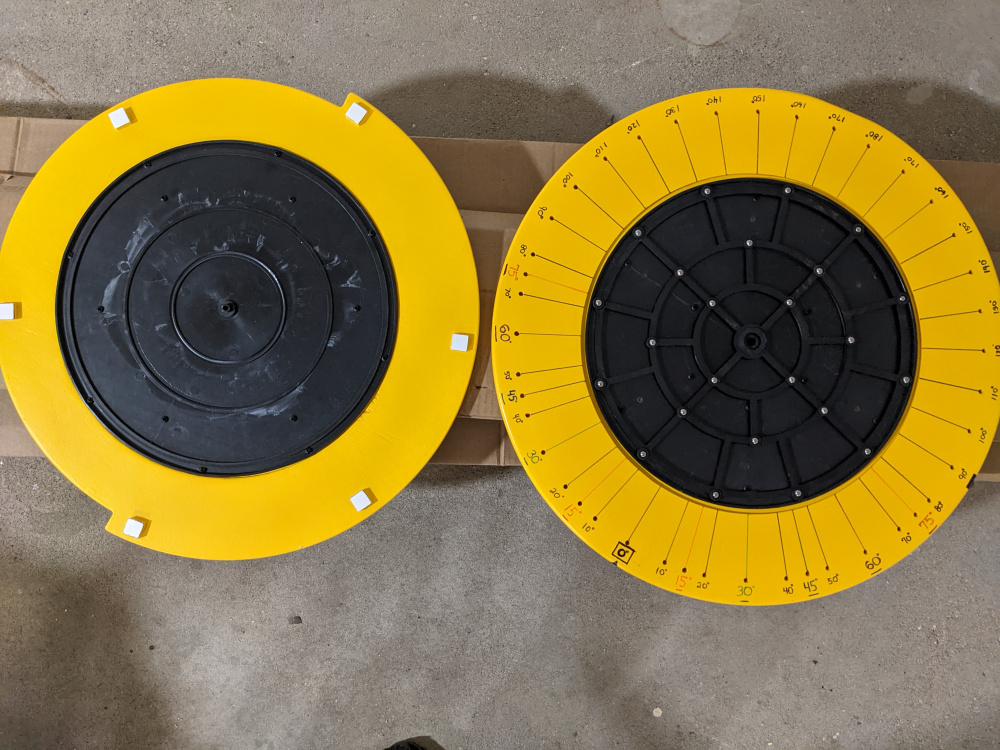
Finished base:
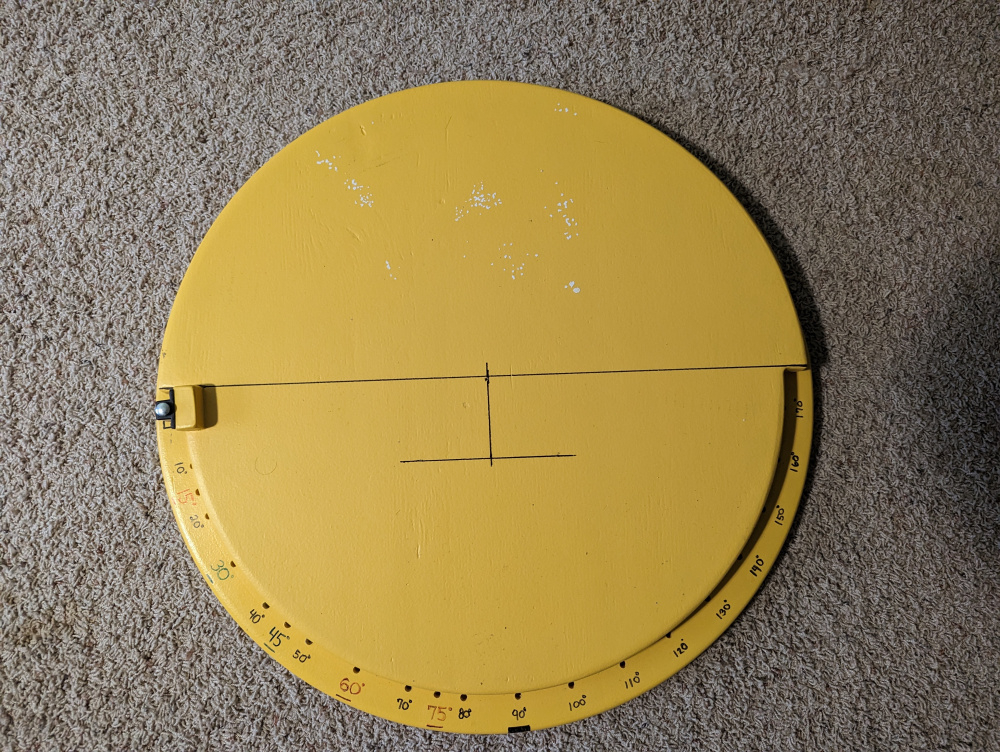
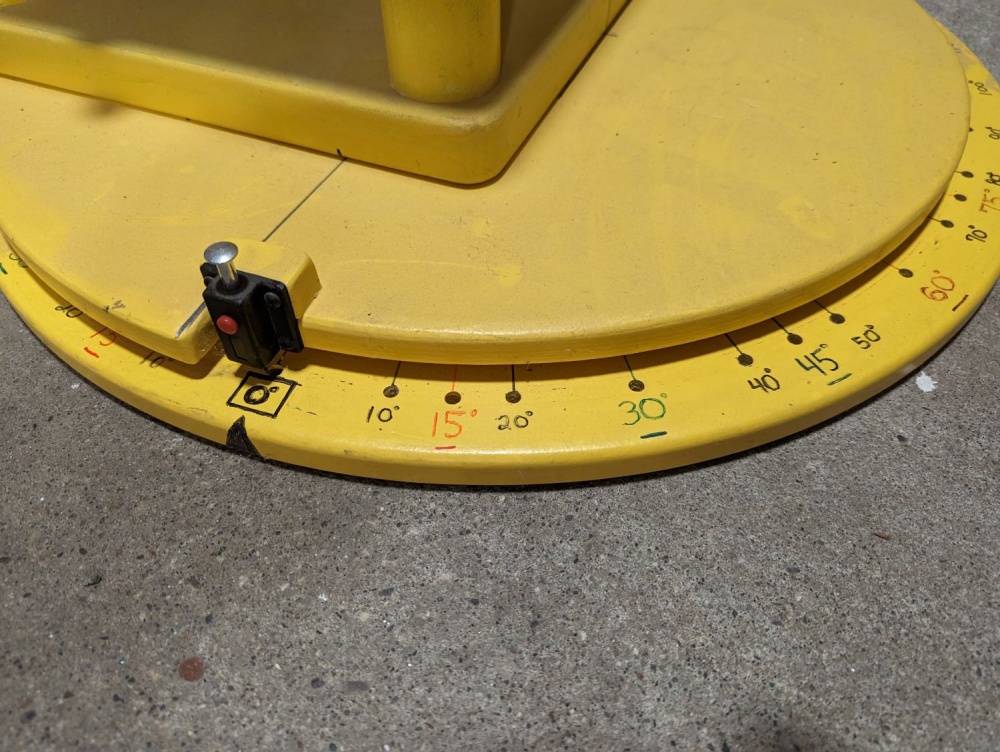
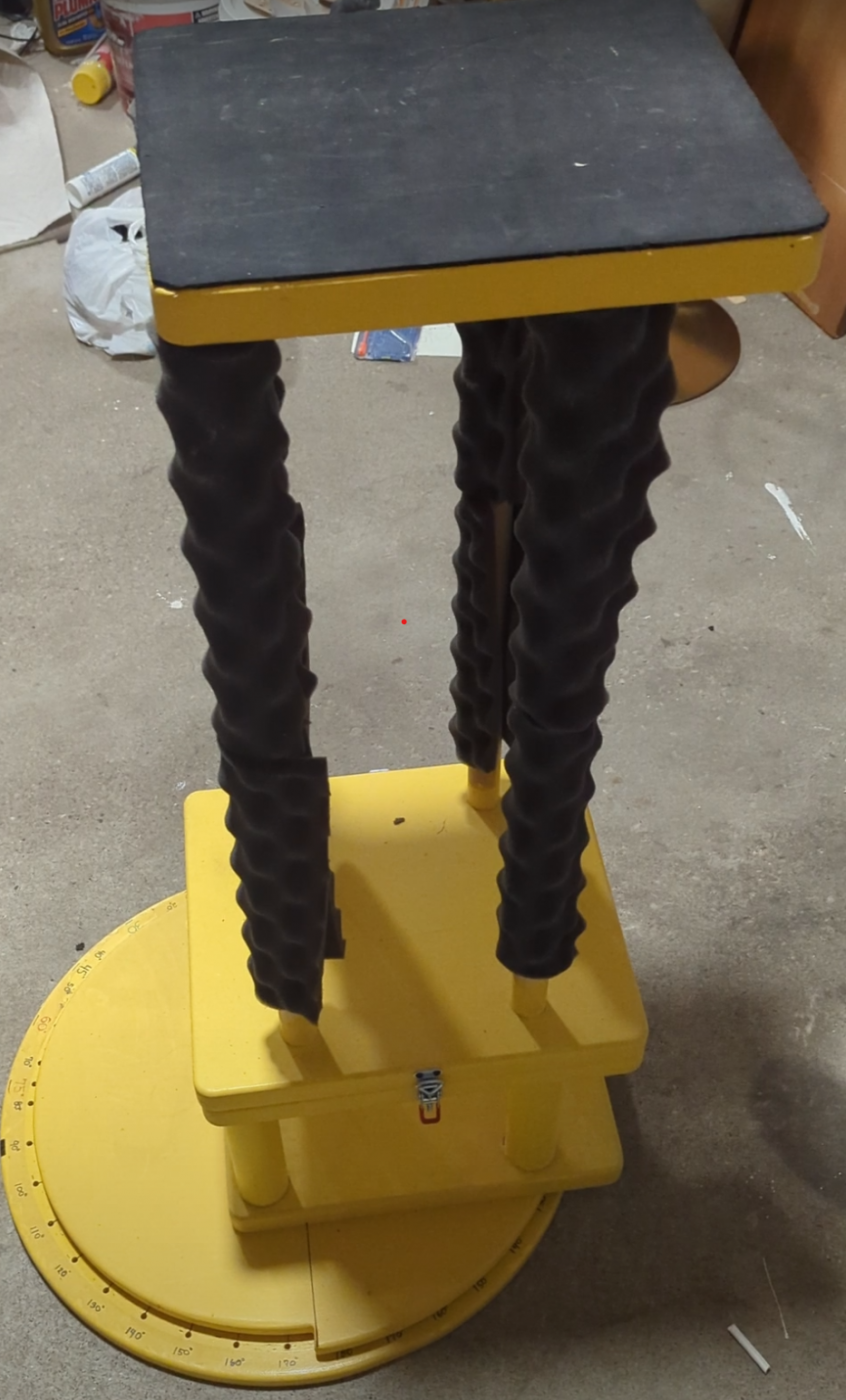
As mentioned above, one concern is that the speaker is sitting completely on the back half of the turntable, which in my case has a little wobble to it. So, I made my stands such that the base extends 3" over the middle of the turntable base, but the top platform where the speaker will actually sits is set 3" back and thus even with the pivot point. I have a small, heavy duty, sub base about 10" tall that I can use for a heavy tower speaker. (Not shown but the lower portion, that is clamped to the top stand, has some holes to accommodate my scaled down infinite baffle, that I've never actually used.) All edges of the main stand (top portion) are rounded over, or dowels, and covered in egg-crate foam to reduce reflections. However, I hadn't anticipated taking vertical measurements by placing a large tower speaker on its side, so I have to add some modifications in the future.


Comments
When I built the turntable, I knew that ARTA had the capability of running automatic measurements. You basically tell it how many measurements you want, how to name them, and the desired pause in between. It takes me about 6 seconds to walk up and turn the turntable to the next 10 degree increment. The one feature that you do NOT get with the free version of ARTA is to save files. But to automatically run several measurements requires saving them, so I purchased the license. Below is a screenshot from ARTA, to run 19 measurements from 0 to 180 degress in 10 degree increments with 6 second pause between each.
Later, I found out that REW can also do this. I like REW's interface better so I use it. The other thing I like is that REW has a big splash screen counting down your measurements. Since I usually stand on the far side of the turntable from my laptop, and my eyesight is getting worse on a daily basis, I really like this feature.
I have seen some comments about the time it takes to take a lot of off-axis measurements. A sweep in REW takes a little over 15 seconds. I use a 6 second pause. I can take horizontal and vertical measurements from 0 to 180 degrees, in 10 degree increments, for both a tweeter and woofer, in less than 40 minutes. I'll likely spend a month or two building the cabinet and designing a crossover, so this seems pretty insignificant.
Awesome write-up and excellent communication using the English language via keyboard.
Creativity is top notch and documentation with detailed pics also top shelf.
Thanks for posting this as it addresses most all questions before they are asked.
Looking forward to your build/measurement results and process refinement as you gain experience with it.
(I suspect you may want to further stabilize the rear portion of the base at some point to keep any overhang to the rear of center in-check from a balance point).
I'm entertaining the idea of finally building one. The overhang/off balance issue was on my mind also. Any lean angle in the speaker would affect the measured delay. The best thing I could come up with so far is to get about 20lbs of counterweight to place on the front half. Something like dumbbell flat weights.
I think Nick made his with castors for supporting the rear. Hopefully he'll post a pic.
Yes, he did. I was going to mention it but couldn't find the link.
EDIT: here is the link to Nick's turntable https://diy.midwestaudio.club/discussion/1923/new-speaker-measurement-turntable
Nice turntable design. I like your idea of using REW to automate the process. Would I be correct in assuming that you use the 6 second delay to walk over to the turntable, increment it by 10 degrees, and then quickly walk out of the way before the next measurement occurs?
The distance from the baffle line to the back of the bottom stand is 13". I measured the towers below that are 15.5" deep and had no problem. BUT...I plan on some 5 c.f. towers with dual 12" drivers that will be 20 to 22" deep. So my planned modifications are to add a brace with a caster on the bottom stand, and add a platform module with a support-leg and caster for it to lay it flat for vertical measurements. Yellow is existing, red will be additional modifications.
Yes, exactly. The 6 second delay is a little ambitious, I need to accept reality that I ran track 35 years ago and change this delay to 10 seconds!
FWIW I think Dezzar's jig is the best I've seen:
https://techtalk.parts-express.com/forum/tech-talk-forum/1475497-speaker-measurement-stand
I'll be building something similar soon(ish). Dezzar mentions, that you don't need the fancy bearing at the front really, a board with a hole and a nail through it can work just as well for a pivot point. However the bearings can be purchased cheaply through Amazon, search "pillow block bearing"
The main problem with lazy suzan bearings is that you need the pivot point to be at the front face of your speaker baffle, so all of the weight ends up off one side of the lazy suzan. Not ideal, but a small lazy suzan bearing could be used as the front pivot point, still with the same rear side castor wheels as Dezzar shows.
For measuring for speaker design, I prefer ARTA simply because I find it treats phase more correctly than REW, allowing you to keep the original impulse response with complete time of flight, rather than moving everything near t=0 in REW just so the phase doesn't look like such a mess. Save PIR files directly, then process through VituixCAD IR->FR tool in bulk, since it includes better IR processing features than ARTA does directly and ensures all settings remain the same for all files being processed at any given time.
The only problem I see with that one, is that it won't work well on carpet or any non flat floor, such as ceramic tile. You can remedy that by putting a plywood base under it.
Ok I think I figured out what I want to try for myself. To me it would seem stability and strength (IE not bending, leaning, wobbling) would be more desirable than a super smooth rotation. As long as it moves when I want and doesn't when I don't. So I'm going to try some low profile fixed casters with a bolt and washers as the center pin/bearing surface. That way I can make it as large as I want and just place the casters out towards the edge.
Looking at these:
https://amazon.com/gp/product/B09SX6T6Z9/ref=ox_sc_act_title_1?smid=A3N0ESHIV3IT4W&psc=1
10lb rated. So 20lb for two. The center point will see most of the driver weight up front anyway. Though the casters should be fine if overloaded a bit since they will otherwise see a pretty posh life rolling minimal distance over a smooth surface.
Also I'd think a plumb bob on the mic stand with a measuring tape should work well for making the initial check that the speaker is sitting plumb. I don't know that a carpenter's level would be quite as precise as we would want.
I had not seen the Dezzar "turntable" before, and I will be building a version of that. I had already found a great protractor that I will integrate with the new design.
https://www.amazon.com/gp/product/B06X3RGJDP/ref=ppx_yo_dt_b_search_asin_title?ie=UTF8&psc=1
John Kreskovsky once wrote about a "turntable" he made from melamine covered particleboard. It's usually a white coating, for countertops or whatever that you can buy at a big box store. He started with a 4x8' sheet and cut off maybe 1/3 of the length. The rest becomes the "bottom" and the cut off piece is the top piece that swivels. You definitely want to use a simple pin near an edge of the top swiveling piece, otherwise half of it is wasted/useless. I think John greased it to promote movement, but IIRC that stuff is pretty slick to begin with when clean. Such a setup would be very stable without wobble. All the lazy susan thingies that I have tried have wobble. You can often tighten them to reduce this, but then they do not spin very easily. I bought an 18" or 24" diameter wooden one that I ended up giving to my wife for cake decorating!
Thanks Charlie - that makes a lot of sense. The real insight I got from Dezzar is that the protractor did not have to be in the front (with the speaker on the back), but that you could have a swivel on the "front" with the scale in the back. Seems like a melamine sandwich design should work well with that.
That sounds like it would work great.
https://www.jfcomponents.com/
Yeah, melamine covered particle board is pretty slick stuff.
If you hit it with some dry lube, it will slick as hell.