Please review the site Rules, Terms of Service, and Privacy Policy at your convenience. Rules, TOS, Privacy
Get familiar with the reaction system: Introducing the Reaction System

Pete's Build

edited June 2018 in DIY
This will be a build thread for a set of two ways with sub for my nephew Pete. Drivers are the Dayton ES180, RS28F (original) in the SEOS waveguide and a single UM10 in its own box. I'm hoping to have these completed this summer.

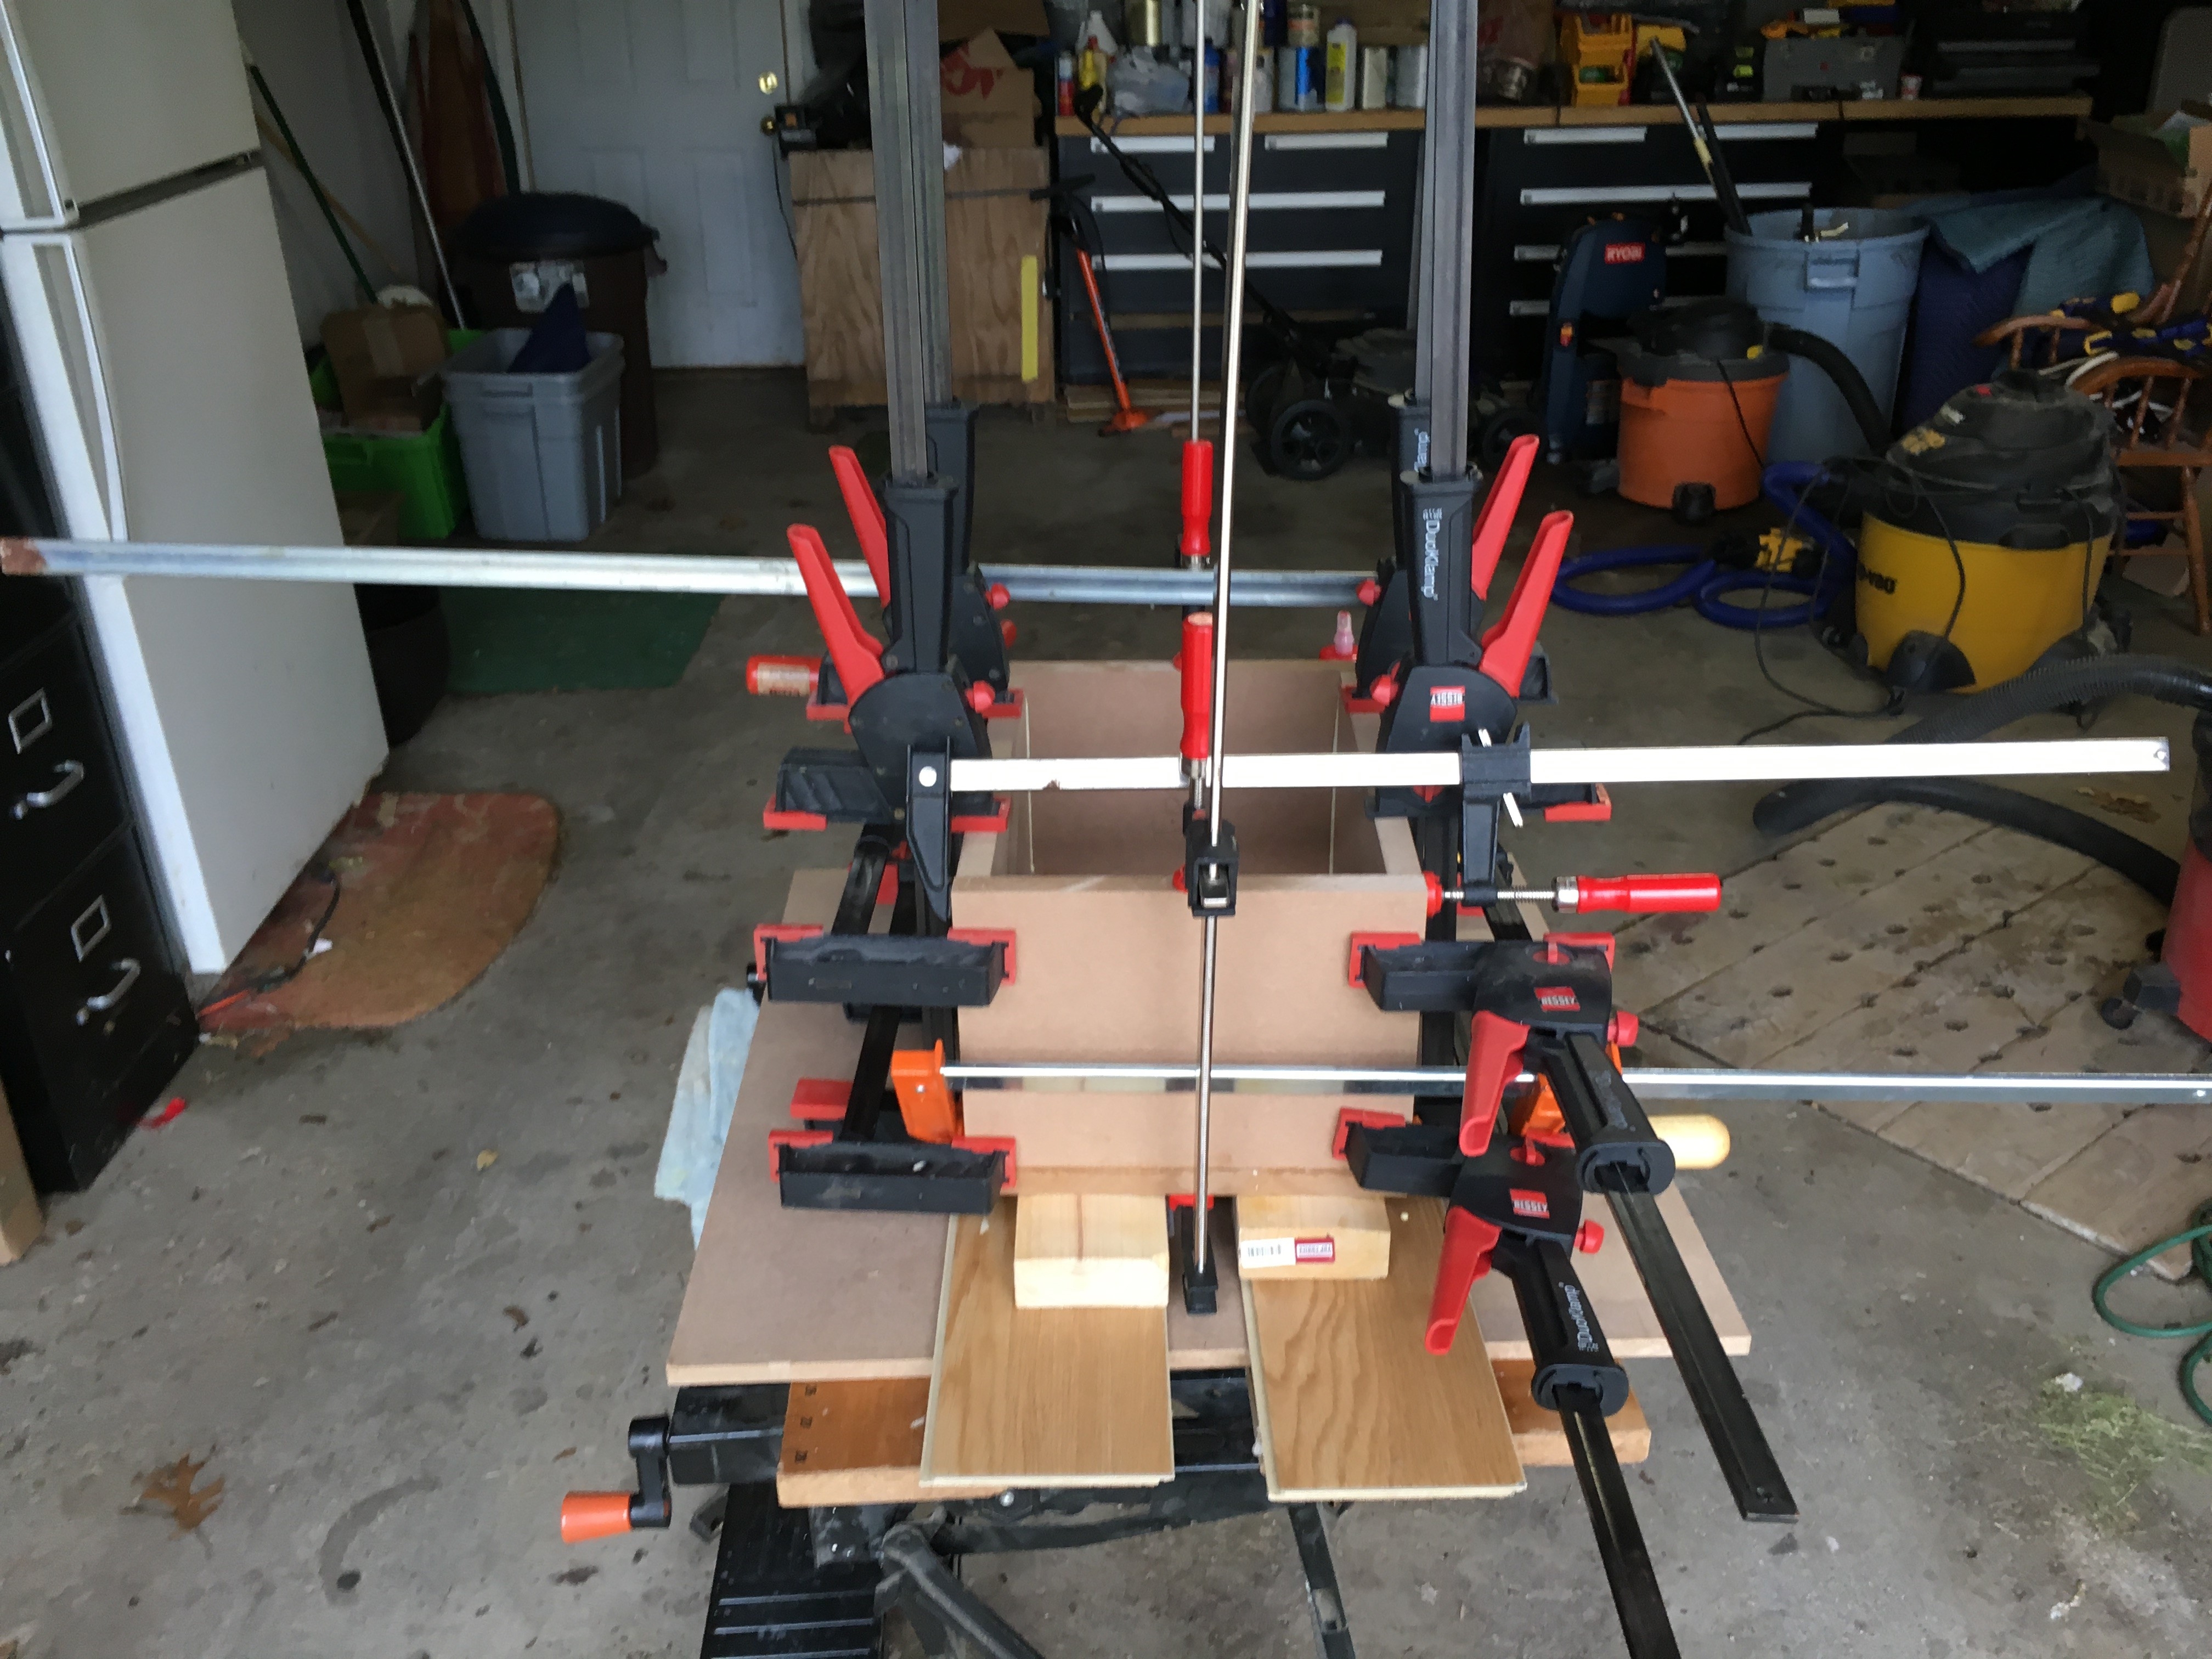
Here are a few pics of the cabinet construction just to kick things off.

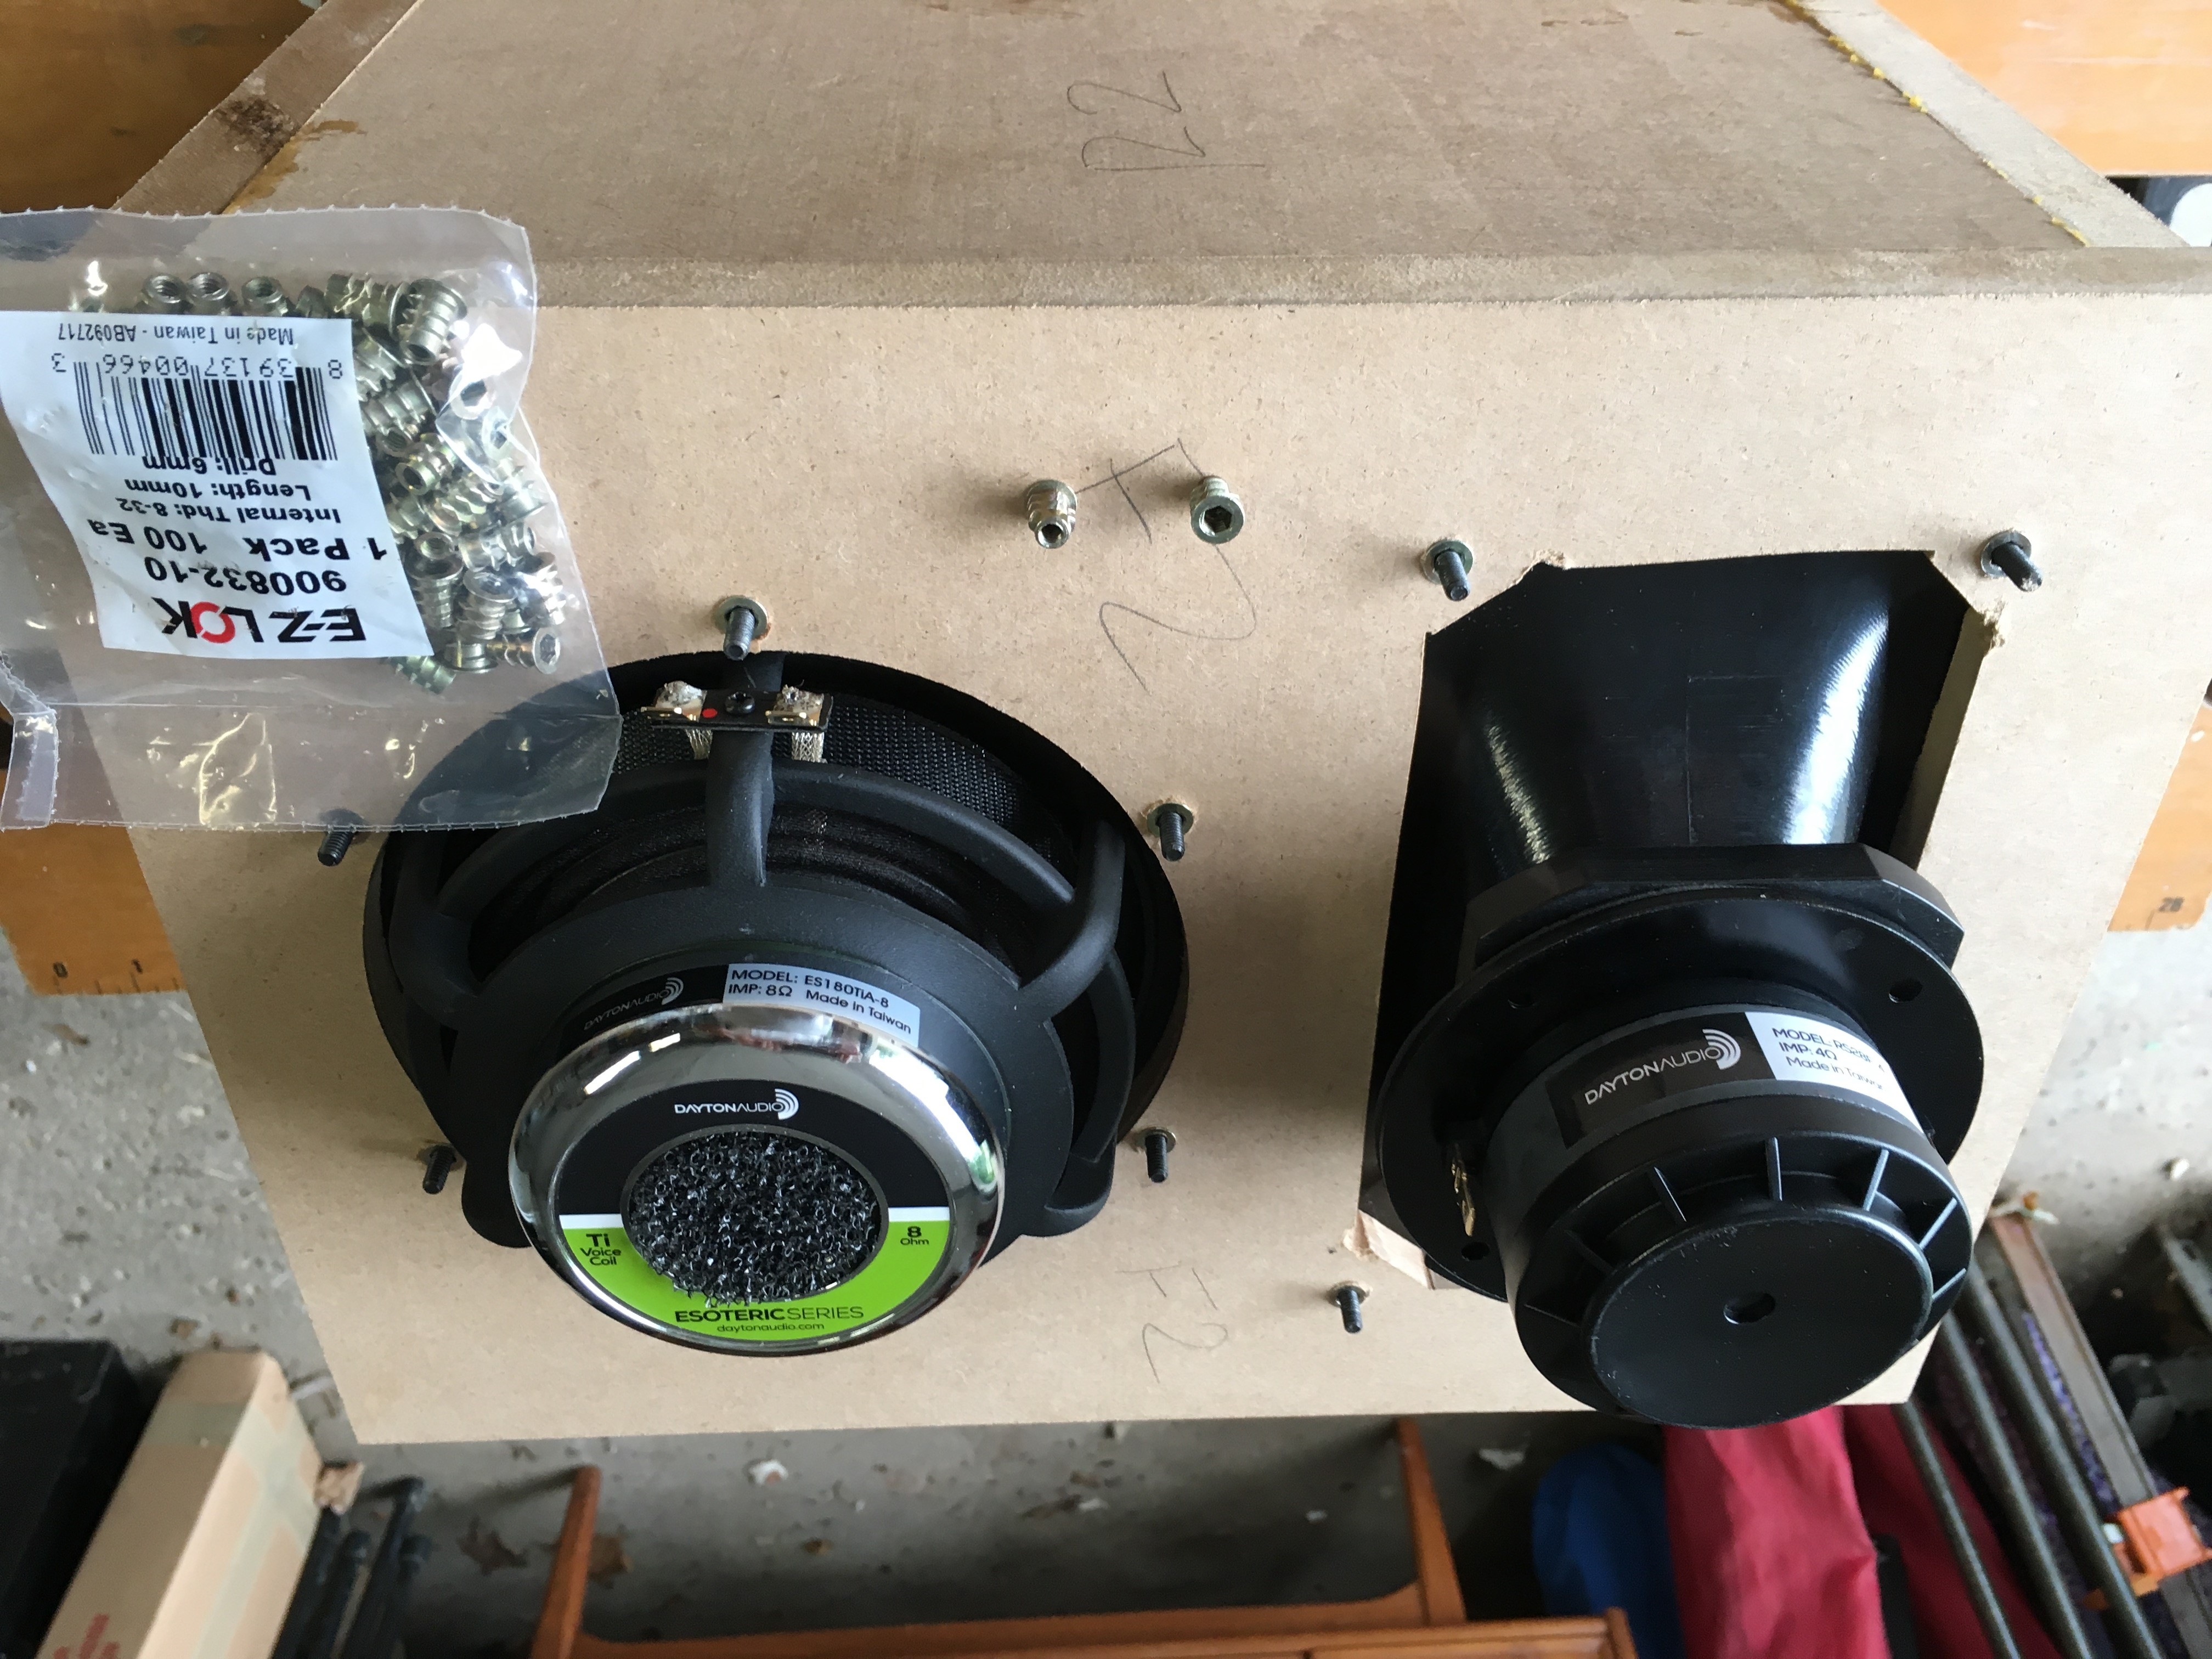
I really like the threaded inserts for mounting the drivers, but they do require a fair amount of precision installing them.  Here's what works for me:
  1. Align the driver in its cut-out as desired.
  2. Mark the driver hole locations using a pencil, filling in the circles completely.
  3. Remove the driver.
  4. Using a drill bit that is the same size as the resultant circle, align the baffle on the drill press table so the bit exactly matches the circle.
  5. Clamp the baffle to the table securely.
  6. Swap the drill bit with the one needed to cut the hole (6 mm in my case).
  7. Turn on the press and just touch the bit to the board so only the circle is removed, confirming the alignment.
  8. Drill the hole.
  9. Turn off the press and vacuum up the dust (you are wearing your respirator, are you not?!!).
  10. Swap the bit back to the one in step 4 and repeat from there for the next hole.
This is a bit tedious (sorry), but it works for me. Perhaps someone with more skill could skip some steps.


Gowa4thtry
«1

Comments

  • That last picture demonstrates, yet again, that one cannot have too many clamps. Apparently, one cannot have too many shop vacs either.
  • edited June 2018
    Nice!  I look forward to following along.  Any plans to relieve (champher) the backside of the woofers opening?
  • Probably a good idea. I'm also thinking about how to add some bracing.  It will be a sealed enclosure.
  • I saved a copy of your 10 step procedure and will give this a try on my next build.  Thanks for sharing.  I have tried centering punches on some of my previous builds that used T-nuts, but the drill bit wandered around just a little bit when going through the wood.   I used a drill press, but I did not clamp the baffle.  I just held the baffle securely with one hand as I lowered the press.  Your procedure seems like it should work much better to  keep everything in alignment.    
  • I use a Vix bit most of the time. It's not always perfect alignment and mine is too small for some larger drivers. For subs, I break out the cheap transfer punches from Harbor Freight. 
  • ^ these things work fantastic. You can get a set on amazon too. Not sure what ones are cheaper tho. 
  • edited June 2018
    I have this distant memory of trying Vix bits for this (I use them a lot for hanging doors, curtain rods, etc.) and having it turn out poorly, but they sure would speed up the process. I'd still need to drill twice since their bit would be too small, but it might be able to be done with a hand drill, which would save a lot of time. Perhaps with some practice...
  • I'm not a fan of the vix bits or the centering punches as there's enough play that the bit/ tip jumps to the other side of the grain lines. I'm down to a sharpened Stanley punch and my reading glasses.
     John H, btw forum has decided I don't get emails
  • If they gave an award for the slowest speaker builder, I would win it every time. I've applied the veneer using the wood glue and iron on method and was quite pleased with the results. I haven't always been. Someday I'll invest in a vacuum press. Here's a few pictures - nothing momentous, but Pete might be interested.
  • Here are sides, ready for edge trimming.
  • This grain match around the corner was completely accidental. A nice bit of luck.
    GowaS7910squamishdroc
  • Next, it was time to trim and round the baffle edges.  This was my first build where I actually remembered to make the baffles oversized so they could be trimmed to a precise fit.  Worked great!  Here's one of them on my router table after trimming.  I temporarily attached them to the rest of the box using double sided foam tape. This worked very well.
  • Here are the baffles, trimmed and rounded over. After this shot, I sealed them with several coats of wood glue and sanded them smooth. Ready for paint.
  • edited October 2018
    Well, I thought they were smooth.  I'm not good at painting and am really not good at painting prep. Guess I'll need to try again next weekend.
  • Looks like the paint more than the prep.  Was it oil based?
     John H, btw forum has decided I don't get emails
  • It's epoxy paint in spray cans. I think the "orange peeling" is actually the remainders of bubbles from the wood glue.  I always get bubbles in the glue. I should probably brush it on rather than foam roll it. I thought I had sanded them down, but apparently not enough. The same thing happened last time I tried painting baffles. That time, I was able to sand them thoroughly and re-paint them to good effect. The paint has a lot more gloss than I intended, but that's okay.
  • For primer the Shellac based Bin 123 sands smooth and fast and makes a good base coat.  The water based General Finishes Milk paint is self sealing, can be used as a primer coat on MDF, and has a nice stain finish.  It's fast drying to boot.
     John H, btw forum has decided I don't get emails
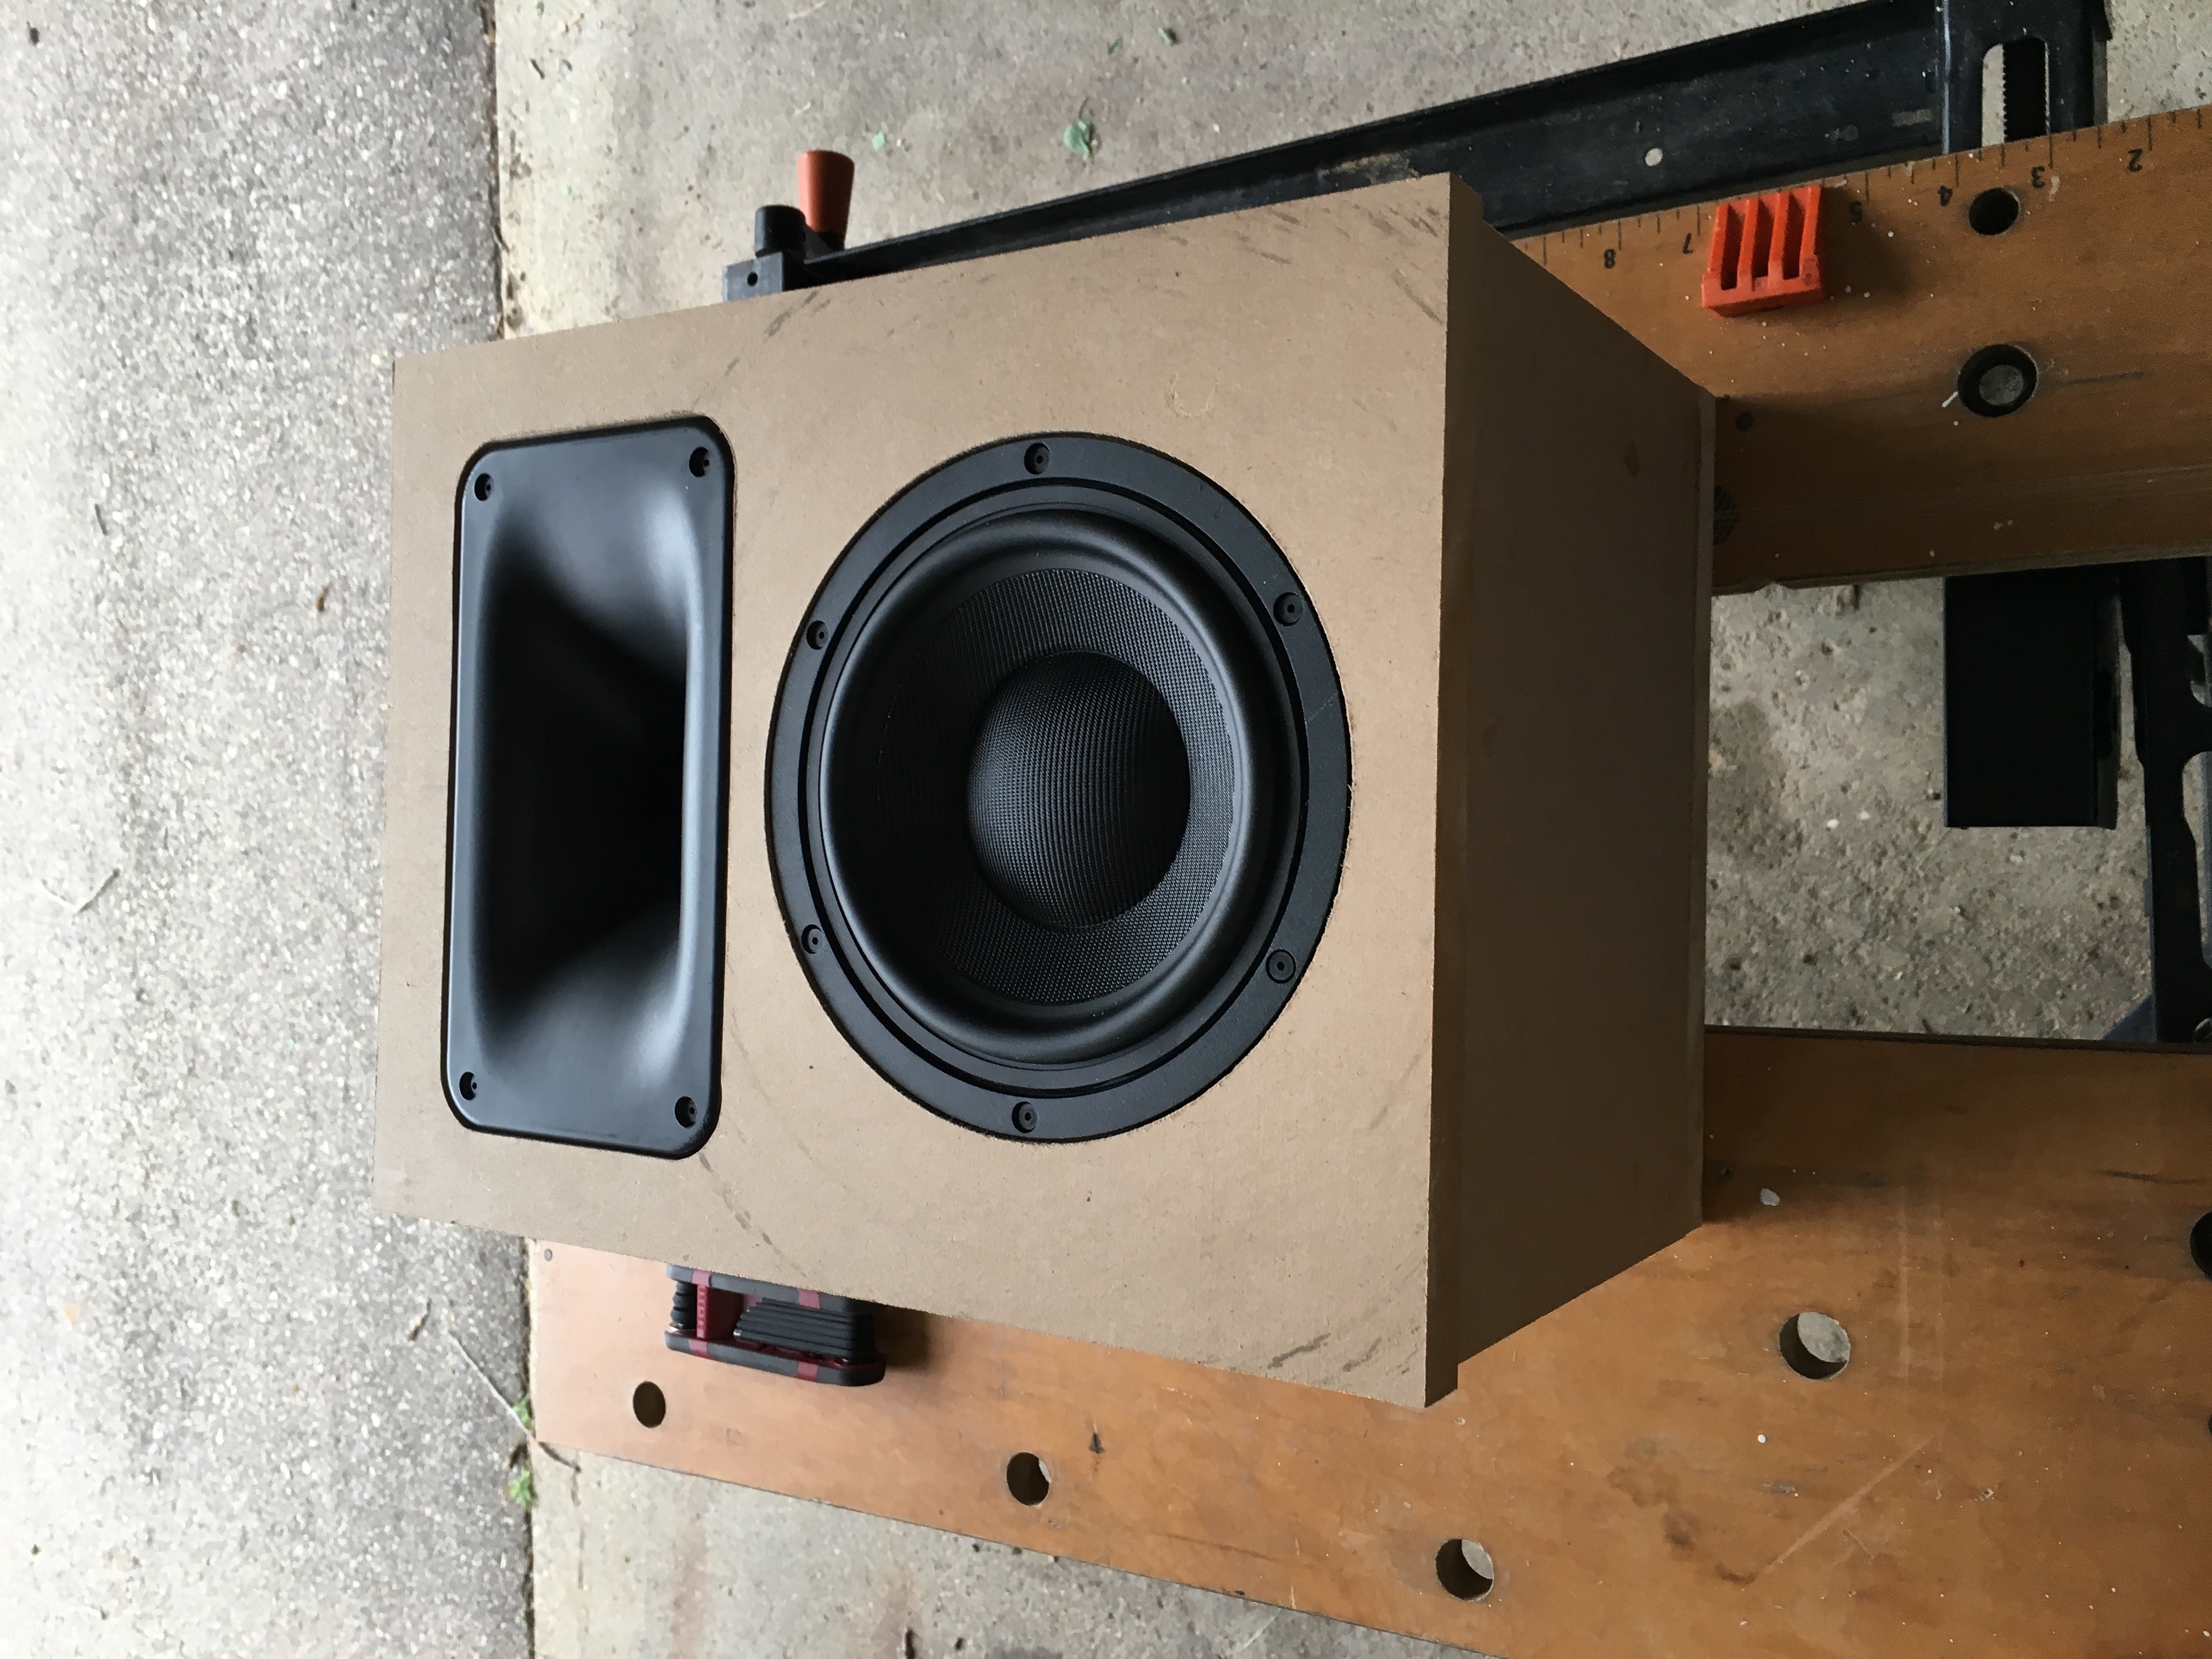
  • Plopped the drivers in for a bit of a preview for inspiration after the disappointment.  I'll give the primers a try. Thanks!
  • Zinsser BIN all the way. I really don't know why people say to seal with watered down wood glue. I tried once and thought it was the worst, similar to what you have, it didn't lay flat and you'd sand right through it before you got it smooth by sanding. Maybe I didn't use the right glue, but its the glue I use to hold wood together so...Anyway, shellac is the best sealer, and BIN is shellac sealer and primer in one. It sands so nicely, easy to get a nice smooth finish.
    I'm not deaf, I'm just not listening.
  • I never water down the glue to seal MDF. That's asking for trouble. I usually use Elmer's white glue. I either rub it in with my fingers or use a brush.

    Another builder recently showed a pair of MDF cabs sealed with superglue applied with a razor blade. He's had them 8 months without any edge-creep. Said it took about 2 tubes per cab, and they're about 20 ltrs or so. The glue sets in about 30 seconds, so you have to move fast. I as VERY impressed with the results.

  • Good work, Paul!
    You are giving me serious competition for the slowest builder, but that's a race that I'm happy to lose.

    But Chahly - Stahkist don't want speakers that look good, Stahkist wants speakers that sound good!
  • Craig Kinnison used a new technique I haven't seen before. He used a variant if super glue to seal the mdf. He said he did it about 6 months ago and all i felt was a little seam in 1 or 2 spots that could easily be fixed with bondo or spot putty.   You definitely couldnt feel any endgrain differences. 
  • I don't understand the attraction to the nontraditional sealing methods.
    PWRRYD
     John H, btw forum has decided I don't get emails
  • I haven't seen Craig K's super glue method so I cannot comment on that.  But I've seen some of the white glue sealed end grains and while the end grain was sealed (ie wasn't fuzzy) the seams showed through really badly.  Even with "Hammer Tone" paint which can almost hide anything if you apply enough heavy coats.  I've found that even with Duratex lots of seam and end grain prep is manditory.  Otherwise projects "look" pretty JV.  And this is coming from a guy who is bring naked MDF enclosures to Iowa  :#
  • The super glue thing stood out because it felt like he lacquered the mdf. But yeh  bondo and trenching is tried and true. Or i recommended trying to seal it and waiting a year then actually finishing so the seals can work themselves in lol. 
  • Look this weekend. The Synergy horn has smooth paint and a bunch of travel miles, so you might be able to pick out a seam.  On the BMR-3L there's enough texture where it's tough to tell.
     John H, btw forum has decided I don't get emails
  • I don't have any seams to worry about. I think my fundamental problem was that the mdf wasn't really smooth to begin with. At least, that seems to be the case on the front. The edges are, of course, additionally impacted by needing to deal with the "end grain".

    Wouldn't the super glue approach require a lot of glue and work applying it? Perhaps I'll give it a try on a piece of scrap.
  • The BIN shellac based primer is working great. I'm waiting for the second coat to dry as I type, but even after sanding the first, it was quite smooth. Any recommendations for good, sturdy flat black spray paint in a can? Alternatively, is there a way to get flat or matte finish using a clear coat? I'd like to get close(er) to the color and sheen of the woofer and SEOS.
Sign In or Register to comment.