Site Links
Howdy, Stranger!
It looks like you're new here. If you want to get involved, click one of these buttons!
Quick Links
Categories
In this Discussion
Who's Online (0)
My InDIYana 2023 'Tweeter Yoga' theme build...

Not revealing all of the specifics yet, but took some quasi-IB measurements on the floor today. Considering what I have and have done, these tweeter plots are actually quite the surprise. I'll be using an 8" woofer with these...


More to come as I get there....
Comments
You don't show the Y axis resolution for the FR plots.
Sorry, just truncated for the image. They are at 5dB/division, and rides mainly between 80-85dB in the plot.
Absolutely level is not something to worry about at this time, as I did not measure the woofers.
InDIYana Event Website
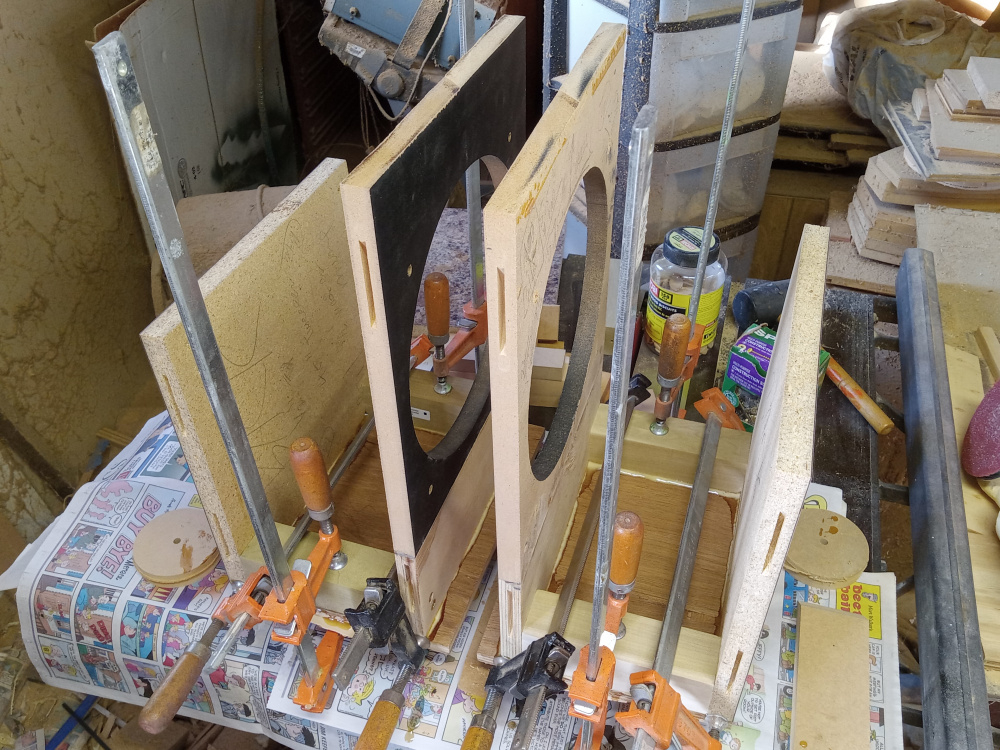
Dry fit, and starting glue process. I am using biscuits. Front and back boards are 3/4" stock. Sides, top, and bottom are 1/2" stock.
InDIYana Event Website
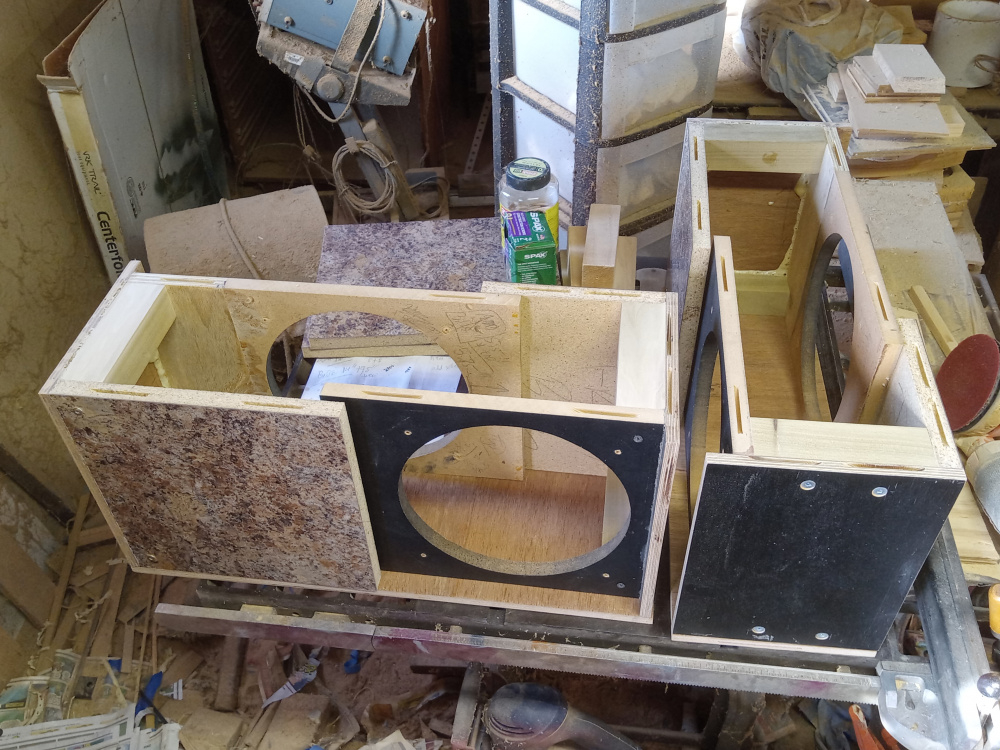
I'm using pieces from the first pair of towers I retrofitted back in 1999-2002. Since the Ultralinears had 10" woofer cutouts, I am using the 4 panels taken from the 2 baffles apprporiately. The rear 10" will house a recessed 10" PR, and the front will facilitate the inner baffle that the front one bolts to. I hope to try 3 or more designs in these cabs. 1st being this Tweeter Yoga theme build, second my Wield W8-2096 and DA32TX combo, and maybe the 3rd a 10" 2way for the fun of it.
InDIYana Event Website
I am using panels I already had at home. Butterum granite formica on particle board, the side half inch panels are from a really old plywood board that had nails in it. I will have to fill in a few places or holes.
InDIYana Event Website
Sort of a "pantry soup" build? Aught to be fun.")
So they should look pretty standard for you... LOL
One bottom half glued up....
InDIYana Event Website
Second lower half is gluing at present. It looks the same, so really no need for photos. I got the 1st cleaned up for the next stage, and sunk 4 screws through the bottom into the braces.
InDIYana Event Website
Upper halves gluing....
InDIYana Event Website
Dry fit. Add a couple more braces to bring the particle board true. Need to mark and facilitate the connection of the offset panels. Then sides go on.
InDIYana Event Website
Nice biscuit work, but looks like your shop apprentice has gone AWOL
Thank you!
InDIYana Event Website
If I had a "shop".. absolutely no doubt it would look the same")
I thought every shop had a small dust and debris pile behind its table saw. Guess I was mistaken...
(I do clean it up periodically, but I'd rather build than clean.)
InDIYana Event Website
Ditto
+1
That poor Tektronix scope!
No dust piles ever in my shop unless I spill a bag or container.
Nope, it's a dual-trace type, not a Tektronix. I also have an old tube type.
InDIYana Event Website
Don't power up the "old tube type" if it's also full of saw dust like that "Dual-trace type(?)" must be. Probably start on fire!
It's just on top, not inside. I would be sure to clean it off/out first. I've not used either in quite some time. The DualTrace (what it says on it) is likely 30 years old or more, and the tube type was my Uncle's when he was in college. They are older than dirt. My uncle gave me both soon after I got married 20 yrs ago. The tube type will not fit on the cart.
InDIYana Event Website
Combustible dust can ignite when there's a layer 1/8 inch thick on surfaces. Just takes something to stir it up to get the concentration right and add a spark.
Cut for biscuits in one side panel, making sure distances are good and panels are all square.
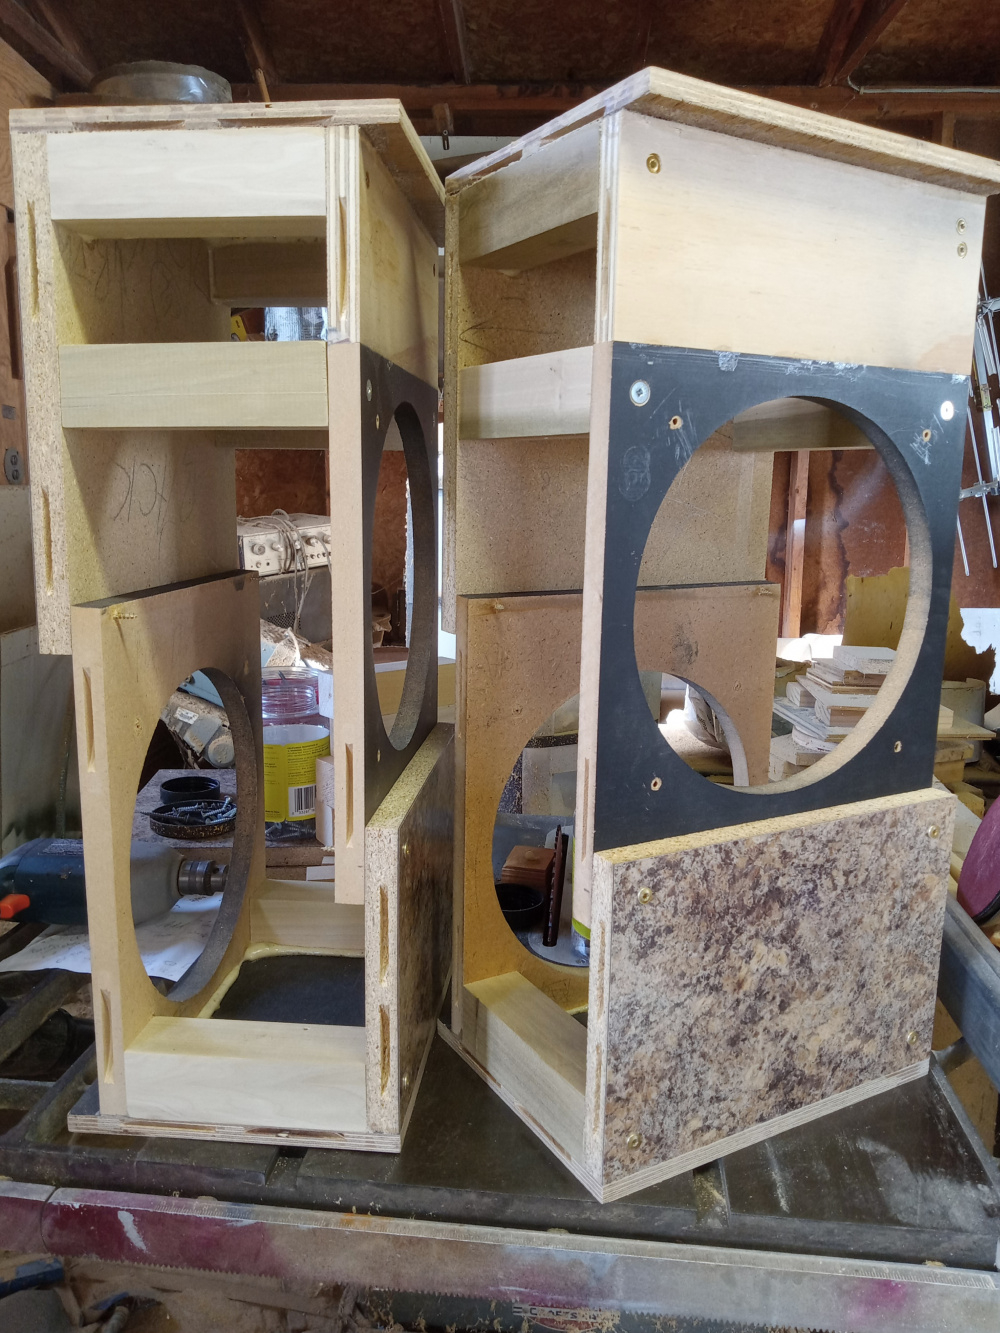
Added 2 more braces in the top halves to square the particle board on the back.
Placed screws for joining offset panels.
Felt proud that the method worked to get everything square and aligned for the side panels.
Went to set false baffle in the front to test the fit, and it is just shy of a half inch short. I then vaguely recalled I cut the sides long to flush trim them when done, but went full length in the end for more bracing volume offset. The problem with that is that I did not have more particle board of the same pattern. I do have some ply scrap like the bottom material that I can insert for fill. All is not lost.
Just thought I would share a mishap as others can learn from it.
Next step is to biscuit-slot the other 3 sides to match the first and glue them both up. This then leaves the piddly stuff like flushtrimming, driver holes and rebates, terminal holes, filling preexisting holes, fixing the half inch gap, etc. Of course then followed by driver mounting and measurements.
I also black stained the crates for the short stands for the theme.
InDIYana Event Website
I really should take a lesson from you and use up all this scrap wood so I can just get on with it here in my shop, Wolf.
Again, impressive biscuit work. I have trouble lining up on a square box.
With biscuits, you have to know from what edge you are cutting. Then it doesn't matter the material thickness or if you are in the center of the edge or not. Rarely ever do I move the fence on the joiner when I'm cutting slots. I just use the table saw as the reference plane, and use that easily.
InDIYana Event Website
One down, one to go. Likely tomorrow...
InDIYana Event Website
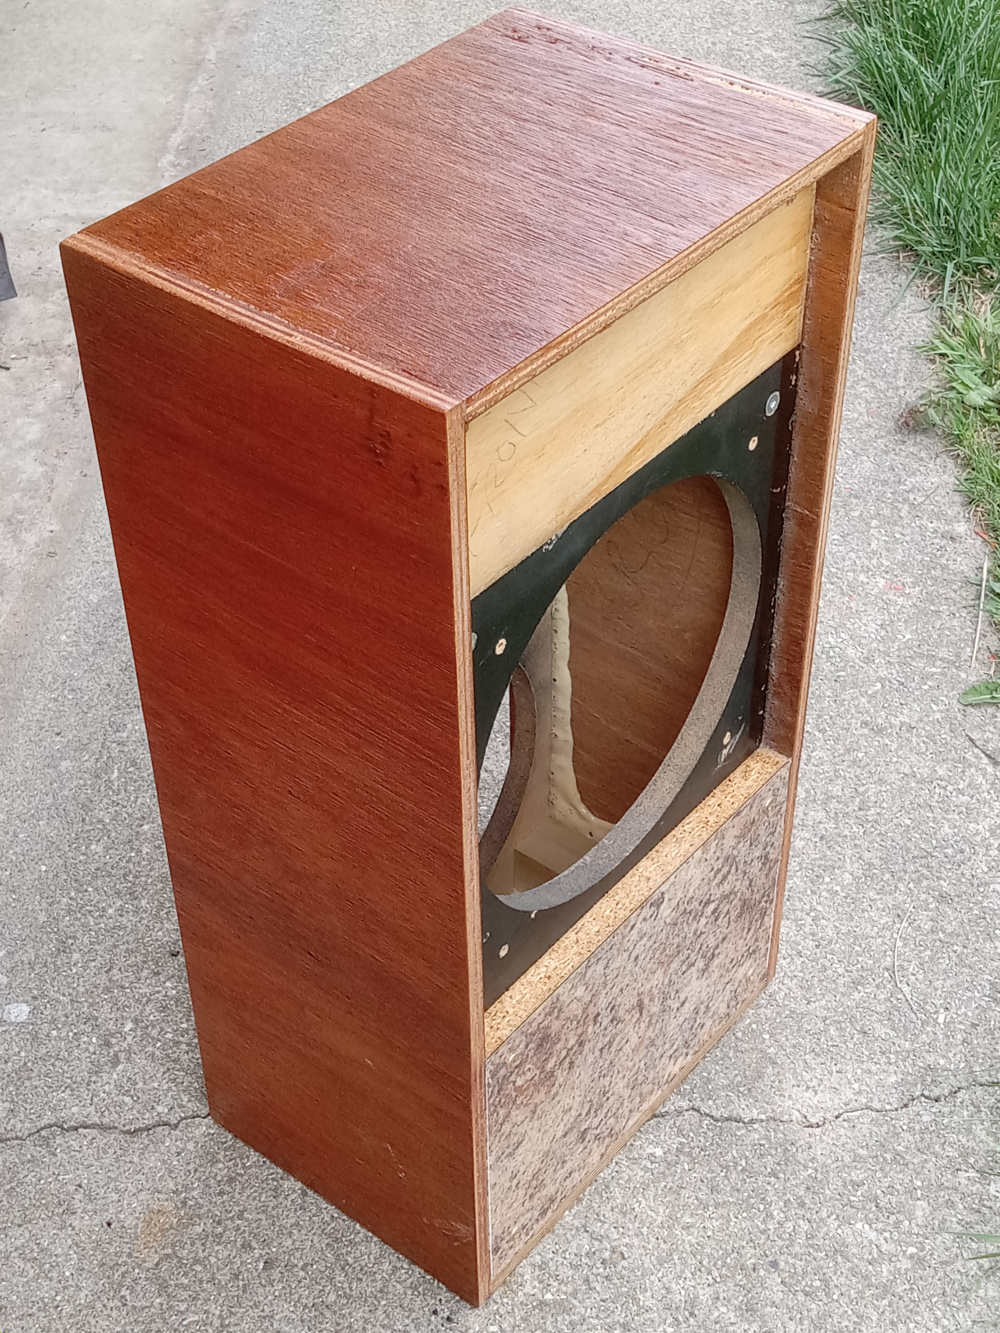
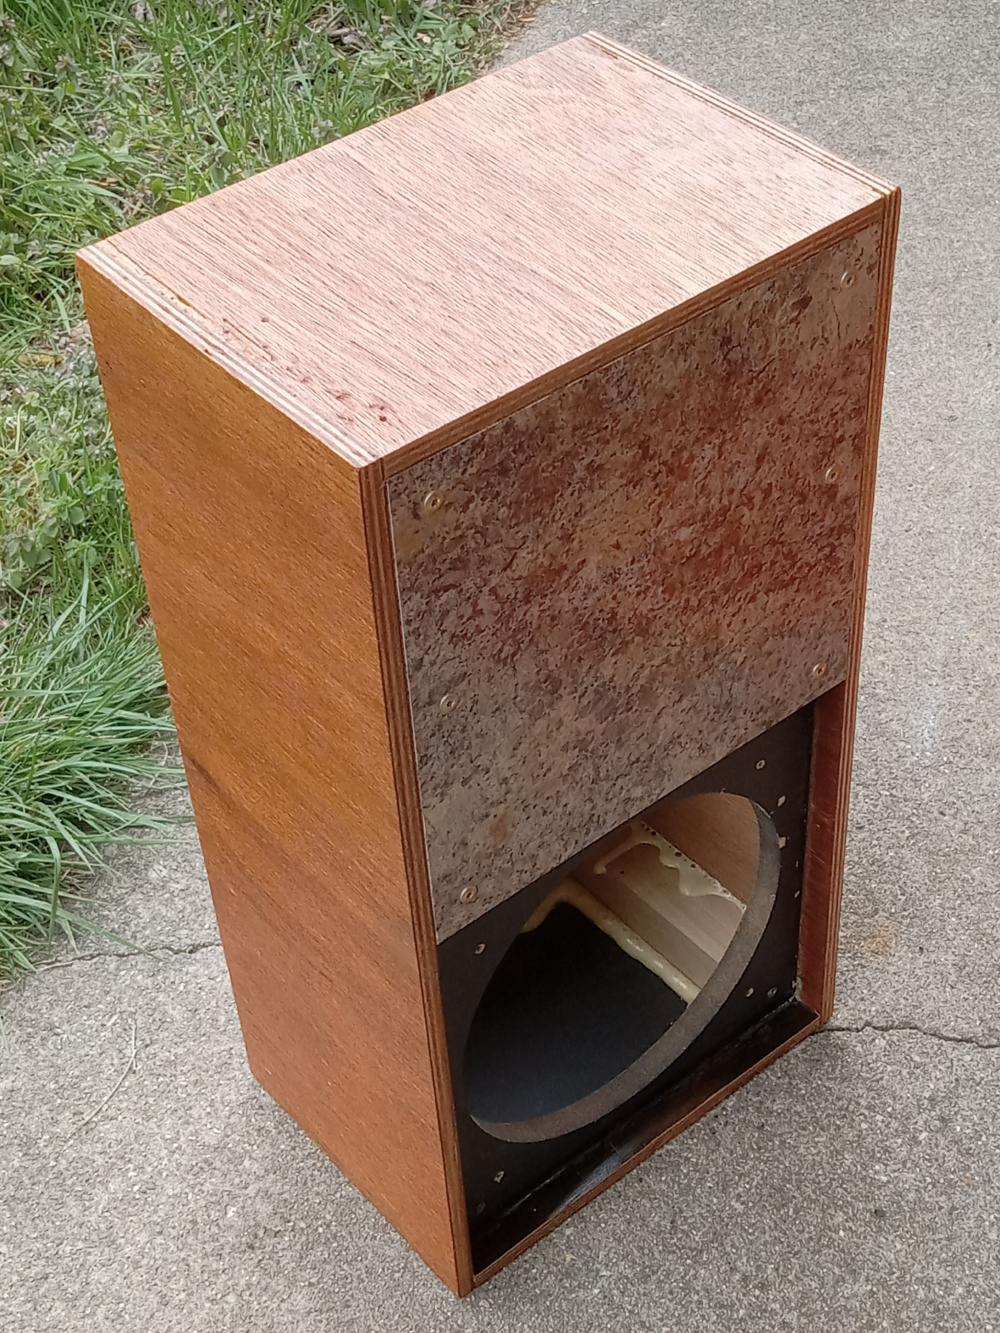
One assembled, cleaned up, sanded, vacuumed, and 2 coats of oil based polyurethane clear applied. There is no stain on the sides/top/btm. It is just a very old 0.5" thick ply board of unknown species that I am using up. The rear view with PR on lower back is closer to actual color. The other is gluing up, likely to be to the same point as of Sunday afternoon. Then all the necessary holes will be cut after the poly dries.
InDIYana Event Website
Are you going to black out the front and back?