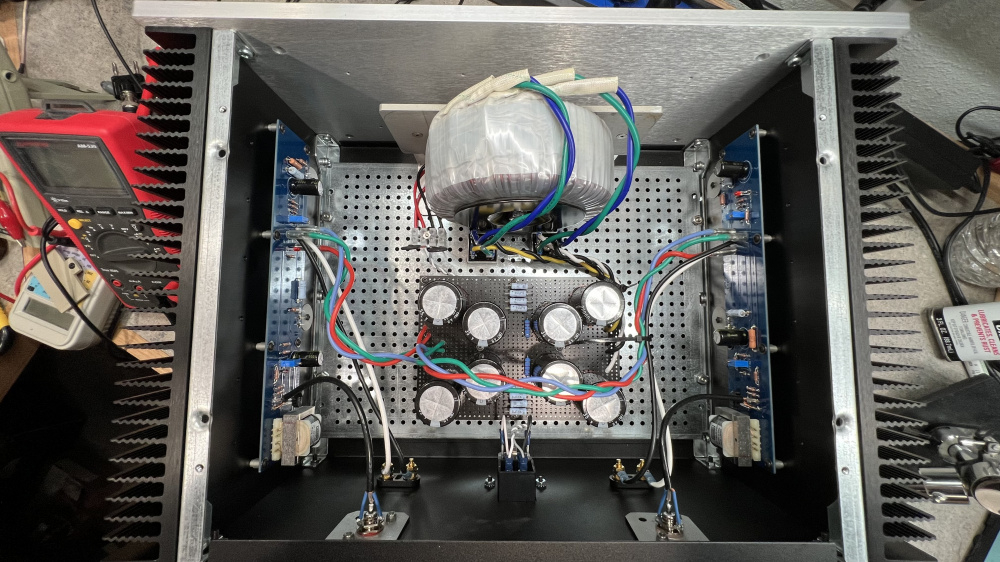
Here’s a shot of my finished F6 kit amp. I just realized that I never grounded the chassis to the earth connection on the IEC/switch module. Time to fix that!
I really like this amp. It's very smooth, but doesn't miss any of the upper end detail. It's very quiet - no hiss or hum, even with my ear right next to the speaker. I'm running it with a Yamaha C4 preamp right now and the combo works well together. I think I have a little over $700 into it. Half of that was the chassis. That seemed a little steep at the time, but it made the build so much easier.
I find myself in need of a mild gain stage between a miniDSP and an ICEPower module. The Ice needs about 2V to reach full chat, and the miniDSP tops out at 0.9v.
I guess the first question from me should have been do you want to buy a preamp off the shelf or do you want to DIY build it? Point to point wiring ok?
@PWRRYD said:
Do you want a vacuum tube line stage with the proper gain or solid state only? I guess the first question from me should have been do you want to buy a preamp off the shelf or do you want to DIY build it? Point to point wiring ok?
Nah, solid state would be preferred. All else is negotiable. I like the expediency of off-the-shelf, but I have no problems whacking a couple op-amps onto some perf board. Since the ICE modules provide me with a +12/0/-12 supply, I thought I'd place it right in the enclosure.
This whole amp build is a bit of a "problem-solver", providing flexibility and a way to rapid prototype some ideas. It is the tool, not the project itself, so if the advice is a TL072 and a handful of resistors, I'm down with that.
A while back, I scratch built a Dynaco ST416, using long heatsink channels wrapped almost all the way around the amp. I got the channels from Allied Radio. They came as very long 4 foot sections of the same heatsink profile that Southwest Technical Products used in the Tigersaurus and 207A amplifiers. I purchased two 4 foot lengths, cut them into six 16" long sections on my table saw, and then bolted them to the sides and front of a very large aluminum bud box (the largest bud box they had). I used four 1" x 8" long aluminum channels to anchor each external corner to the bud box/heatsink combo. The top and bottom panels are also covered with 22 aluminum angles for additional heatsinking. I powered it with a Plitron 1.5kVA toroid and 40,000uF of filtering. It really packs a punch when cranked up. Heatsinks level off and stabilize at about 109F.
Next to it is my modified Dynaco ST400. It only has 8 output transistors and a much smaller heatsink, but it can still crank out 200wpc into 8 ohms. I completely re-built the driver boards in this amp with high quality parts from Mouser, MCM, Digi-Key, etc. I also bypassed the dyna-guard and hi/low filter circuit boards by re-routing the RCA input cables directly to the driver boards. The sound is much improved compared to a stock ST400.
In the early 80's when CD players came out. I wanted one and the local high end audio store had a customer who wanted an electronic crossover so we worked out a barter and IIRC I got a Yamaha CD player and the customer whose last name was Bell got a custom made crossover.
I built a number of things over the years using LMB Heegar cases.
@Ron_E said:
In the early 80's when CD players came out. I wanted one and the local high end audio store had a customer who wanted an electronic crossover so we worked out a barter and IIRC I got a Yamaha CD player and the customer whose last name was Bell got a custom made crossover.
I built a number of things over the years using LMB Heegar cases.
The front panel is just a piece of 3/8" aluminum that I cut to size and routered the ends with a round over bit. The finish was done with a scothbrite type abrasive drum. It still needs to be anodized.
Hope you didn't need to tap into the aluminum. I just did that today. Found metric threads kindof suck since they are so fine and shallow. Standard/unified thread seems cut deeper and probably would have better bite. Counting on quantity of fasteners to get the job done in this case.
I tapped the front and bottom which is 1/8" aluminum. I had no problem tapping the M3 threads. Not much different than 6-32. The key is lots of lube. I like anchor lube water based stuff.
I found a company called "Cheval" that carries enclosures that seem nicely engineered for the price. I snagged one of the SA series cases from someone in the US selling a single, open box but unassembled, one on ebay (part no SAL2.0D2W2). I'm rather impressed with the ventilation and how strong the enclosure feels for the relitively light gauge material it uses. The pieces fit together perfectly. It employs internal mounting bars that you mount the pcbs directly to with standoffs and/or make a mounting plate. hides all the fasteners inside instead of protruding out the bottom.
I dig the eclectic lab equipment vibe. Definitely one to add to your radar if you are in the market.
I picked up a pearl 3 phono preamp kit, but I'm not sure when I'll get a chance to build it. For those that aren't familiar with the pearl series of phono preamp, they are designed by Wayne Colburn who works for Pass labs doing their preamps.
Comments
Lotta love for the art of construction in that build.
Here’s a shot of my finished F6 kit amp. I just realized that I never grounded the chassis to the earth connection on the IEC/switch module. Time to fix that!

Tom, how do you like the sound? And if you don't mind me asking was was the build cost?
Thanks.
Better late than never. Hopefully you won't create a ground loop in the process. Nice big heatsinks to keep the house warm in the winter!
I really like this amp. It's very smooth, but doesn't miss any of the upper end detail. It's very quiet - no hiss or hum, even with my ear right next to the speaker. I'm running it with a Yamaha C4 preamp right now and the combo works well together. I think I have a little over $700 into it. Half of that was the chassis. That seemed a little steep at the time, but it made the build so much easier.
I find myself in need of a mild gain stage between a miniDSP and an ICEPower module. The Ice needs about 2V to reach full chat, and the miniDSP tops out at 0.9v.
Anybody have opinions?
Do you want a vacuum tube line stage with the proper gain or solid state only? Any need to drive long cables to the power amp?
I guess the first question from me should have been do you want to buy a preamp off the shelf or do you want to DIY build it? Point to point wiring ok?
Do you only need 2 channels? I have a brand new one of these that I never used. I think I got it in a trade. It needs a +/- 12 to 18v supply.
Nah, solid state would be preferred. All else is negotiable. I like the expediency of off-the-shelf, but I have no problems whacking a couple op-amps onto some perf board. Since the ICE modules provide me with a +12/0/-12 supply, I thought I'd place it right in the enclosure.
This whole amp build is a bit of a "problem-solver", providing flexibility and a way to rapid prototype some ideas. It is the tool, not the project itself, so if the advice is a TL072 and a handful of resistors, I'm down with that.
Of course, there is always Radial Engineering's stuff. Really low noise and solid line drivers.
InDIYana Event Website
Ok, I'm out.
Perhaps the esp project 88
https://sound-au.com/project88.htm
Neat. His gain stage is basically identical to a cMoy headphone amp. Which I guess is "how you use an opamp":
Did you miss Toms offer?
GHASP!
I did miss it. Blame mobile phone browsing.
I built an amp with a Dayton 4x100W board in 2014.
https://techtalk.parts-express.com/forum/tech-talk-forum/61532-4x100w-amp-build
Ron
A while back, I scratch built a Dynaco ST416, using long heatsink channels wrapped almost all the way around the amp. I got the channels from Allied Radio. They came as very long 4 foot sections of the same heatsink profile that Southwest Technical Products used in the Tigersaurus and 207A amplifiers. I purchased two 4 foot lengths, cut them into six 16" long sections on my table saw, and then bolted them to the sides and front of a very large aluminum bud box (the largest bud box they had). I used four 1" x 8" long aluminum channels to anchor each external corner to the bud box/heatsink combo. The top and bottom panels are also covered with 22 aluminum angles for additional heatsinking. I powered it with a Plitron 1.5kVA toroid and 40,000uF of filtering. It really packs a punch when cranked up. Heatsinks level off and stabilize at about 109F.
Next to it is my modified Dynaco ST400. It only has 8 output transistors and a much smaller heatsink, but it can still crank out 200wpc into 8 ohms. I completely re-built the driver boards in this amp with high quality parts from Mouser, MCM, Digi-Key, etc. I also bypassed the dyna-guard and hi/low filter circuit boards by re-routing the RCA input cables directly to the driver boards. The sound is much improved compared to a stock ST400.
In the early 80's when CD players came out. I wanted one and the local high end audio store had a customer who wanted an electronic crossover so we worked out a barter and IIRC I got a Yamaha CD player and the customer whose last name was Bell got a custom made crossover.
I built a number of things over the years using LMB Heegar cases.
https://lmbheeger.com/uni-pacuniversalpackagingsystem.aspx
The panels were labeled with dry transfer rub on lettering that you used to be able to buy in sheets with various audio phrases.
Ron
Hmm ... that case might work for the uTracer build.
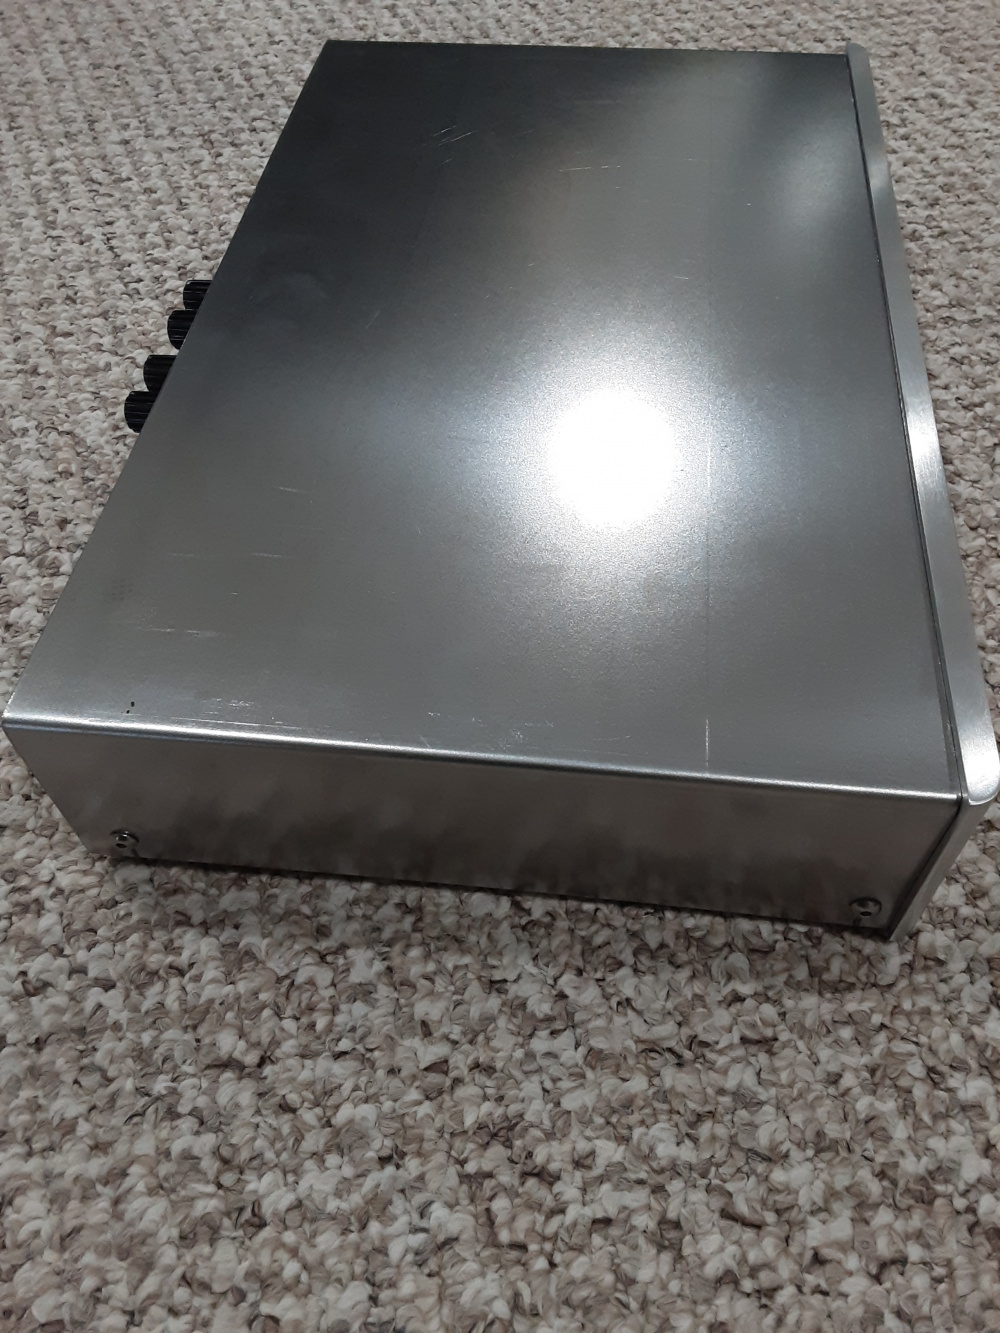
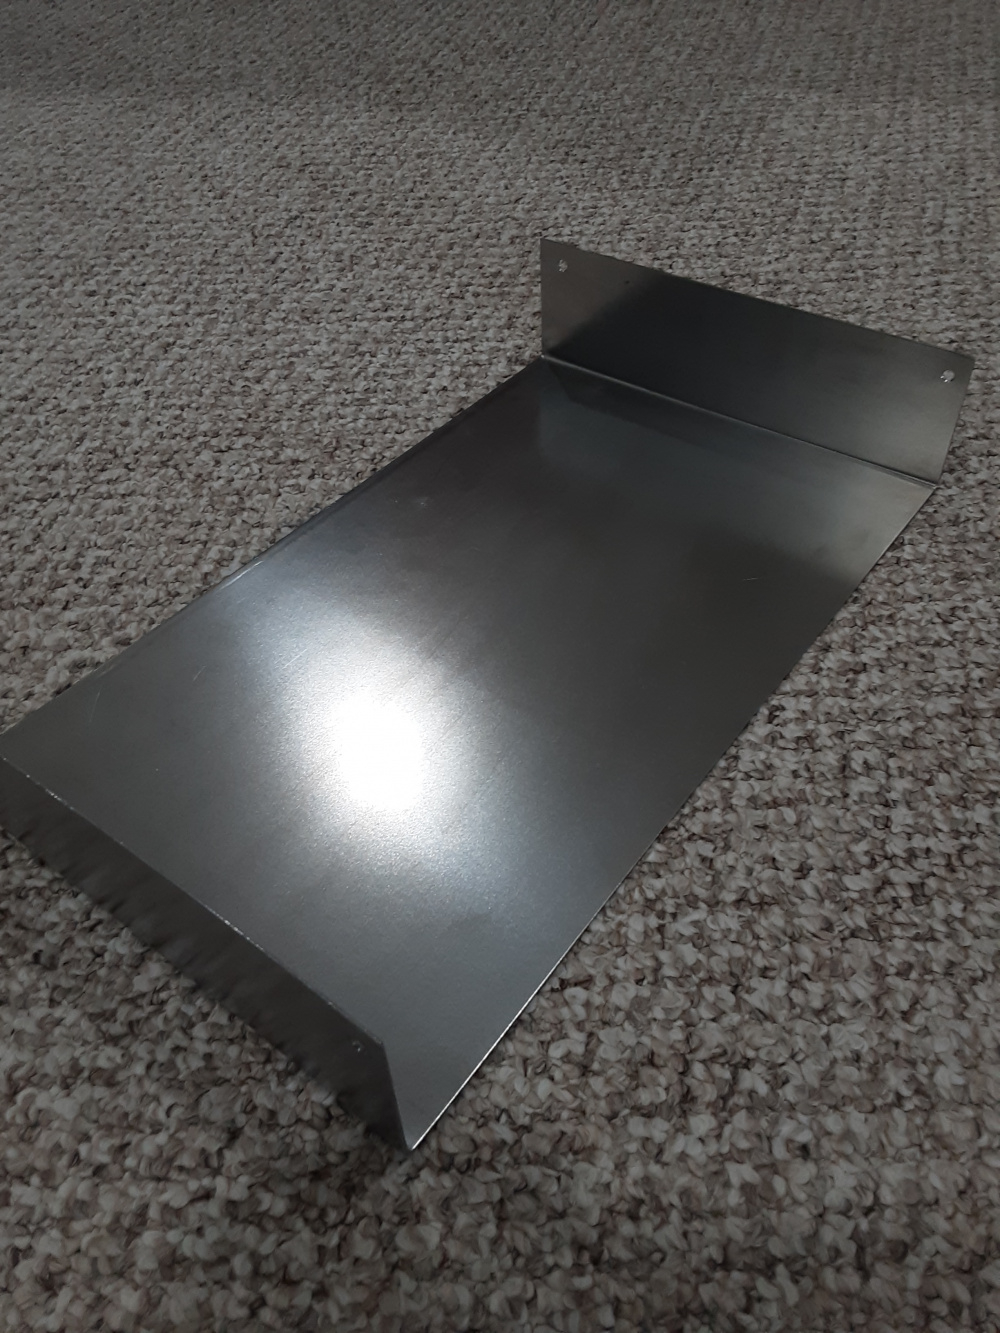
I visited George's (Jerzy53) shop and we bent up a cover for this amp. I will shoot epoxy primer on it when the weather permits.


How did you come up with that front panel? it looks great.
The front panel is just a piece of 3/8" aluminum that I cut to size and routered the ends with a round over bit. The finish was done with a scothbrite type abrasive drum. It still needs to be anodized.
That's looking great, Nick! Heck, it already looks nicer than some commercial amps out there.
Hope you didn't need to tap into the aluminum. I just did that today. Found metric threads kindof suck since they are so fine and shallow. Standard/unified thread seems cut deeper and probably would have better bite. Counting on quantity of fasteners to get the job done in this case.
I tapped the front and bottom which is 1/8" aluminum. I had no problem tapping the M3 threads. Not much different than 6-32. The key is lots of lube. I like anchor lube water based stuff.
WD-40 should work well as a tapping lube too. . .
On the subject of enclosures.
I found a company called "Cheval" that carries enclosures that seem nicely engineered for the price. I snagged one of the SA series cases from someone in the US selling a single, open box but unassembled, one on ebay (part no SAL2.0D2W2). I'm rather impressed with the ventilation and how strong the enclosure feels for the relitively light gauge material it uses. The pieces fit together perfectly. It employs internal mounting bars that you mount the pcbs directly to with standoffs and/or make a mounting plate. hides all the fasteners inside instead of protruding out the bottom.
I dig the eclectic lab equipment vibe. Definitely one to add to your radar if you are in the market.
I picked up a pearl 3 phono preamp kit, but I'm not sure when I'll get a chance to build it. For those that aren't familiar with the pearl series of phono preamp, they are designed by Wayne Colburn who works for Pass labs doing their preamps.
That should sound fantastic. Pass Lab designs seem to follow Einstein’s ‘everything should be made as simple as possible, but not simpler’