Of course it does. It has the power to adjsut /lock the FFT start, so you have a couple clicks in between measuring and viewing the FR, unlike Omnimic which sets the FFT start for you (single channel measurement remember) with no ability to save the impulse and re-process after the measurement is made.
I suggest thumbing through the ARTA manual to see what it can do.
Also, i have only usb measurements mics.... But imp measurement is the priority - i haven't scratched the surface on FR / impulse measurement yet, so can get a proper mic with phantom power later on.
The cheap junk I bought just says 1,2,3. Oh well, it follows standard XLR numbering.
1 = shield (GR)
2 = tip
3 = ring (RI)
You'll notice the terminal numbers on my diagram match up with the back side of the connector. Since we are not measuring balanced signal, we connect both the ring and shield to the common ground, so the TRS becomes a mono TS connection.
You can use your USB mic with ARTA for single channel measurement, but lose all that 2 channel benefits I spoke about. If you bought the UMC204HD, phantom power is included so you're already 1/2 way there
I recently finished a little gizmo that I've wanted to make for years for trimming Veneer... or more specifically, the paper portion of paper-backed veneer. Even though I didn't intend for this to be a tool that would cut all the way through, it actually does a decent job of that -- but really, If I could just cut through the paper portion of the veneer and a smidge into the actual wood, it would make trimming so much cleaner. The backer always seems to get in the way of getting a clean trimmed edges, and is a real pain to fully remove.
I've never posted pics here before, but I'll give it a try; my apologies if I crash the whole forum. There is also a GIF that shows it in operation. It uses standard, and readily available 1.75" or 45mmm round cutting razor discs used in those rotary cutter tools for cutting fabric material. They're kind of like mini pizza cutters, but much sharper.
I have a template I'm working on as a PDF to printout if anyone would be interested. Also some pics to show how I did it. It's 3 layers of 1/8" HDF, 1 layer of veneer (sanded down to about the thickness of the cutting disc,) and a piece of 3/4" or so hardwood to make the handle and to provide some meat for the two assembly screws to bite into.
Set the depth using the two knobs, and off you go. More for setting bullnose depth on shower walls, but could be useful with some modifications for many other types of scoring.
I am currently redesigning this tool for three reasons: 1, corporate charges me quite a bit. 2, it is somewhat unsafe. 3, the twin adjustment knobs mean it is easy to get it cockeyed.
Well nuts! Where were you when I was making this stupid contraption!
I knew there had to be something that already existed to do this, but I couldn't find something that I liked. That doesn't seem very comfortable to hold though. It does seem that it would not be too affected by curves if you angle it correctly.
Actually, I really like how this tool works. It fits comfortably in my hand, and when the blade gets a bit dull, just loosen two screws and rotate it 90 degrees.
With veneer, I normally use a flush trim router to get close, then tidy up with sandpaper on a block. That leaves the wood hairs which are no problem, but it also usually leaves the paper/glue layer underneath. This should trim that stuff up nicely.
I've been watching a lot of videos on Youtube lately on woodworking. One thing that interests me quite a bit are the number of ways to do jointery using a tablesaw. Not sure a guy will be able to get things as perfect as high end jointery tools will do but for us weekend warriors it looks like a little bit of time setting up a jig can yield some solid results.
Personally, most of my jigs have been pretty ugly but effective. No pictures, but I have a jig for my miter saw that works well to set length of cut and a home made jig for cross cutting and ripping at an angle using my worm drive Skil.
I'm really just a hack when it comes to making sawdust.
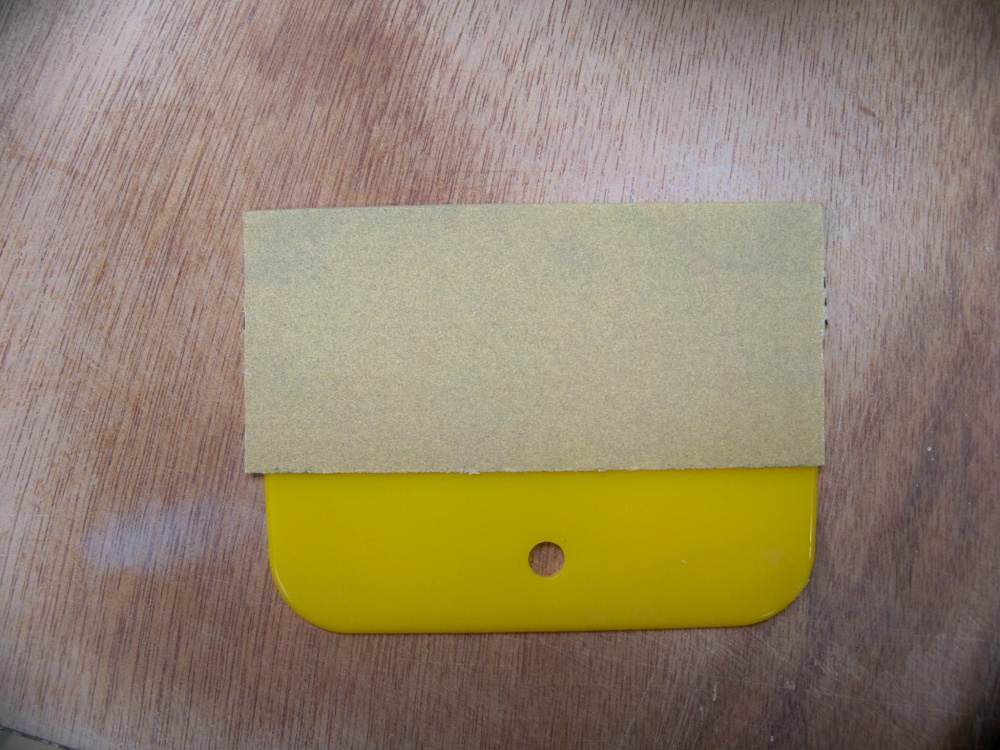
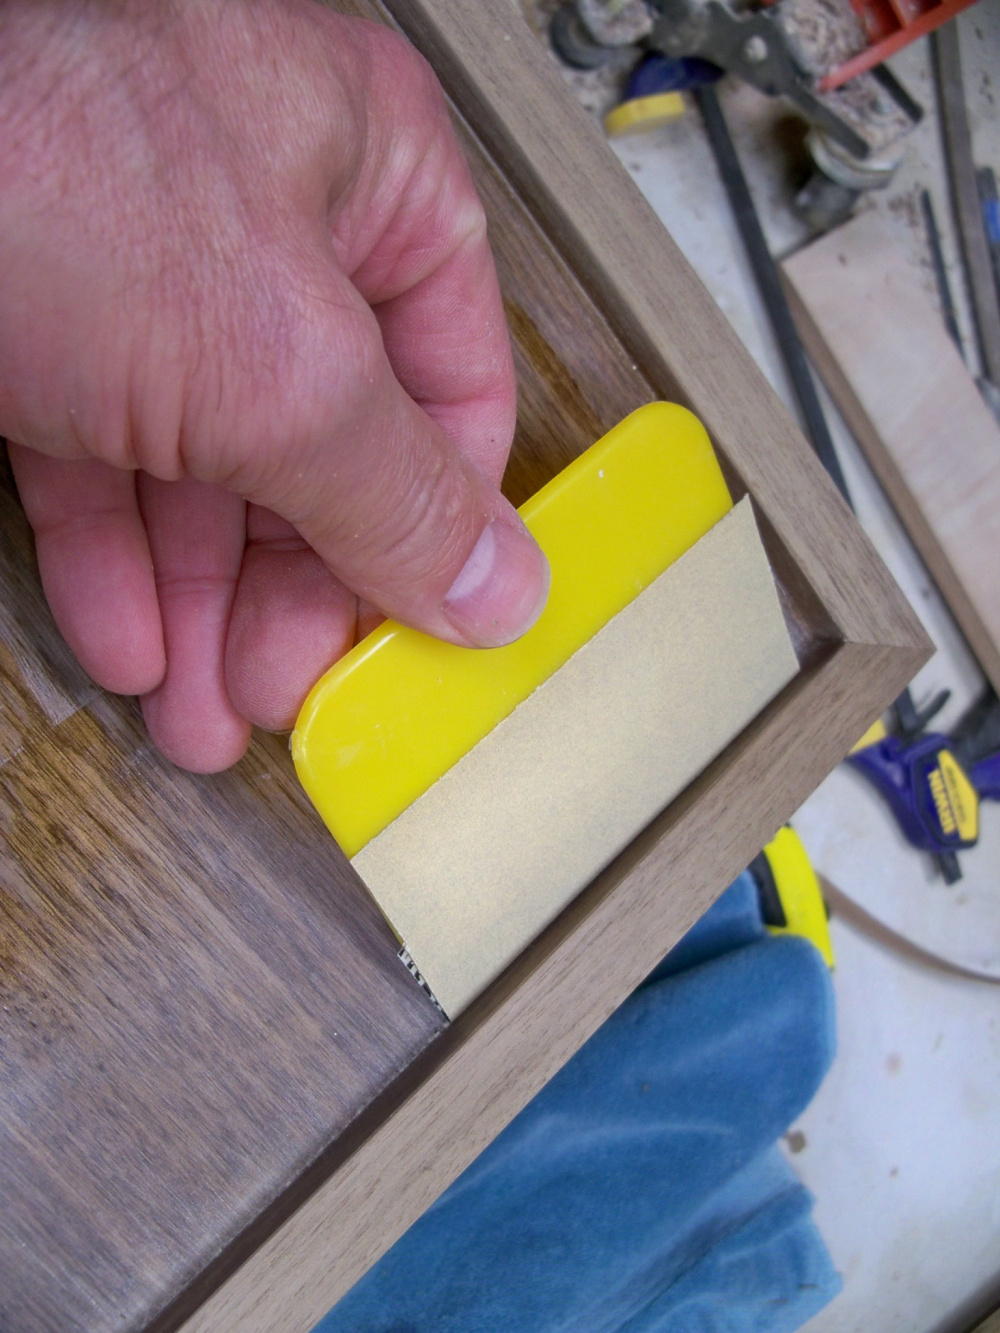
I was using this today and thought "hey maybe it would be useful to others". I just use a plastic body filler spreader with some adhesive backed sandpaper to get into tight area's, especially inside corners. It works extremely well, and being plastic it is non marring, and did I mention that they are dirt cheap on Ebay. I tried to get decent pictures of a sanded area, but my photographic skills are a bit lacking. Oh, and I know diyer's being diyer's some of you may try this with regular sand paper and possibly spray adhesive, and it will work, but it is well worth springing for a roll of adhesive backed paper. It applies cleanly and removes cleanly.
Great idea! Those look like they would be handy to have around for other uses too. If they're that cheap, you could use them for marking guides for common stuff, like binding posts or tube sockets.
I had not heard of adhesive backed sandpaper. That looks like a pretty useful idea.
I could see that being handy in lots of ways. I've done a bunch of different shapes with sandpaper spray-adhesive'd to it, but not a plastic spreader. Yeah, spray adhesive is really no fun. It always seems to get everywhere.
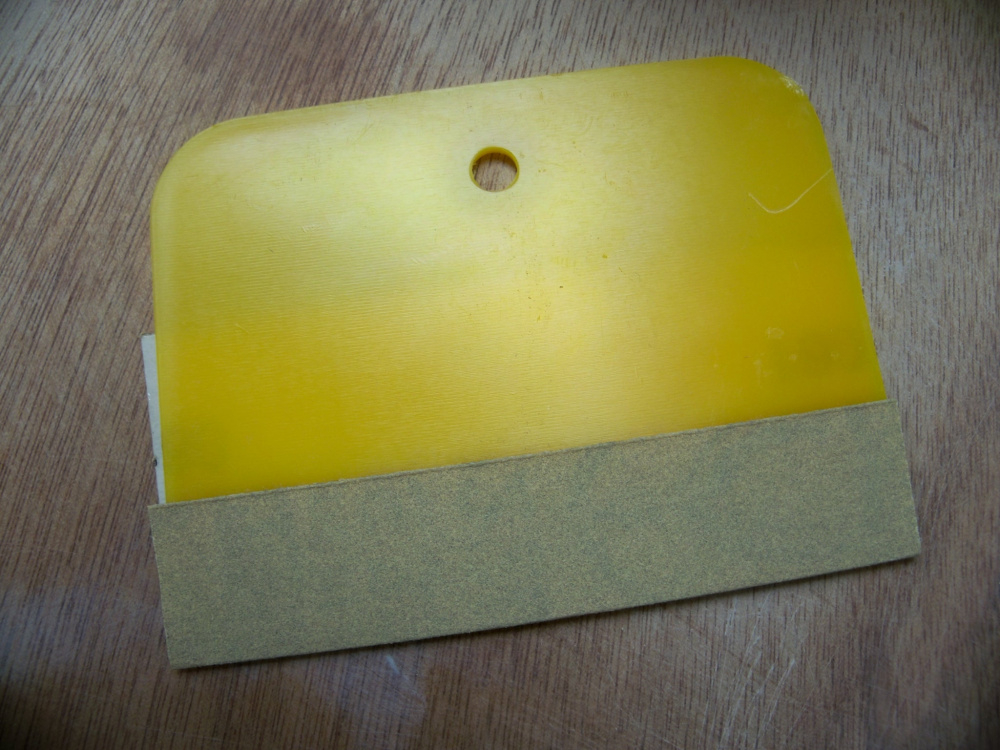
Adhesive backed paper comes in rolls. It's used for auto body work mainly, but the great thing about using it with a spreader is that when that edge of the paper gets worn or clogged, you just peel the paper off, reposition it and stick it back down. I usually move it about 3/8" at a time, so using 2-3/4" wide rolls, you can move it multiple times.
I recently needed to do a driver cutout for a driver I'd used before that ended up with a lot of play using the recommended cutout dimension. I grabbed one of my wife's fabric tapes and measured the circumference of the driver where it fits in the hole and divided by pi to get the diameter.
I have some 10" sonotubes for a woofer project that came badly out of round and I'm going to use this method to cut a slot in the end caps.
When wet sanding with a block, is it best to use velcro or adhesive backed block/paper? I'm using adhesive backed paper/block and it's a chore keeping the paper on there until it wears enough to be replaced. Not sure if it's cheap paper or the wrong application for adhesive backed paper.
@ugly_woofer said:
I've never had a problem with name brand adhesive backed paper, but I usually use non adhesive backed for wet sanding.
With a block? How?
I have a half and full 16" Dura Block. Very little pressure and when the paper starts to grab, I'll rinse off the white sanding residue, wet it, and start again.
You can only fight the frustration for so long. The love is gone between me and the Jasper Jig. Are there any better solutions for cutting driver holes and rebates?
But Chahly - Stahkist don't want speakers that look good, Stahkist wants speakers that sound good!
Comments
Arta doesn't show the Frequency response? I have only used Holm's impulse so not familiar with any other s/w
Of course it does. It has the power to adjsut /lock the FFT start, so you have a couple clicks in between measuring and viewing the FR, unlike Omnimic which sets the FFT start for you (single channel measurement remember) with no ability to save the impulse and re-process after the measurement is made.
I suggest thumbing through the ARTA manual to see what it can do.
This is the Neutrik TRS connector from PE technical drawing. What does 1,2,3 in your circuit drawing corresponds to Gr, R1 and tip?
Also, i have only usb measurements mics.... But imp measurement is the priority - i haven't scratched the surface on FR / impulse measurement yet, so can get a proper mic with phantom power later on.
The cheap junk I bought just says 1,2,3. Oh well, it follows standard XLR numbering.
1 = shield (GR)
2 = tip
3 = ring (RI)
You'll notice the terminal numbers on my diagram match up with the back side of the connector. Since we are not measuring balanced signal, we connect both the ring and shield to the common ground, so the TRS becomes a mono TS connection.
You can use your USB mic with ARTA for single channel measurement, but lose all that 2 channel benefits I spoke about. If you bought the UMC204HD, phantom power is included so you're already 1/2 way there")
Not real time, unless someone has cracked the code, you have to click through to a get a static FR curve.
ARTA will do realtime response. FR1 and FR2 buttons.
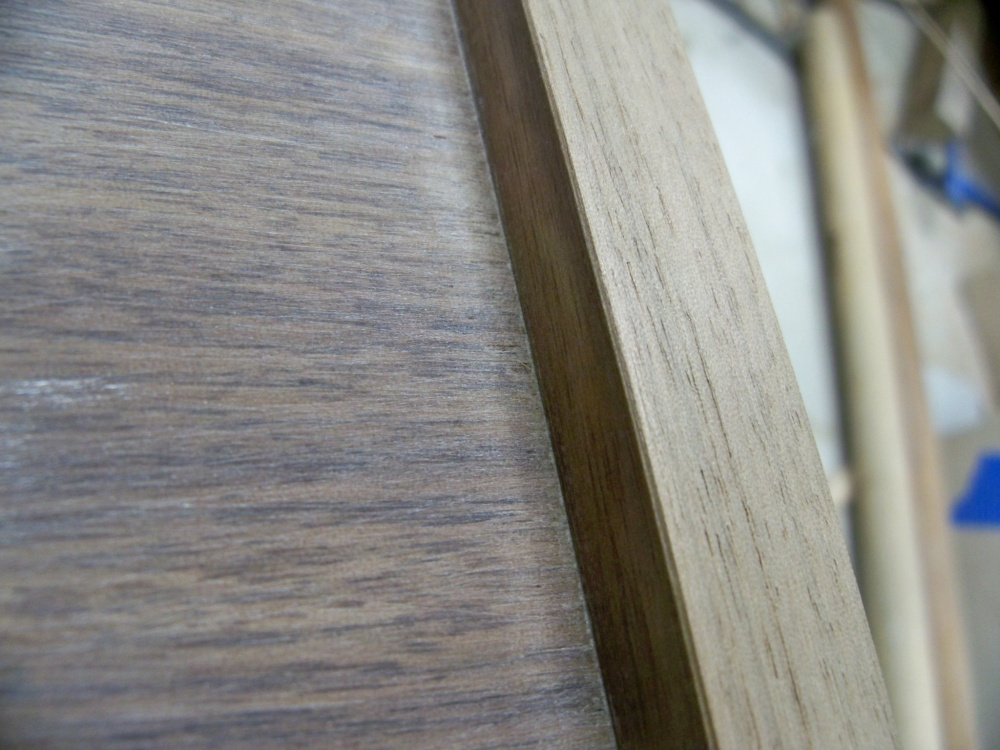
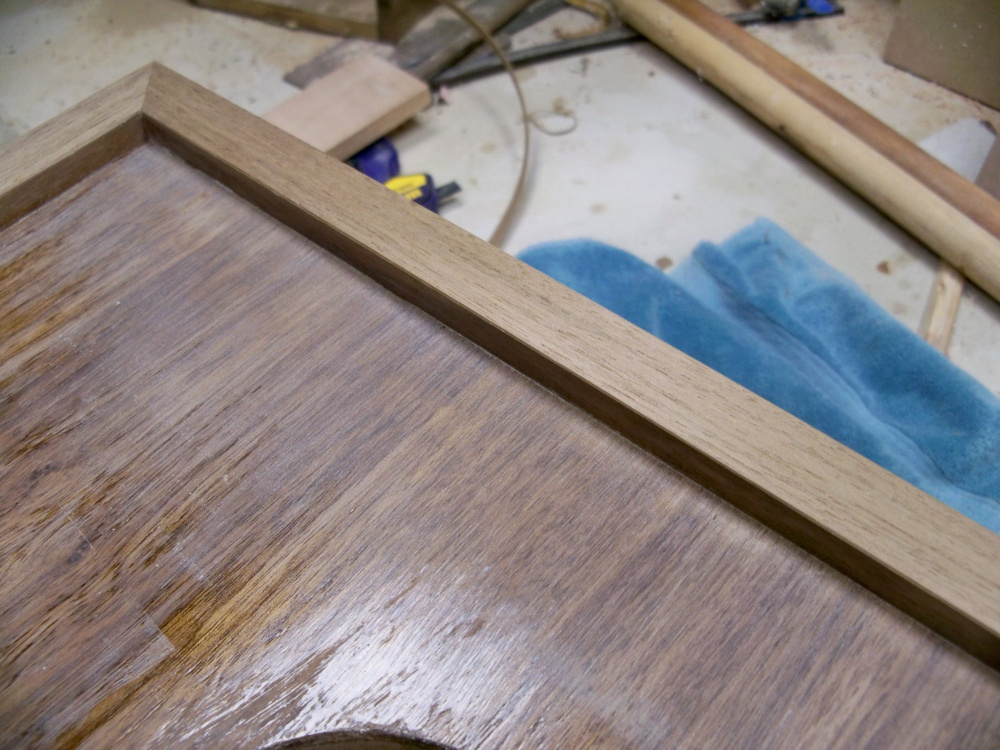
I recently finished a little gizmo that I've wanted to make for years for trimming Veneer... or more specifically, the paper portion of paper-backed veneer. Even though I didn't intend for this to be a tool that would cut all the way through, it actually does a decent job of that -- but really, If I could just cut through the paper portion of the veneer and a smidge into the actual wood, it would make trimming so much cleaner. The backer always seems to get in the way of getting a clean trimmed edges, and is a real pain to fully remove.
I've never posted pics here before, but I'll give it a try; my apologies if I crash the whole forum.") There is also a GIF that shows it in operation. It uses standard, and readily available 1.75" or 45mmm round cutting razor discs used in those rotary cutter tools for cutting fabric material. They're kind of like mini pizza cutters, but much sharper.
There is also a GIF that shows it in operation. It uses standard, and readily available 1.75" or 45mmm round cutting razor discs used in those rotary cutter tools for cutting fabric material. They're kind of like mini pizza cutters, but much sharper.
I have a template I'm working on as a PDF to printout if anyone would be interested. Also some pics to show how I did it. It's 3 layers of 1/8" HDF, 1 layer of veneer (sanded down to about the thickness of the cutting disc,) and a piece of 3/4" or so hardwood to make the handle and to provide some meat for the two assembly screws to bite into.
TomZ
**ZARBO AUDIO ** https://www.youtube.com/channel/UCEZUyvobRaFQSTl6NdOwgxQ
That's a fairly elaborate cutting tool that looks to do the same task as a marking knife.
https://www.leevalley.com/en-us/shop/tools/hand-tools/marking-and-measuring/marking-tools/110953-japanese-spear-point-marking-knife?item=60N0704
I buy scoring tools for work:
Set the depth using the two knobs, and off you go. More for setting bullnose depth on shower walls, but could be useful with some modifications for many other types of scoring.
I am currently redesigning this tool for three reasons: 1, corporate charges me quite a bit. 2, it is somewhat unsafe. 3, the twin adjustment knobs mean it is easy to get it cockeyed.
I use my veneer saw for the scoring and trimming
Well nuts! Where were you when I was making this stupid contraption!")
I knew there had to be something that already existed to do this, but I couldn't find something that I liked. That doesn't seem very comfortable to hold though. It does seem that it would not be too affected by curves if you angle it correctly.
Actually, I really like how this tool works. It fits comfortably in my hand, and when the blade gets a bit dull, just loosen two screws and rotate it 90 degrees.
With veneer, I normally use a flush trim router to get close, then tidy up with sandpaper on a block. That leaves the wood hairs which are no problem, but it also usually leaves the paper/glue layer underneath. This should trim that stuff up nicely.
TomZ
**ZARBO AUDIO ** https://www.youtube.com/channel/UCEZUyvobRaFQSTl6NdOwgxQ
I've been watching a lot of videos on Youtube lately on woodworking. One thing that interests me quite a bit are the number of ways to do jointery using a tablesaw. Not sure a guy will be able to get things as perfect as high end jointery tools will do but for us weekend warriors it looks like a little bit of time setting up a jig can yield some solid results.
Personally, most of my jigs have been pretty ugly but effective. No pictures, but I have a jig for my miter saw that works well to set length of cut and a home made jig for cross cutting and ripping at an angle using my worm drive Skil.
I'm really just a hack when it comes to making sawdust.
I was using this today and thought "hey maybe it would be useful to others". I just use a plastic body filler spreader with some adhesive backed sandpaper to get into tight area's, especially inside corners. It works extremely well, and being plastic it is non marring, and did I mention that they are dirt cheap on Ebay. I tried to get decent pictures of a sanded area, but my photographic skills are a bit lacking. Oh, and I know diyer's being diyer's some of you may try this with regular sand paper and possibly spray adhesive, and it will work, but it is well worth springing for a roll of adhesive backed paper. It applies cleanly and removes cleanly.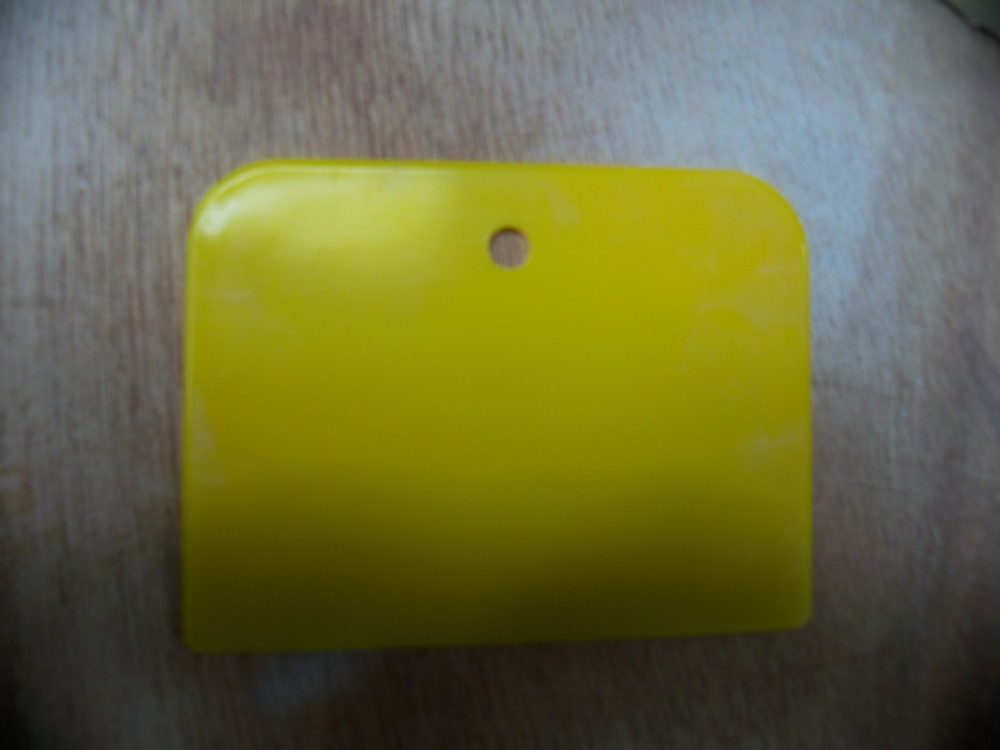
Great idea! Those look like they would be handy to have around for other uses too. If they're that cheap, you could use them for marking guides for common stuff, like binding posts or tube sockets.
I had not heard of adhesive backed sandpaper. That looks like a pretty useful idea.
I could see that being handy in lots of ways. I've done a bunch of different shapes with sandpaper spray-adhesive'd to it, but not a plastic spreader. Yeah, spray adhesive is really no fun. It always seems to get everywhere.
Good idea, thanks!
TomZ
**ZARBO AUDIO ** https://www.youtube.com/channel/UCEZUyvobRaFQSTl6NdOwgxQ
Adhesive backed paper comes in rolls. It's used for auto body work mainly, but the great thing about using it with a spreader is that when that edge of the paper gets worn or clogged, you just peel the paper off, reposition it and stick it back down. I usually move it about 3/8" at a time, so using 2-3/4" wide rolls, you can move it multiple times.
I think that the last time, I bought spreaders, they were about $15 or $18 for 50. They are considered disposable.
I like that idea!
I recently needed to do a driver cutout for a driver I'd used before that ended up with a lot of play using the recommended cutout dimension. I grabbed one of my wife's fabric tapes and measured the circumference of the driver where it fits in the hole and divided by pi to get the diameter.
I have some 10" sonotubes for a woofer project that came badly out of round and I'm going to use this method to cut a slot in the end caps.
Ron
When wet sanding with a block, is it best to use velcro or adhesive backed block/paper? I'm using adhesive backed paper/block and it's a chore keeping the paper on there until it wears enough to be replaced. Not sure if it's cheap paper or the wrong application for adhesive backed paper.
I've never had a problem with name brand adhesive backed paper, but I usually use non adhesive backed for wet sanding.
With a block? How?
I have a half and full 16" Dura Block. Very little pressure and when the paper starts to grab, I'll rinse off the white sanding residue, wet it, and start again.
What brand of sand paper are you using? Have you tried using a drop of dish soap?
The slurry is what does the work, so it should not get wiped off a lot.
InDIYana Event Website
Made a nice proper schematic of my ARTA jig.
You can only fight the frustration for so long. The love is gone between me and the Jasper Jig. Are there any better solutions for cutting driver holes and rebates?
DIY.
https://www.redneckdiy.com/product/circle-cutting-router-jig-sketchup-model/
https://www.rockler.com/rockler-ellipse-circle-cutting-jig-for-compact-routers
This one looks real nice to me:
https://www.amazon.com/Milescraft-1219-Circleguidekit/dp/B07VNGTGMV/ref=sr_1_1?dchild=1&keywords=Milescraft+1219&qid=1628462553&sr=8-1
There's also these options:
https://www.amazon.com/Universal-Circle-Cutting-Routers-Trimmers/dp/B07H9QRX1G/ref=sr_1_9?dchild=1&keywords=router+circle+jig&qid=1628461358&sr=8-9
https://www.amazon.com/POWERTEC-71212-Diameters-Melamine-Hardware/dp/B07NCH4XLJ/ref=sr_1_7?dchild=1&keywords=router+circle+jig&qid=1628461358&sr=8-7