@ugly_woofer said:
I threw this dummy load together this weekend, I've had the resistors laying around for a while. It's good for 240 watts into 8 ohms and 480 watts into 4 or 16 ohms.
Cool looking fins! Last year, I built a 100W 8 ohm dummy load into the carcass of an old burned out Sanyo autosound amp. Here is a link to my short build thread on blueglow: https://blueglow.club/viewtopic.php?f=22&t=329
My guess: I can read 120W on the side of one resistor, so I'd say that each resistor is rated at 120W. To get the wattage listed, they would need to be 4 ohms each. The fins would be for heat transfer only. If you hook the four 4 ohm resistors in series, that would give you 480 watts. If you hooked them in series/parallel, that would give you 480 watts as well. If you paralleled two per channel, that would give you 240 watts into 8 ohms hooked up to a stereo amplifier.
I built these to haul the minions, and I originally left them in raw plywood because I had every intention of disassembling them after finishing this year's get togethers. I've decided to keep them because I see them as useful for hauling other
small speakers. I can just throw these in the car with the speakers inside and not worry about wrapping or securing the speaker cabinets. The construction was inexpensive - cheap plywood and a 2 inch thick memory foam mattress topper. They're covered in polyurethane for moisture and dirt resistance and lined 2" memory foam. Oh, and the handle holes in the sides make it easier to carry.
I just needed wax for thread lubrication, so I thought I'd post this. I actually made this over a decade ago, and it's not a necessity, but it's convenient when you need it, and for storage. I simply cleaned a used up deodorant container, and filled it with melted wax. The mechanism still
works. When I need more wax, I just turn the dial.
That reminds me of some prank show on TV from some years back, they replaced someones pit stick with cream cheese so you get cheese pits in the morning..
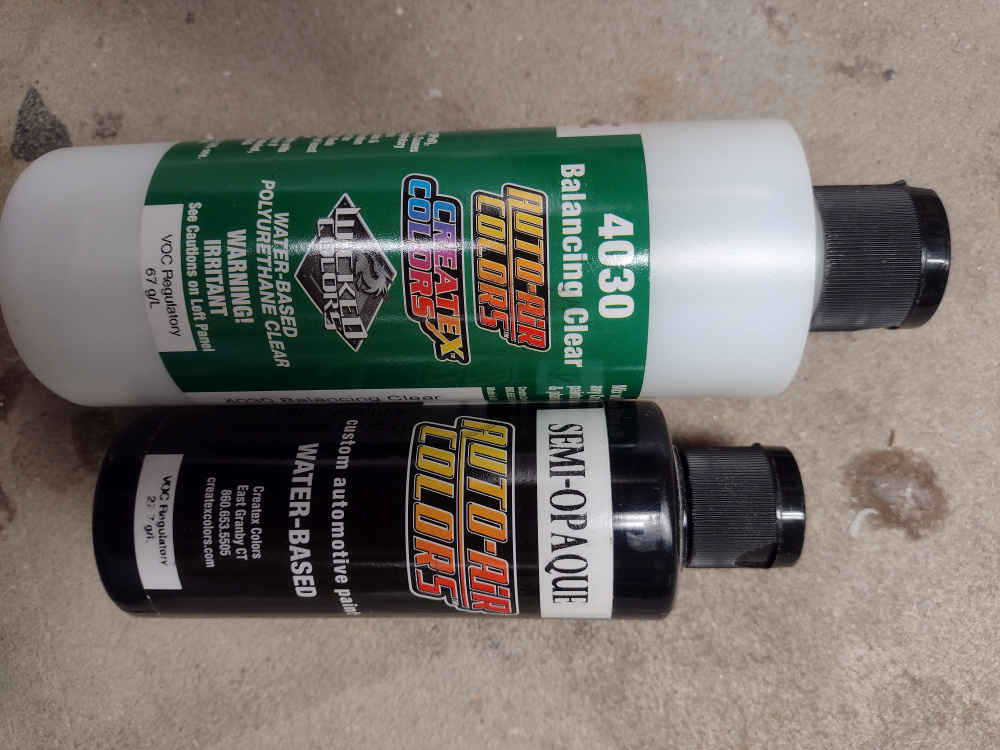
So it's no secret that I hate rattle can paint, no matter the brand and I don't want to get into the brand K vs R argument, because honestly I don't care, and have mostly stopped using it. What I've been using on noncritical areas, such as driver recessions is plain old interior satin house paint. The stuff dries super quickly, has little odor in small quality and washes up with water. When I need a better finish I spray Auto Air Colors if it is a small area and has to be indoors. It also washes easily, dries fast and has low odor, but I know there will be tears over the price, so I'm just throwing it out there as a product that I use. The last time I checked, it was about $7 for 4oz + a bottle of balancing clear.
I cut my rebates with a template and top bearing bit after I've finished the veneer. Then I use Black Crayola washable markers to black out the rebates.
This is how I attach crossovers to the inside of cabinets if there is room. I like this method because it's simple and there is no chance of driving a screw through a cabinet wall. I cut 1 x 1 blocks from 1/2 or 3/4 particle board or plywood and screw the crossover to the blocks and just apply epoxy to the blocks and stick it to the inside wherever I choose.
Comments
Probably a fair bit more if you aim a fan at it. Are you going to do some amp load testing ?
Cool looking fins! Last year, I built a 100W 8 ohm dummy load into the carcass of an old burned out Sanyo autosound amp. Here is a link to my short build thread on blueglow: https://blueglow.club/viewtopic.php?f=22&t=329
Couldn't a space heater be used for this while bathing in the bathroom during cold weather so as not to waste energy?
I dabble with electronics, so it's something that will only get occasional use in testing amps.
Bill, I remember yours, it was nice and clean
Aren't the fins for 'tapping' the resistor at different values?
InDIYana Event Website
My guess: I can read 120W on the side of one resistor, so I'd say that each resistor is rated at 120W. To get the wattage listed, they would need to be 4 ohms each. The fins would be for heat transfer only. If you hook the four 4 ohm resistors in series, that would give you 480 watts. If you hooked them in series/parallel, that would give you 480 watts as well. If you paralleled two per channel, that would give you 240 watts into 8 ohms hooked up to a stereo amplifier.
You are close Bill, they are 16 ohms each, same idea different math.
Nick, are those NOS or are they still available? That looks pretty heavy duty compared to my budget Amazon 100 watt aluminums.
Tom, they are from MPJA and are about $7 each. I bought them a couple of years ago, but they still carry them.
I built these to haul the minions, and I originally left them in raw plywood because I had every intention of disassembling them after finishing this year's get togethers. I've decided to keep them because I see them as useful for hauling other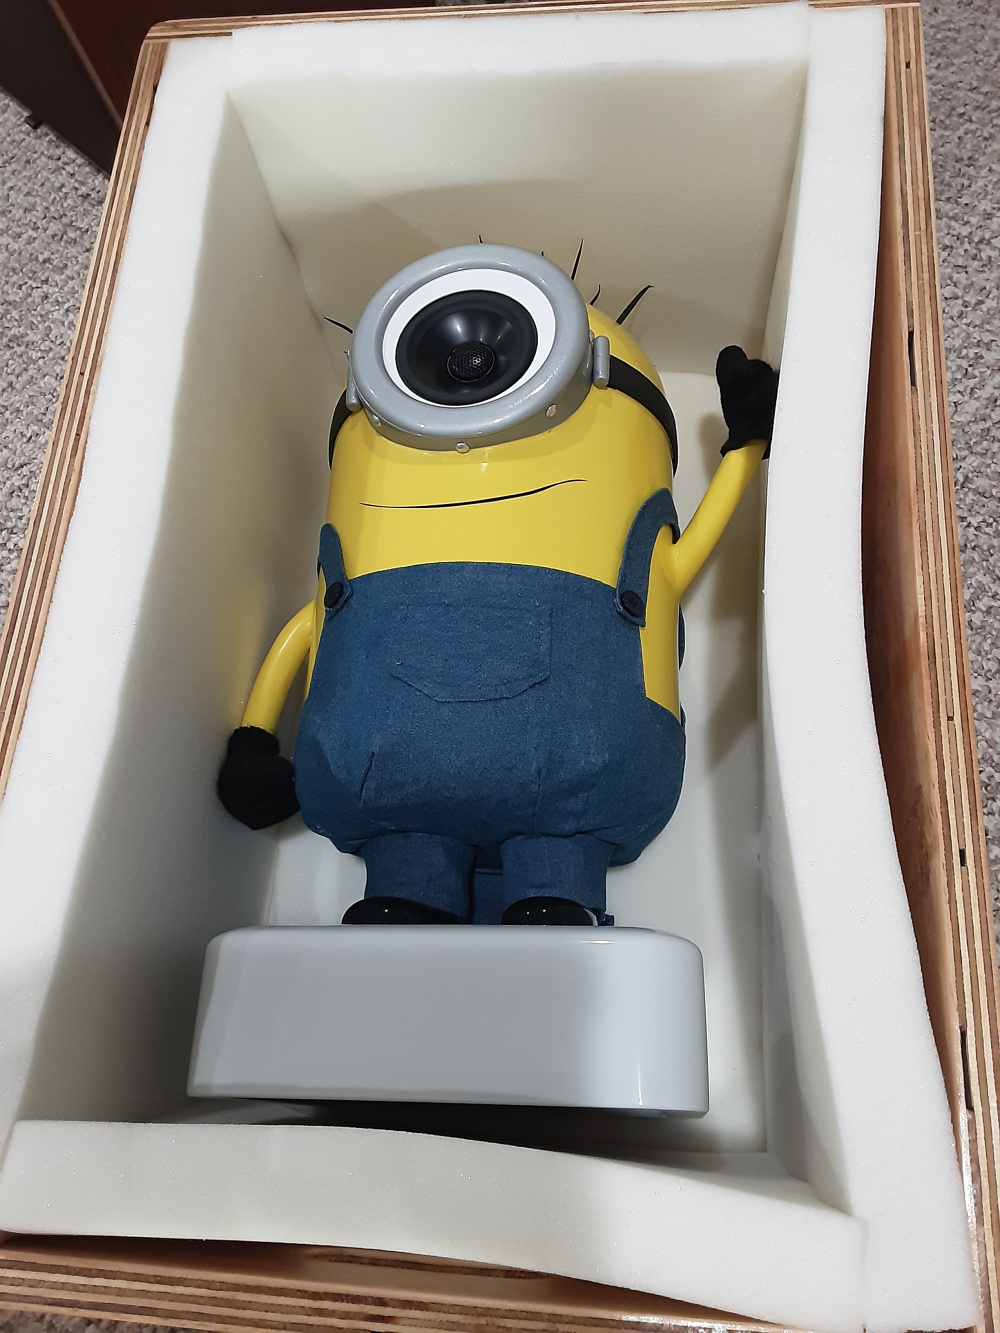
small speakers. I can just throw these in the car with the speakers inside and not worry about wrapping or securing the speaker cabinets. The construction was inexpensive - cheap plywood and a 2 inch thick memory foam mattress topper. They're covered in polyurethane for moisture and dirt resistance and lined 2" memory foam. Oh, and the handle holes in the sides make it easier to carry.
So you've gone from Monkey Coffins to Minion Coffins. Nice!
That would be dead on.
Didn't we use them as speaker stands? Pretty versatile, project galley worthy for sure
Yes we did, just flipped them upside down.
I like the stickers
The stickers seemed appropriate in my perfectly sane mind.")
I just needed wax for thread lubrication, so I thought I'd post this. I actually made this over a decade ago, and it's not a necessity, but it's convenient when you need it, and for storage. I simply cleaned a used up deodorant container, and filled it with melted wax. The mechanism still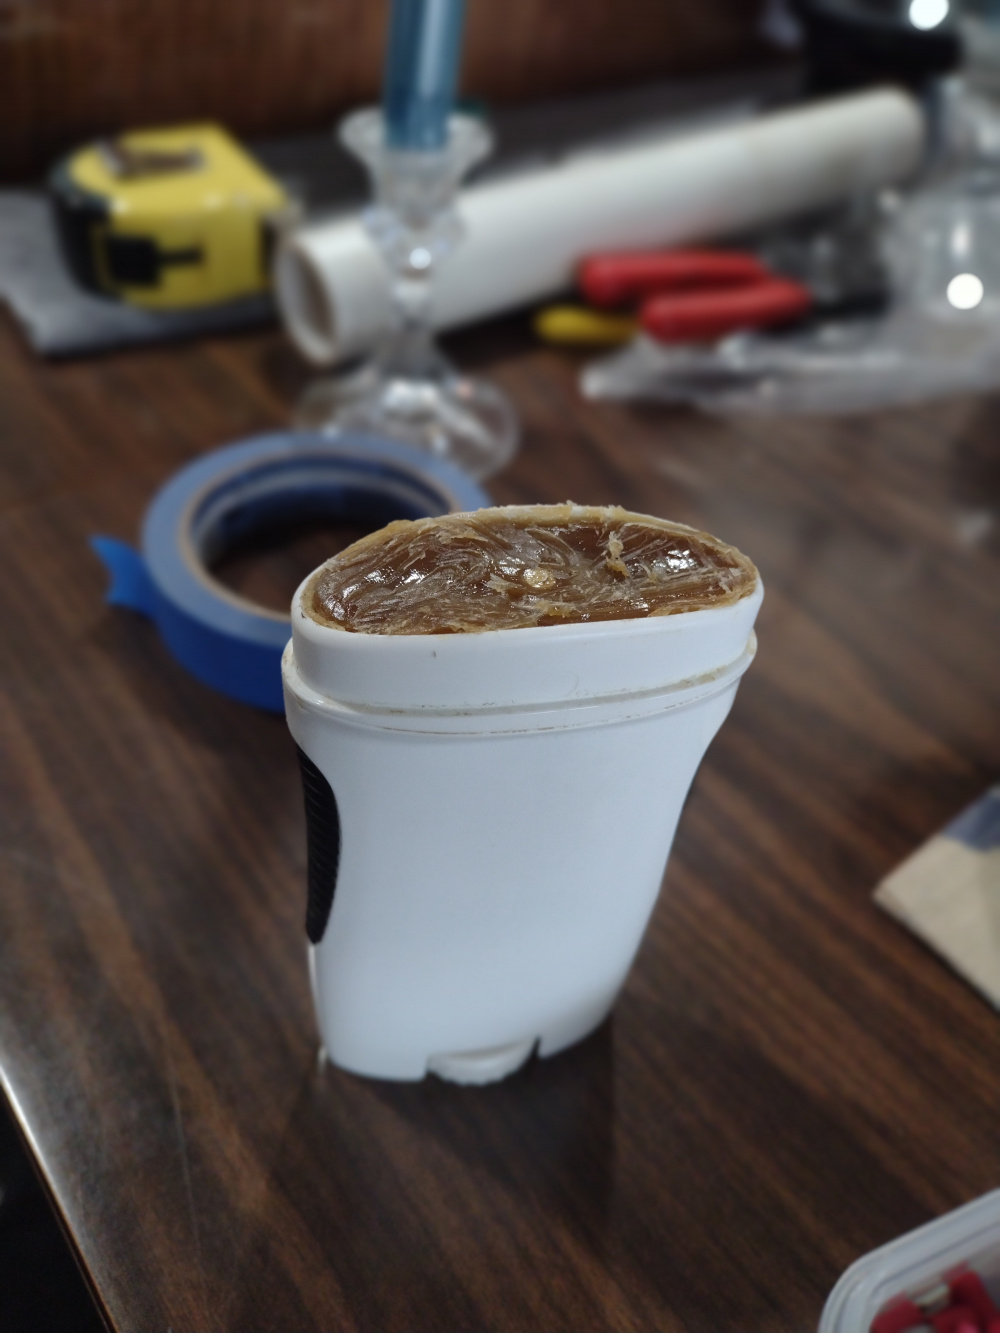
works. When I need more wax, I just turn the dial.
That reminds me of some prank show on TV from some years back, they replaced someones pit stick with cream cheese so you get cheese pits in the morning..
So it's no secret that I hate rattle can paint, no matter the brand and I don't want to get into the brand K vs R argument, because honestly I don't care, and have mostly stopped using it. What I've been using on noncritical areas, such as driver recessions is plain old interior satin house paint. The stuff dries super quickly, has little odor in small quality and washes up with water. When I need a better finish I spray Auto Air Colors if it is a small area and has to be indoors. It also washes easily, dries fast and has low odor, but I know there will be tears over the price, so I'm just throwing it out there as a product that I use. The last time I checked, it was about $7 for 4oz + a bottle of balancing clear.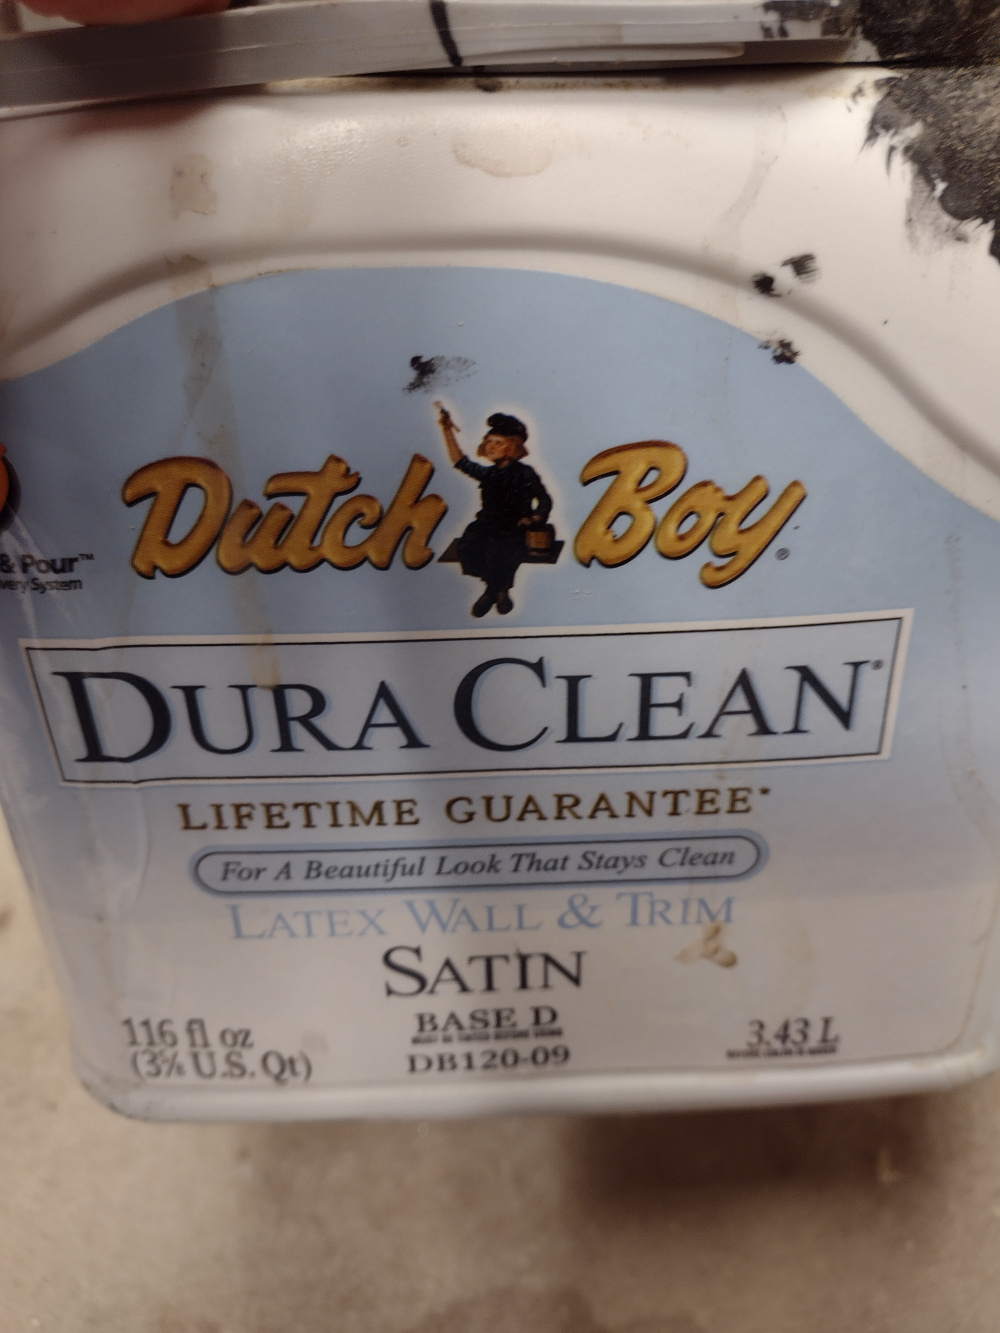
I just threw a bunch of that away. Some of it was over 20yrs old.
https://www.jfcomponents.com/
It works well using an airbrush for things such as the insides of ports, driver openings and such.
I cut my rebates with a template and top bearing bit after I've finished the veneer. Then I use Black Crayola washable markers to black out the rebates.
Ron
I am such a sucker for tools! I never liked the little collar on my 1/4 inch drill bit for using dowels, and I found this on Amazon. Holds the bit totally securely, and looks like it would not mar the surface.
https://www.amazon.com/dp/B0B2QSXRVZ?psc=1&ref=ppx_yo2ov_dt_b_product_details
I'm with you on those fiddly collars! These look even easier and quicker than masking tape. I'm putting them on my birthday wish list.
That's a fancy piece of painter's tape
I'm hoping no one will "borrow" these like they do with the tape.")
This is how I attach crossovers to the inside of cabinets if there is room. I like this method because it's simple and there is no chance of driving a screw through a cabinet wall. I cut 1 x 1 blocks from 1/2 or 3/4 particle board or plywood and screw the crossover to the blocks and just apply epoxy to the blocks and stick it to the inside wherever I choose.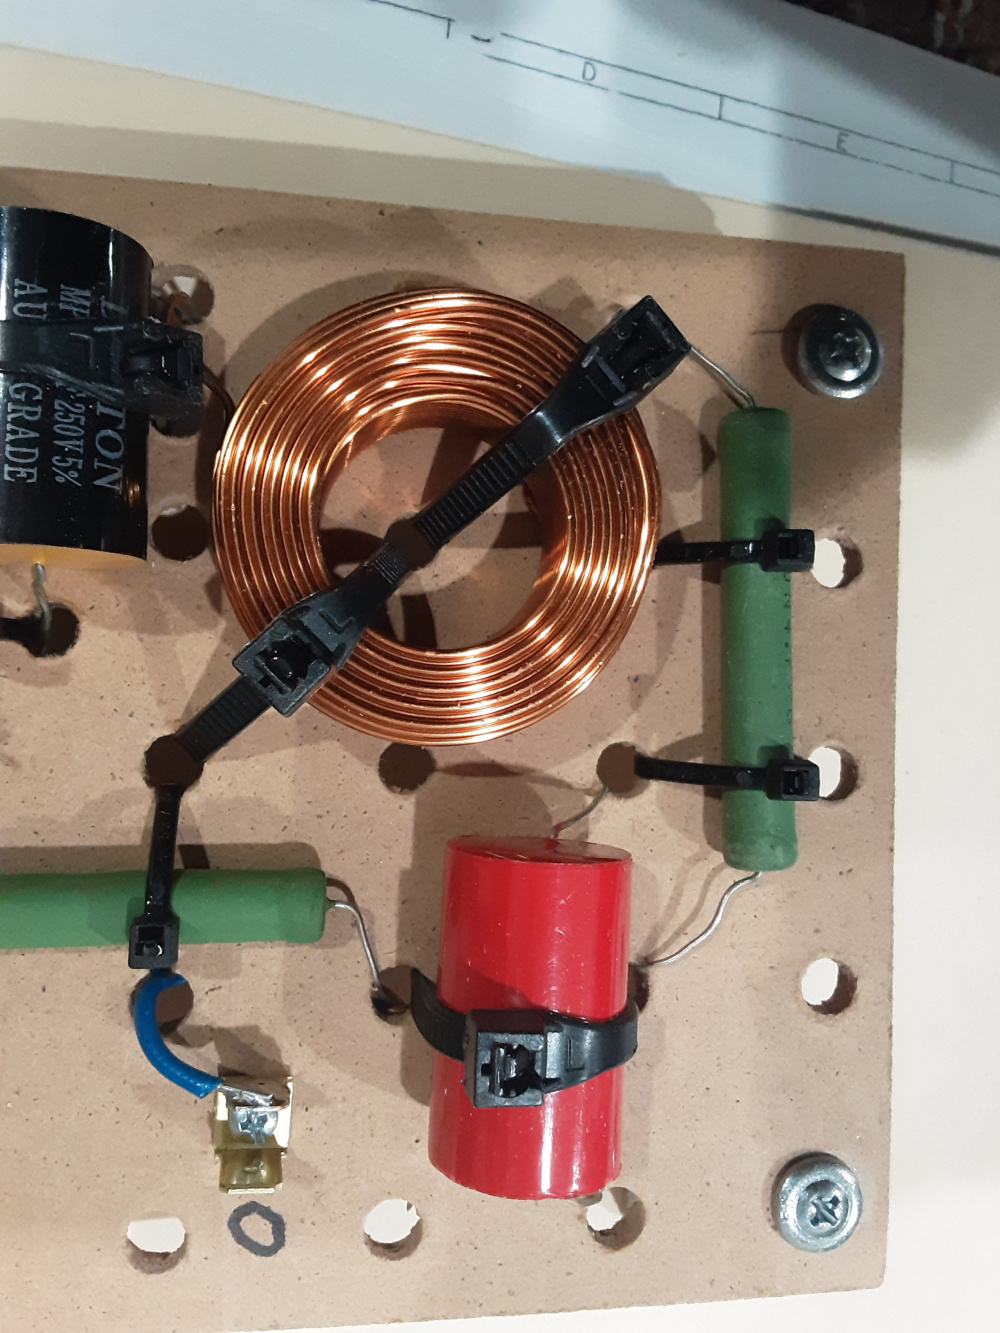
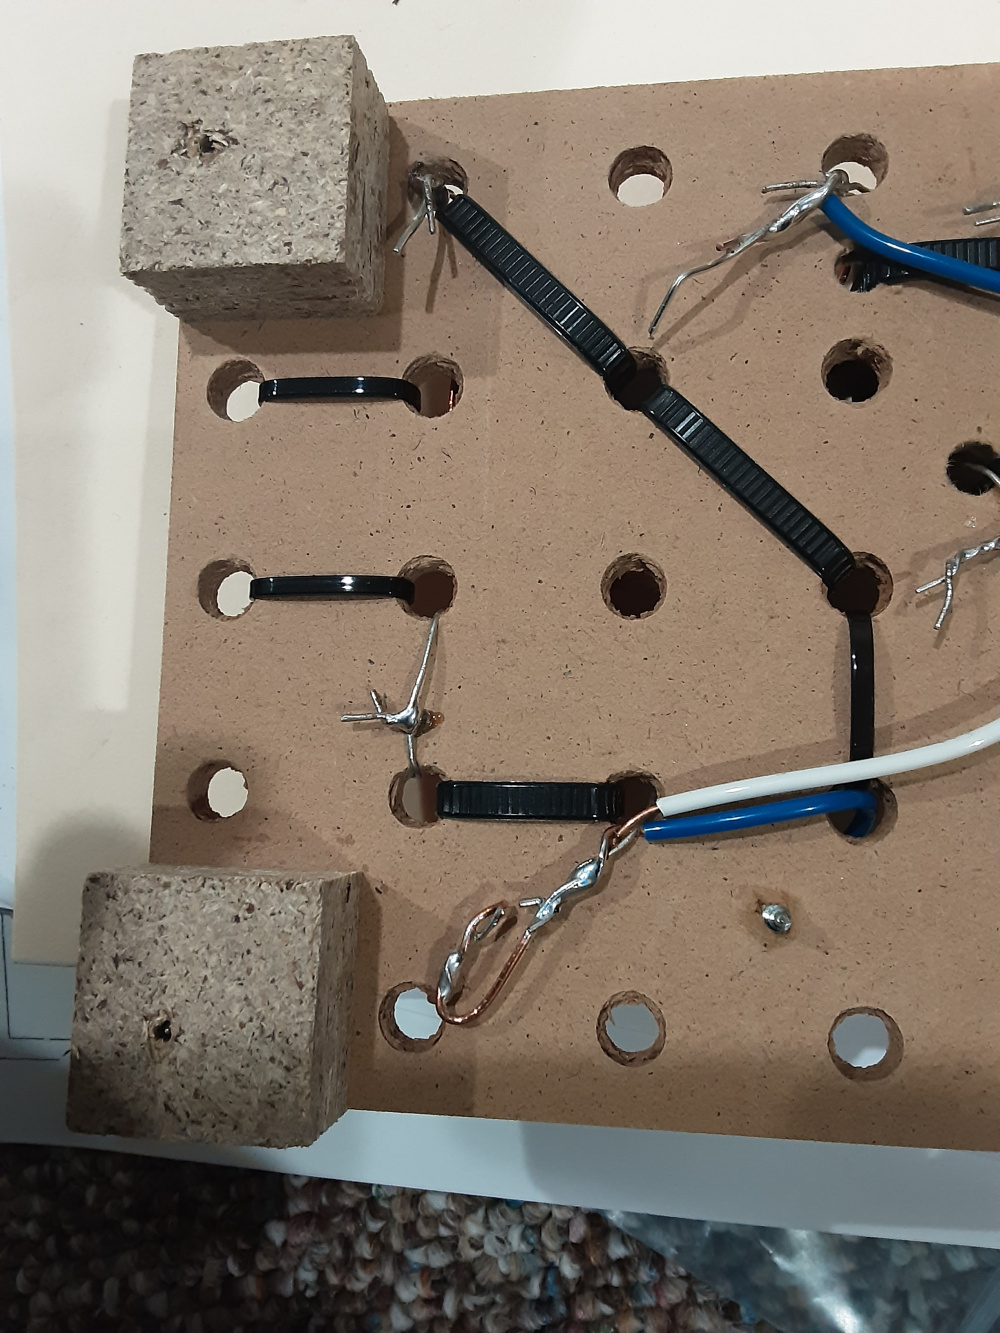
I use 1/8" thick basswood and glue components directly to it, and then do as much point-to-point wiring as possible, all above the components.
I then hot glue the assembly in the cabinet.