Site Links
Howdy, Stranger!
It looks like you're new here. If you want to get involved, click one of these buttons!
Quick Links
Categories
In this Discussion
Who's Online (0)
Jigs, gizmos and useful stuff

I thought it might be useful to post all the helpful "stuff " that we have built or bought. You know things that speed things up or make life easier.
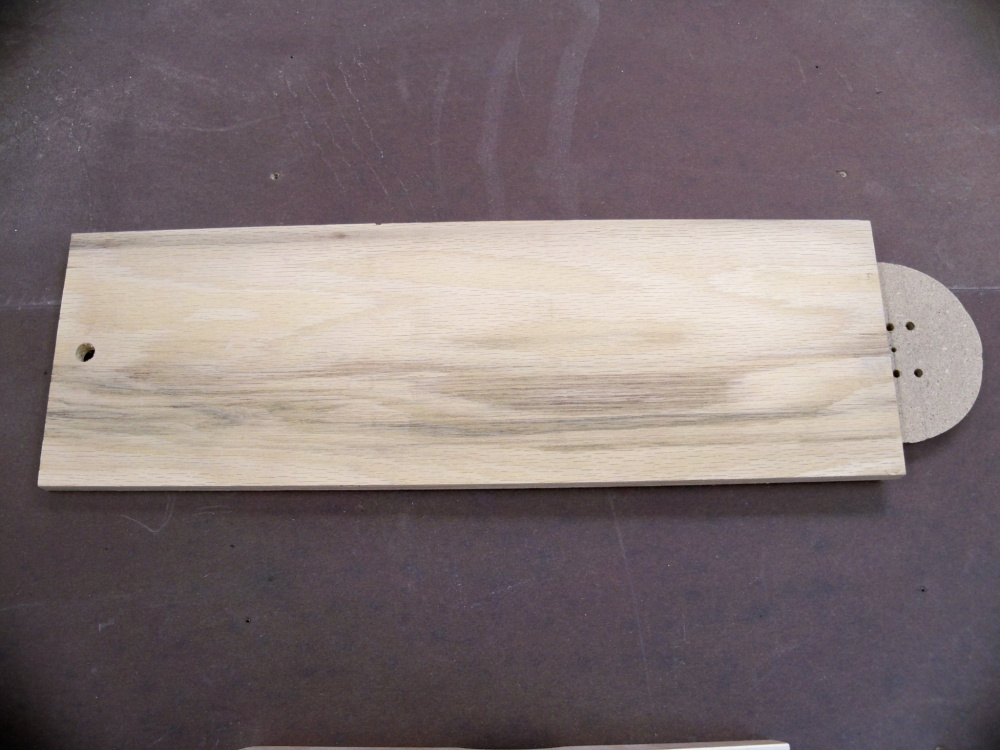
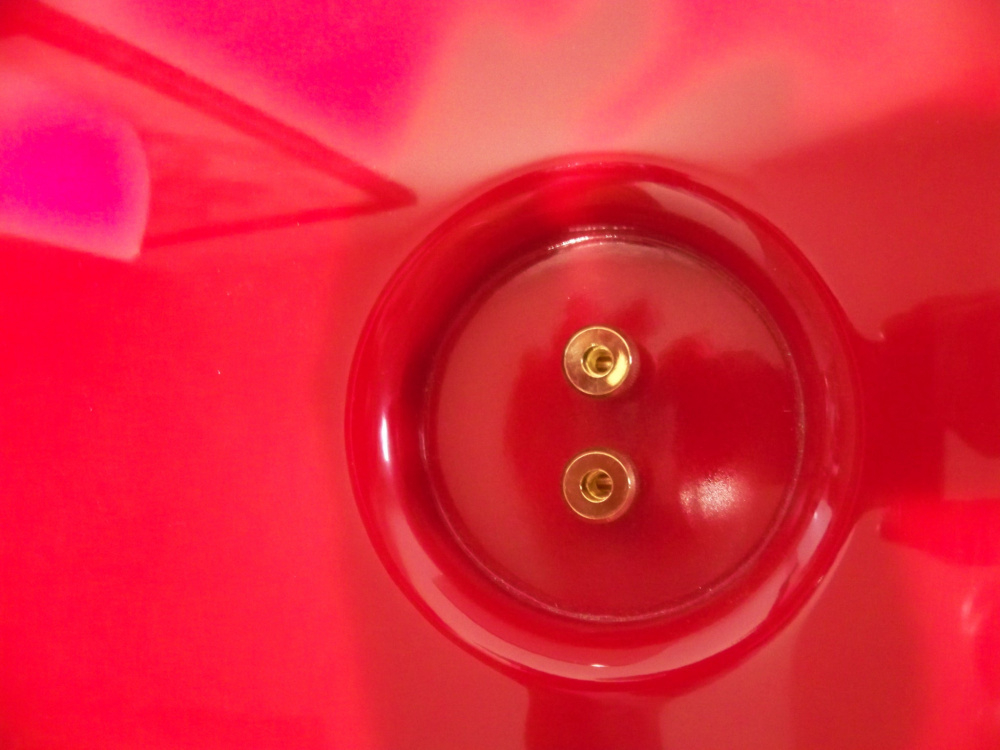
This first simple jig is just a round scrap of MDF that I cut a cove into that in turn fits a 3-1/2" diameter hole with a 1/2" round over, for recessing terminals. The key is a tight fit, and then drilling the holes square with the plywood, that way I just drop it in, square up the plywood portion with the cabinet and drill. This one has two sets of holes, one set centered and another offset higher.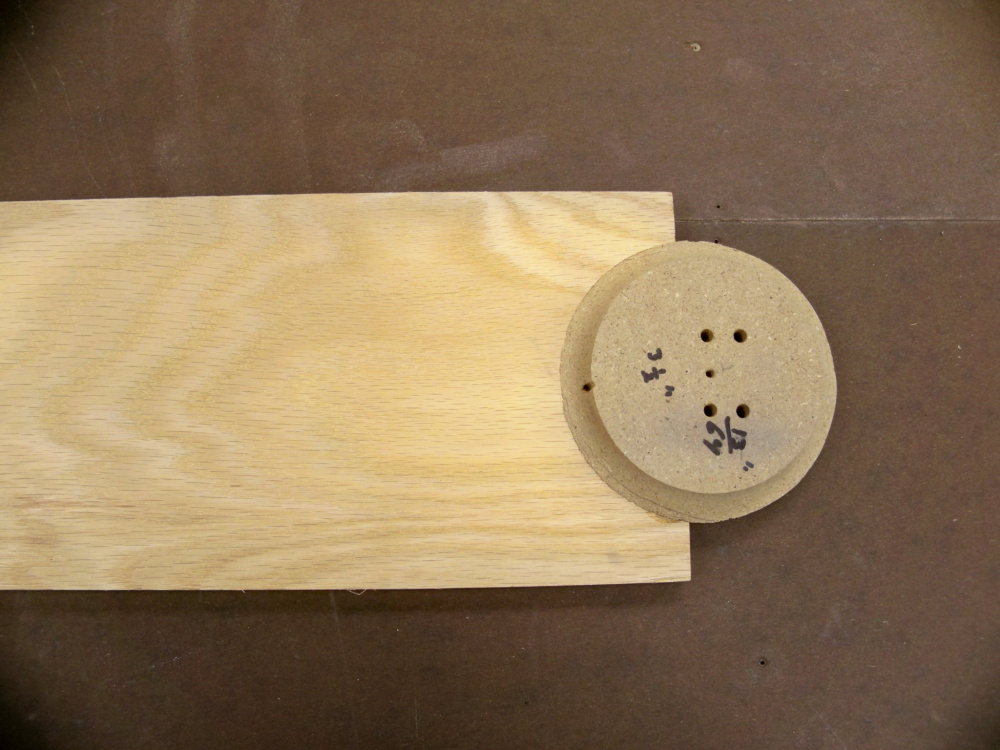

Comments
Everyone needs a larger offset router base.... makes any kind of edging way easier and more accurate. This one I made to fit a 3 1/4 hp Freud router and it is particularly helpful when doing large roundovers, you know, the kind that you should be doing on a router table, but it just isn't practical or possible.
Thanks for the offset router base, I can see that being very handy.
Good idea. I need to make one of these.
It could also become a circle jig if warranted...
InDIYana Event Website
Yep, just needs a centering pin setup.
This one gets a lot of use in my shop, just take a look, she's high milage. It's simply a couple scrap pieces of plywood and a lazy susan with a large left over circle attached that I clamp in my bench vise and now I can hold the router still and spin the speaker when cutting driver recesses and holes. Before this gizmo I use to spin the router 360 degrees clockwise, and then 360 degrees counter clockwise and so on, but spinning the speaker is just easier for me, I don't fight the cord and vacuum hose any more.
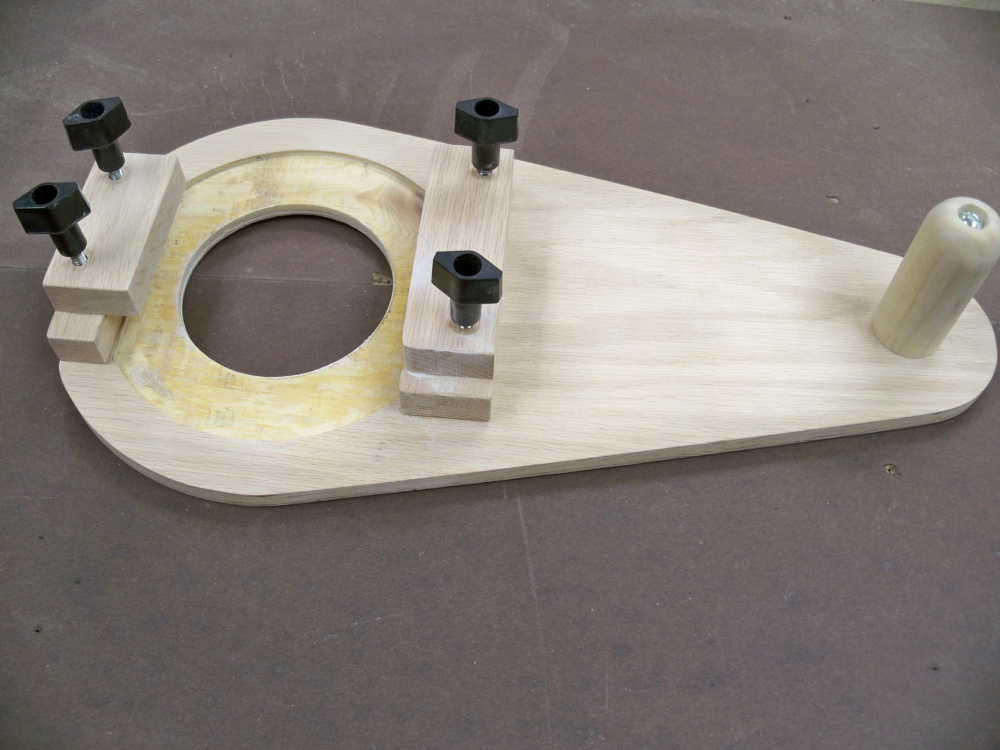
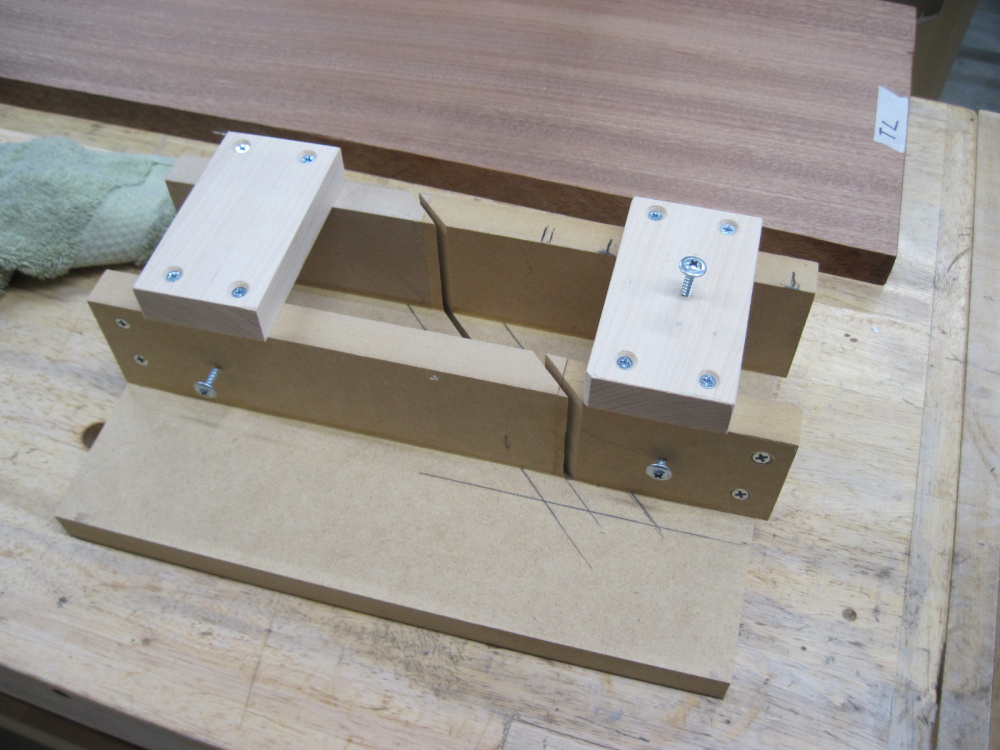
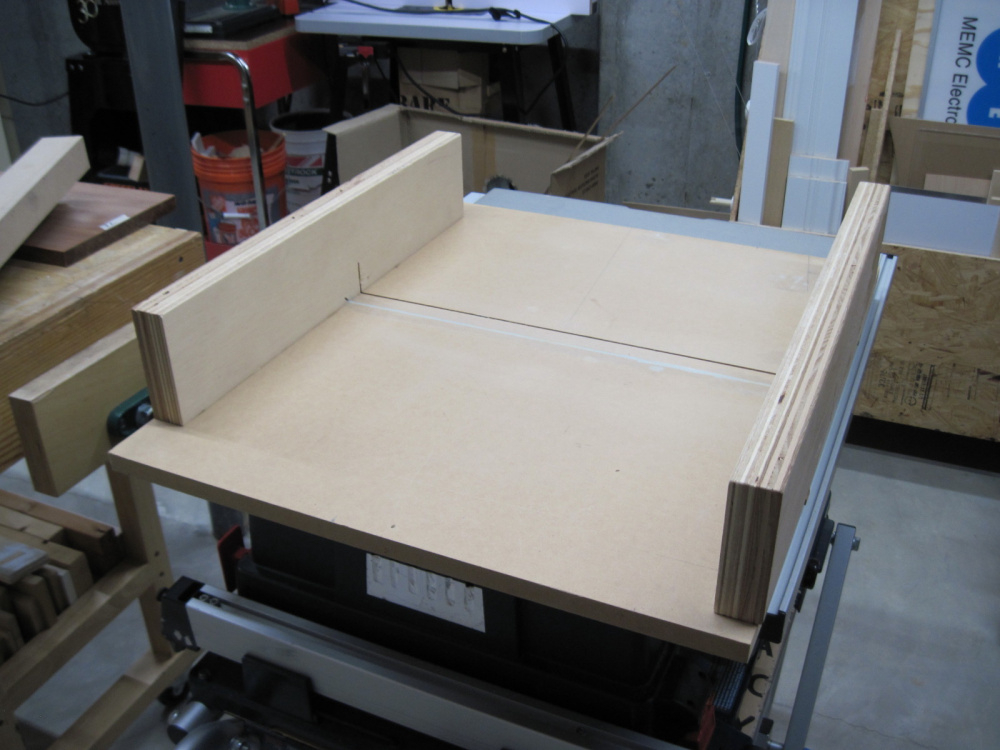
Here's a strange little jig I built a few weeks ago out of scraps. It's used to locate the corner mounting bolt locations before flush-trimming an oversized baffle. Pretty simple - hold it tight or clamp it to the corner of the box with the baffle clamped in place. Mark all four corners of the baffle, remove and then mark the cabinet corners. I used a cheap HF index punch set. It was quick and made the whole process almost fool-proof.
Can you take some pics of this in action? I like this idea.
No kidding. I am on my second replacement power cord for my Dewalt router due to rotating it around for driver rebates and cut outs (my router gets a bit of a workout lol).
Nick, did you use this lazy susan jig for your large pointy speakers
Tom, I'm going to study your jig some more. I love removable baffles but it is critical to get those hole alignments absolutely perfect. Not so easy on an oversized (pre flush trimmed) baffle like you said.
Have to say, this is a great thread! I need to try and think if I have anything worth sharing. Probably not. My Dad was the inventor and had many patents... I just like to build stuff and drive really fast.
Craig,
I didn't use it for the pointy speakers, because they are just too tall, over 4 feet. My bench is up against a wall, so I have limited room to spin the cabinets, but I find that it works well for anything three foot or less in my situation.
Dan,
I will get soon more pictures for you later today.
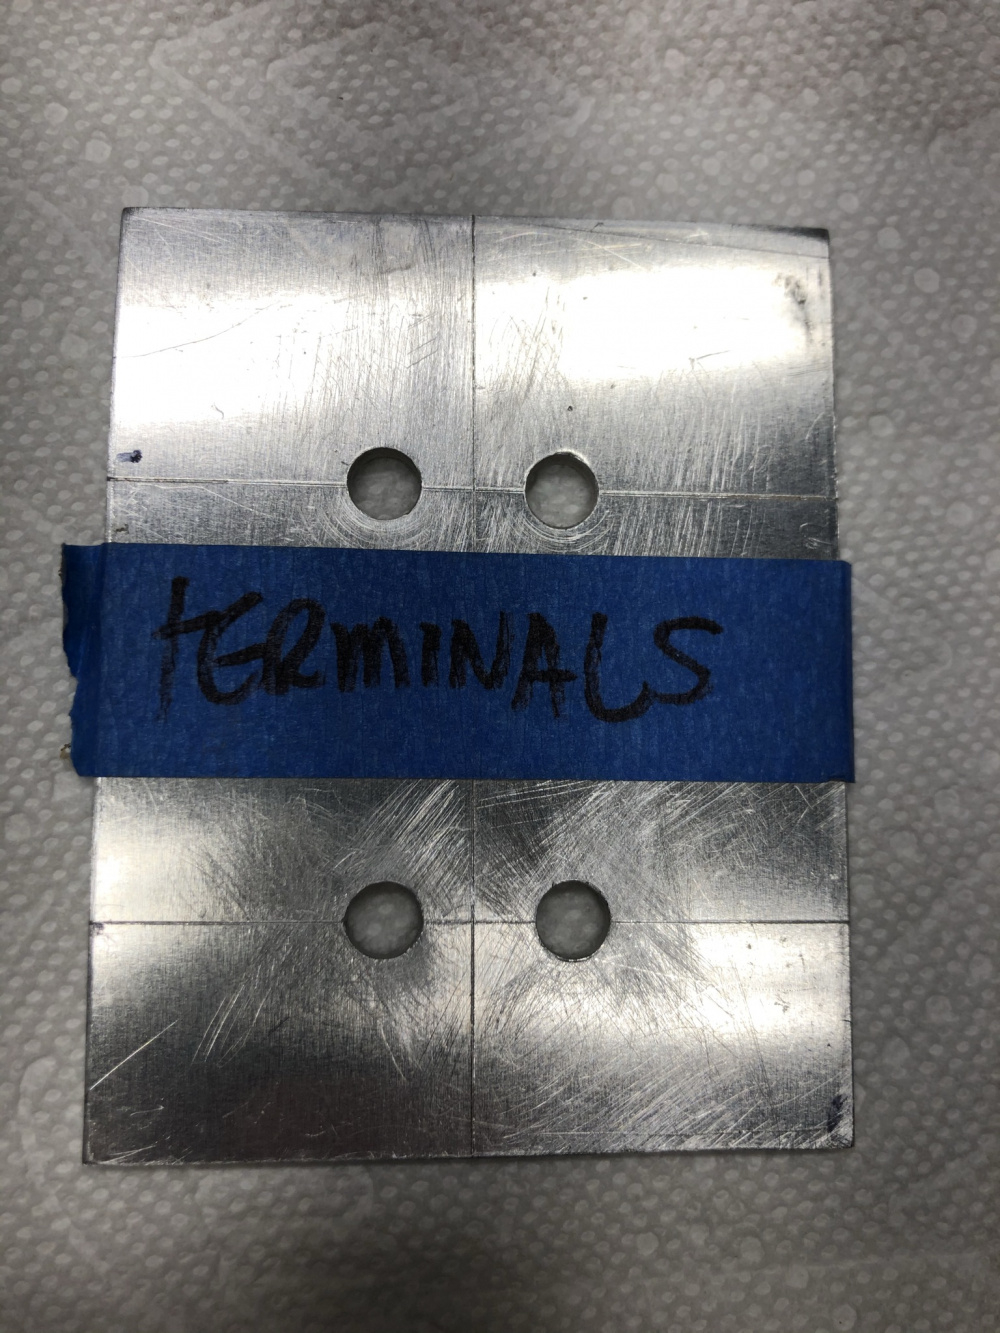
After many struggles (and failures) to line up terminal holes properly, I made a jig out of 1/4 aluminum plate. I totally love fixing one of the irritations in my build process. Holes are sized 9/32 to fit the PE heavy duty terminals. I scribed horizontal and vertical lines, since any marker is less precise.
Don,
You should sell these jigs...
I guess I need to go take some photos of some of mine...
InDIYana Event Website
Don - I was just thinking I need to make something that's a combination of yours & Nicks since I've been doing rectangular cutouts.
Wolf - are you still using the custom router base you built a few years ago?
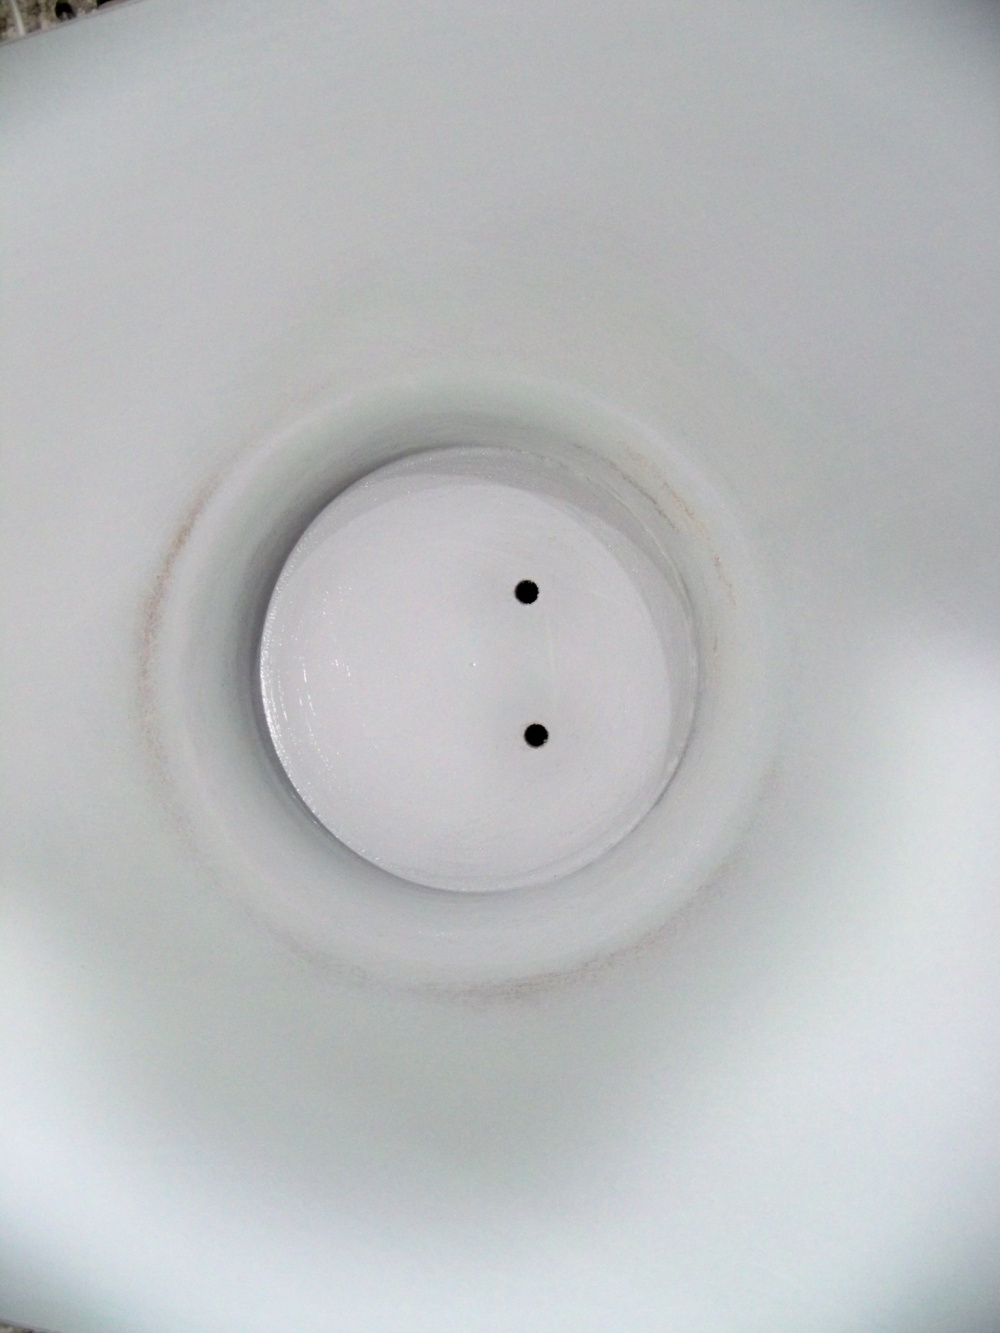
This guy mounts like this.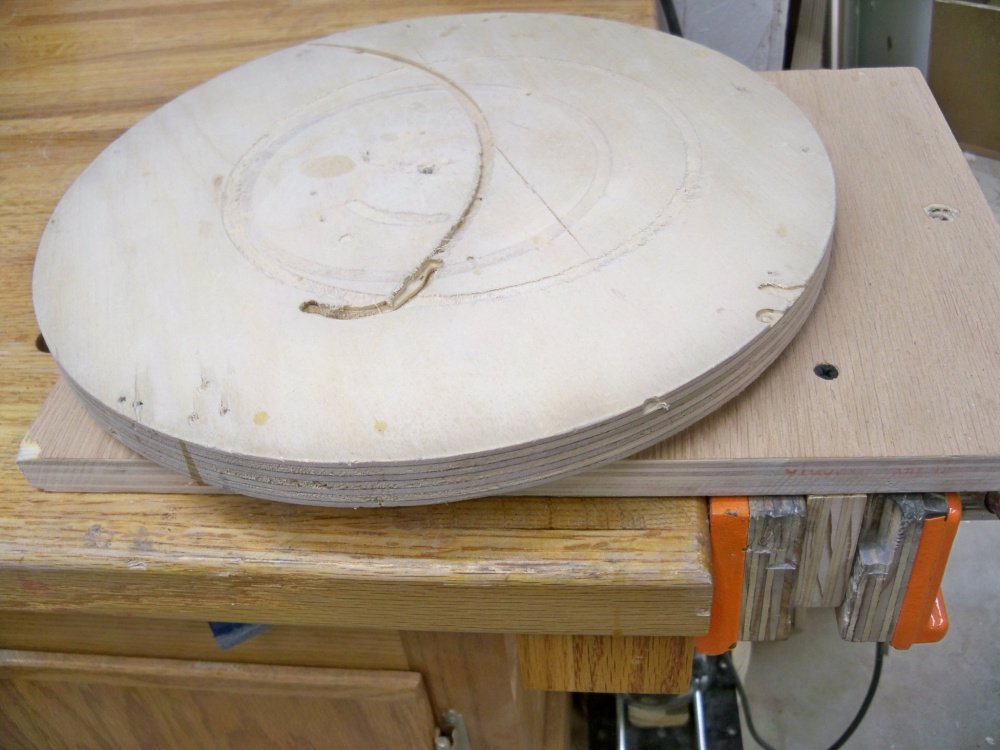
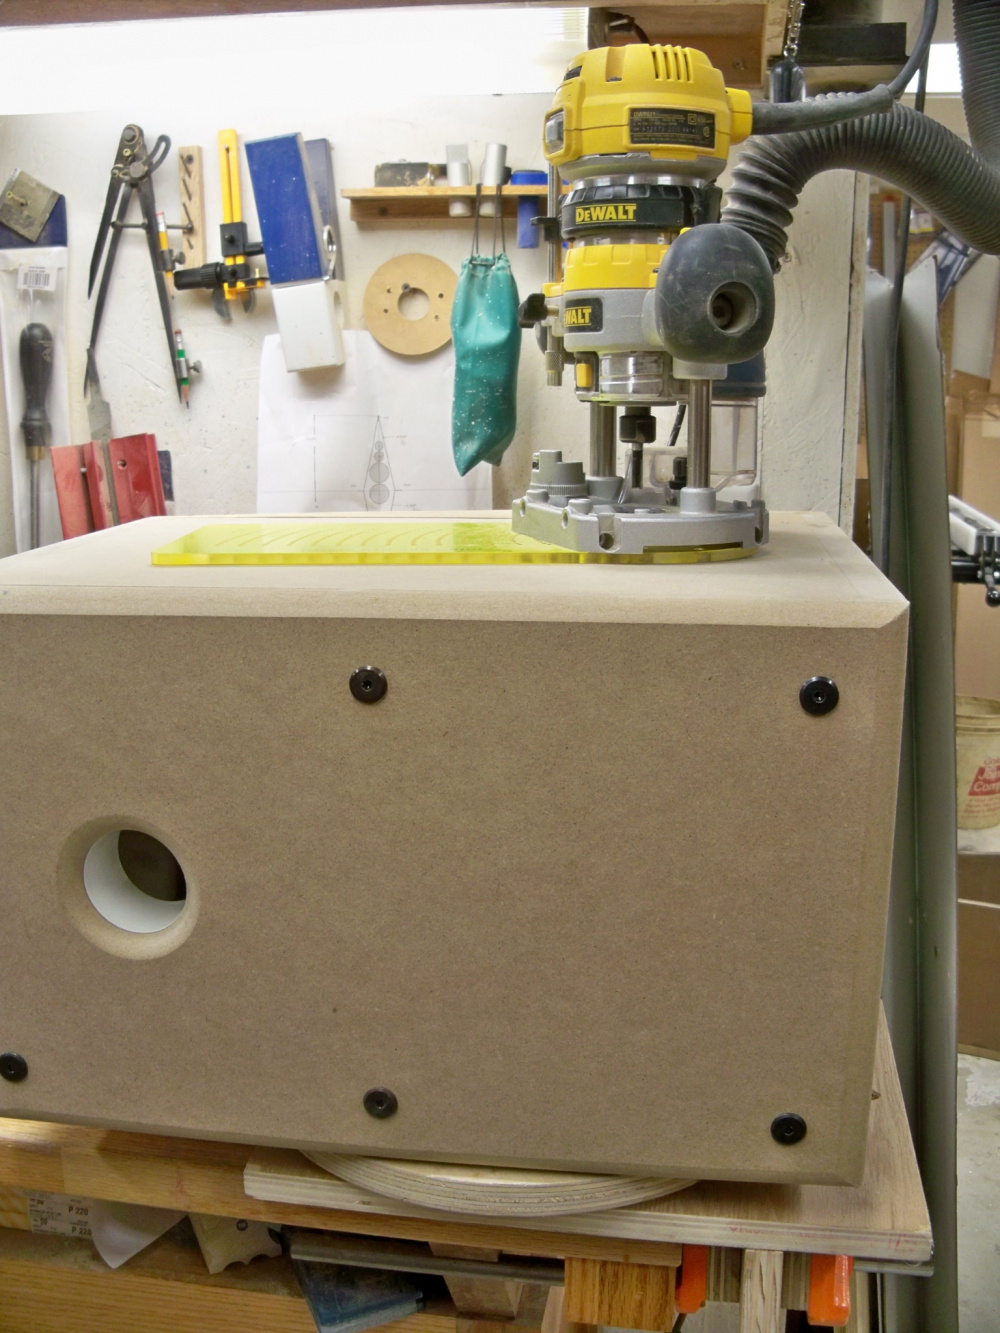
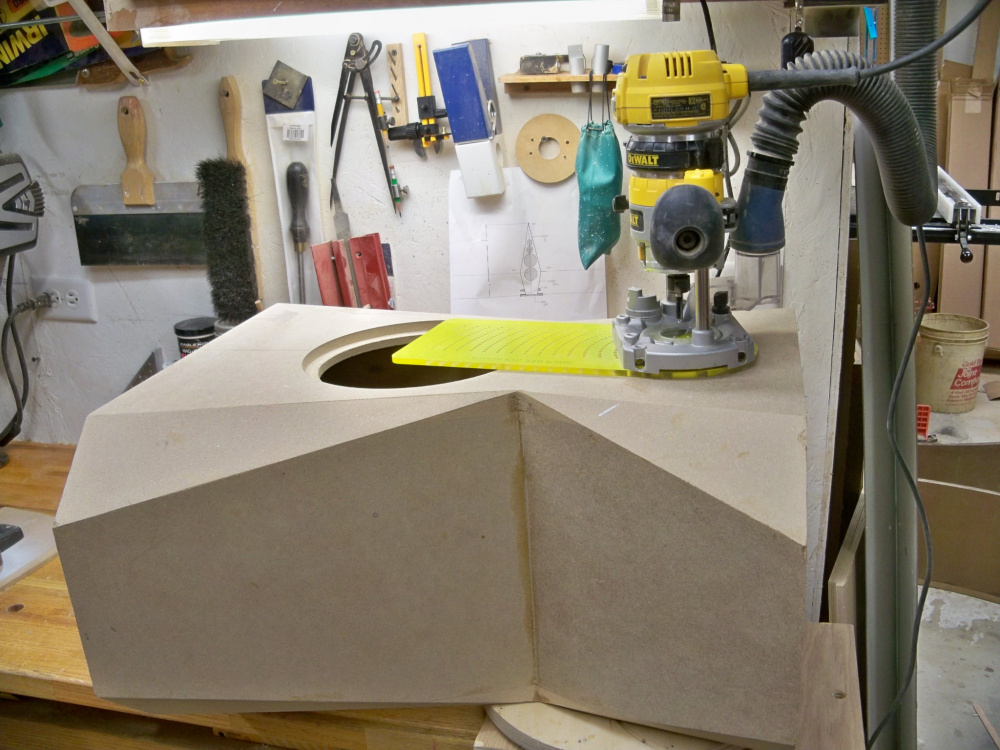
The cabinet is on it's side, so pretend that it is on its back and the router is on the face.
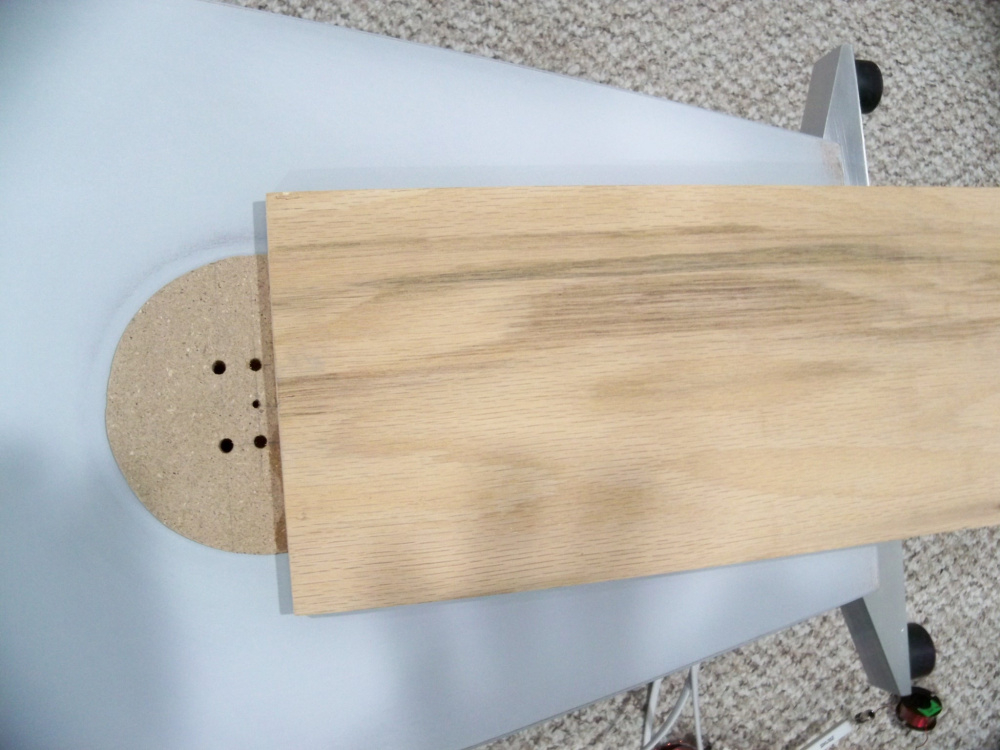
This is a different cabinet, forgive the camera work, I did a poor job taking this picture.
It looks like the cabinet is laying on the bench, but it wasn't. It is free to turn,
Oh yeah! Take some pics, and post away. My intent for starting this thread was simply to help and maybe gives some ideas that anyone could expand on.
")
Indeed! I love that thing for circles, and it's dedicated for that purpose. Laminated hardboard base for durability. I did this for dust-extraction as well, which works really well.
InDIYana Event Website
I did open up the extraction area a little after this last photo was taken.
InDIYana Event Website
So you hold the router with one hand and turn the speaker with the other? I already have a steady turntable. I gotta try this next time.
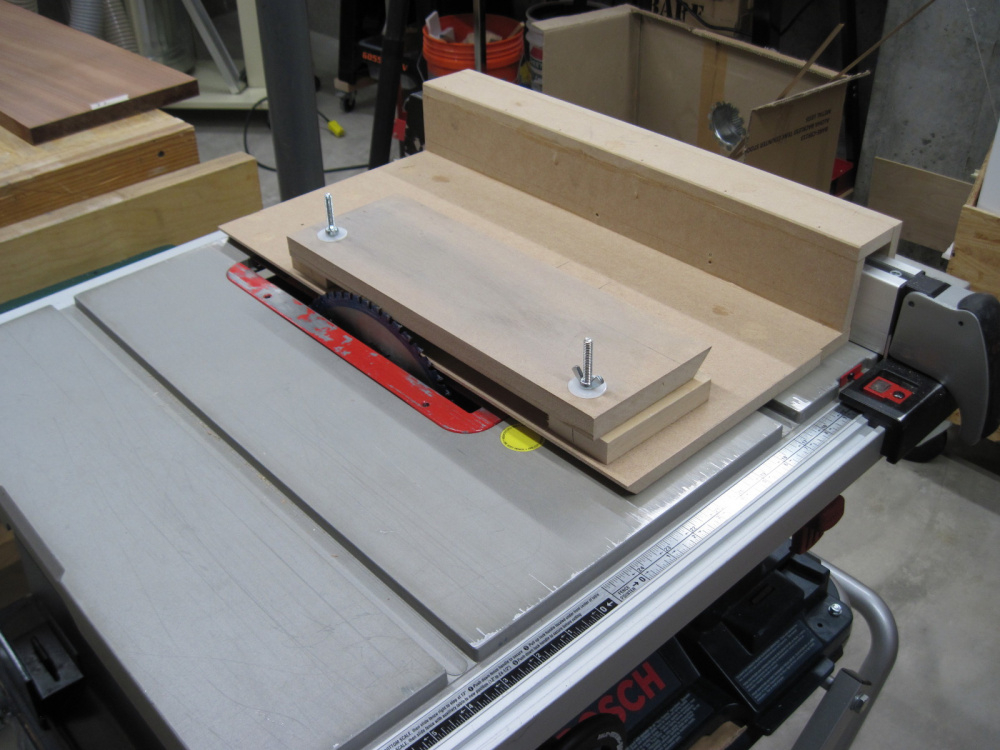
Here are a few of mine
Jig to cut 2" PVC ports on the chop saw
Cut off sled for irregular shapes
Cross cut sled
Panel cutting sled
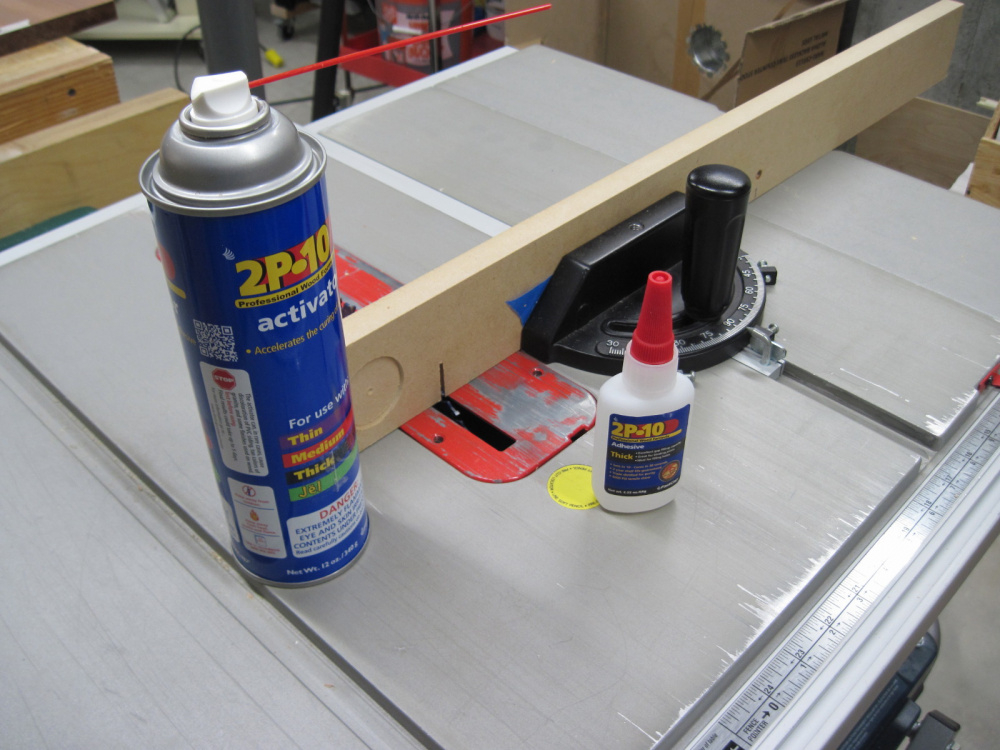
I make a ton temporary jigs with CA glue, blue tape and activator. The activator and CA glue has been the best purchase in the last 2 years, I highly recommend it.
I. Agree, CA glue is excellent
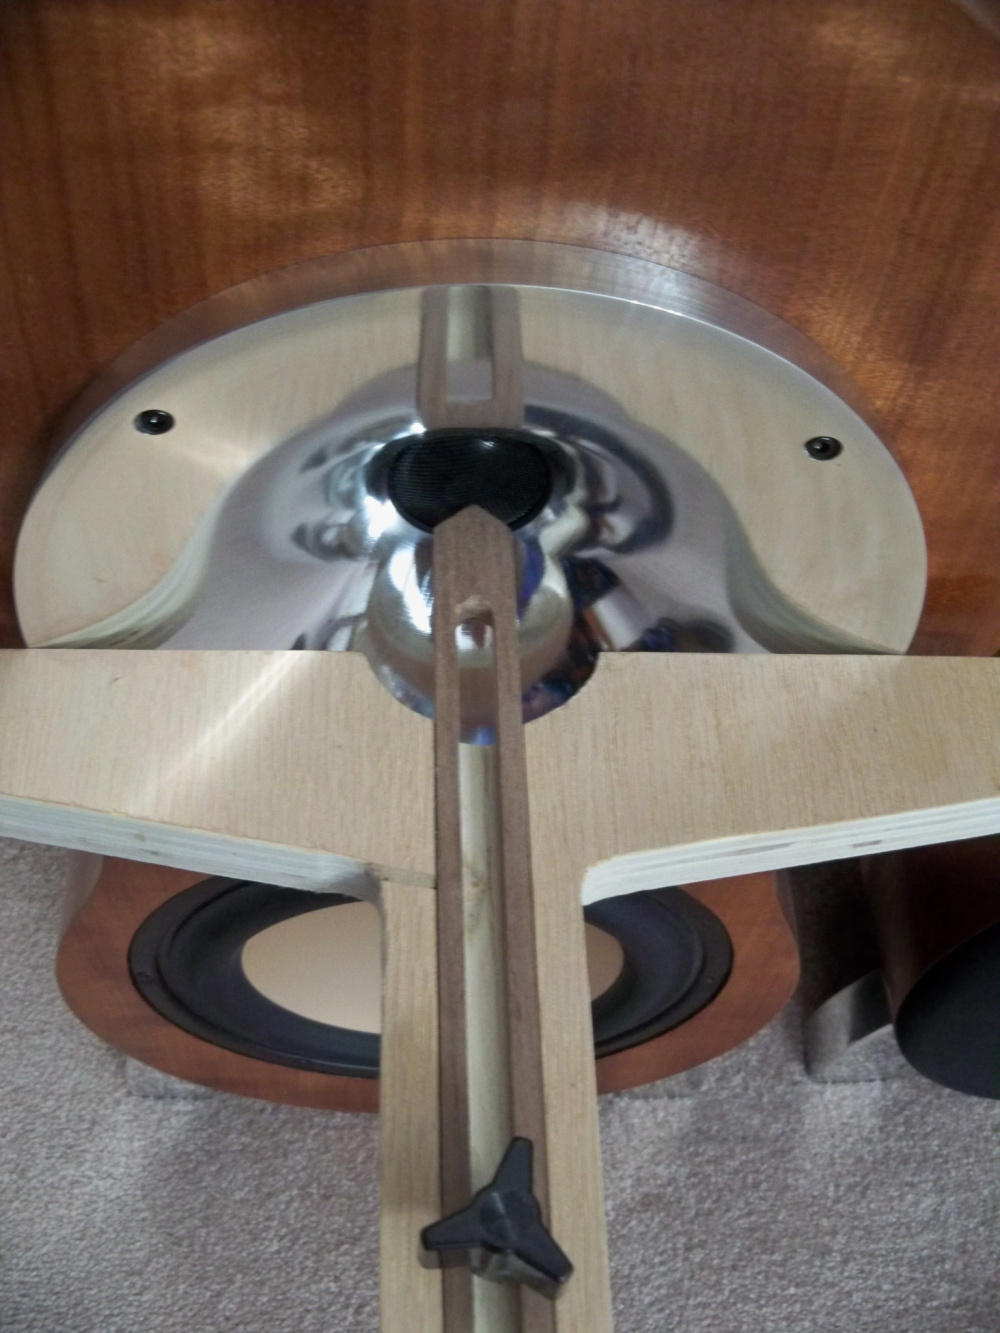
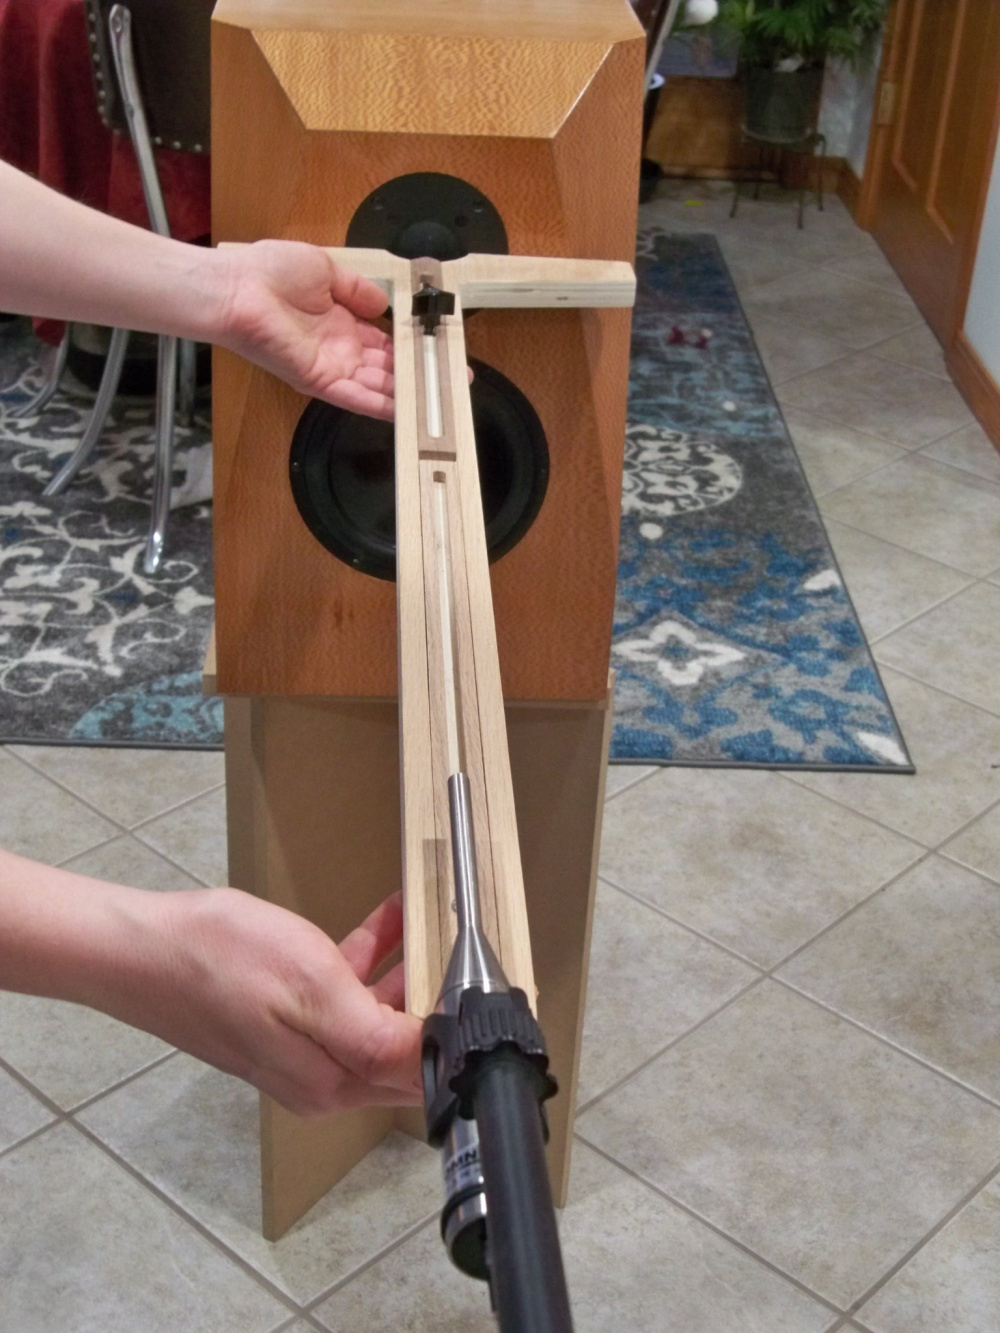
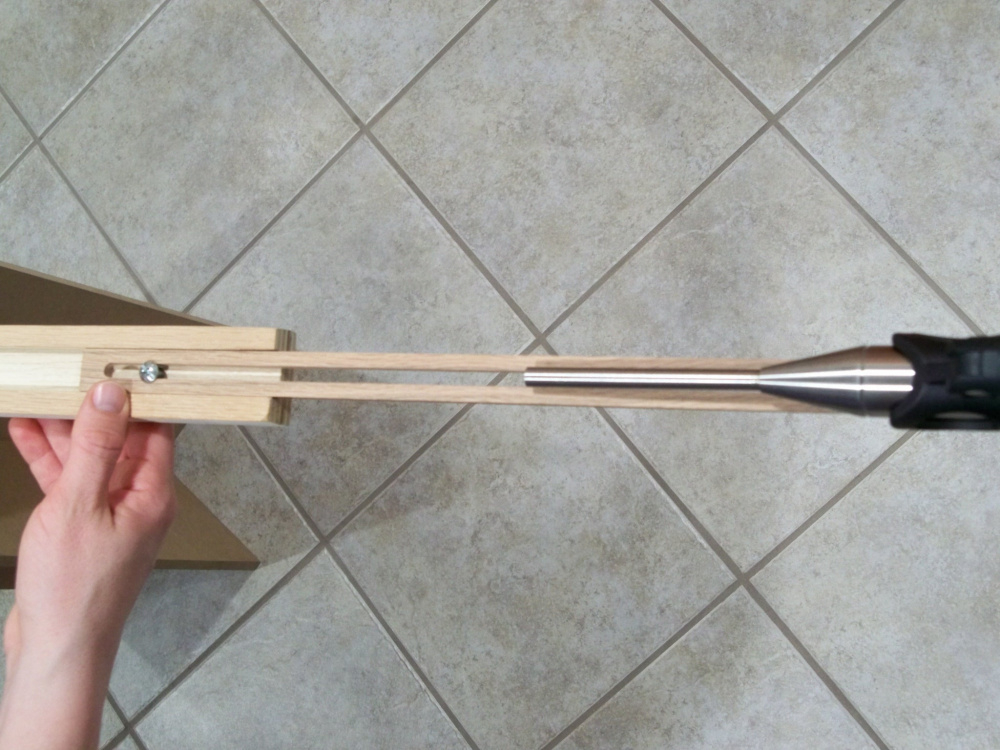
I use this one to make microphone set up quicker. It's just what it looks like a t-square with moveable extensions, the front one has a point to help in centering the tweeter, and the back is slotted not only for movement, but the slot makes it easy to eyeball the alignment of the mic barrel. I find it much easier to square things up this way.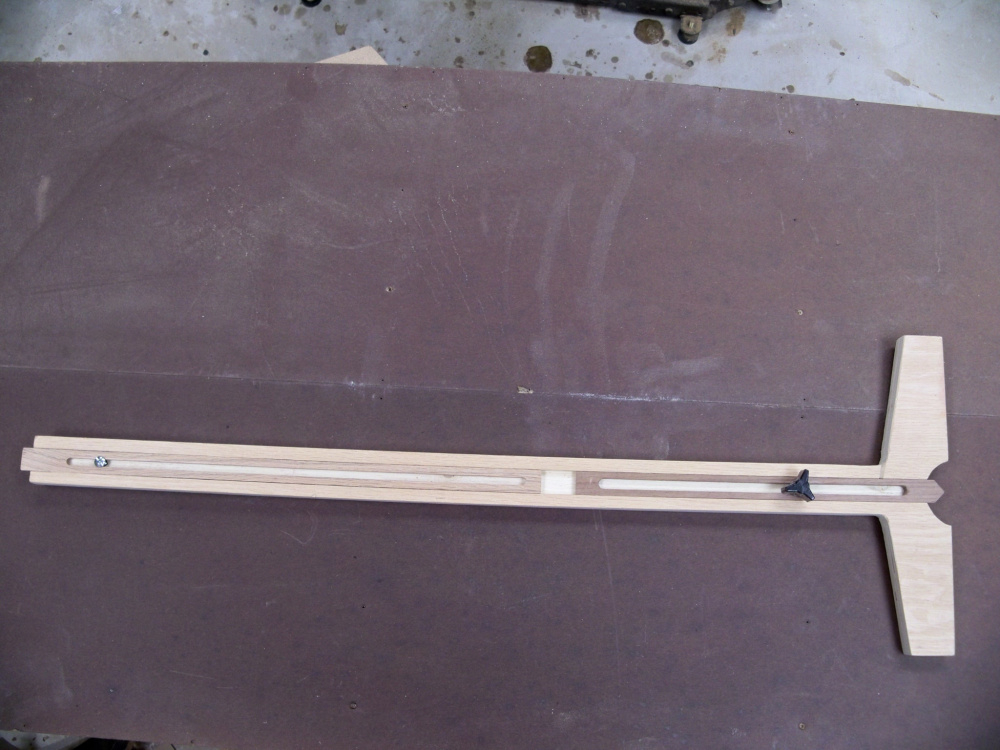
You guys really make some elaborate and well constructed jigs! I sure don't - my jigs usually consist of a board clamped or screwed to another board. If it works once for the task I need - great. If it works well enough to use again, even better but if not then not much time or materials wasted.
Here's one of my more elaborate jigs - a sled table thing I made for flattening boards with a router. It looks like a hunk of junk but works surprisingly well. As well I've built a crosscut sled but for the most part I just use my mitre gauge with a big straight edge attachment for most boards as I find it more convenient than the big heavy sled.
In my true jig fashion - here's another board screwed to another board. I've been using this for far too long for all of my speaker measurement needs. Impedance and 2 channel acoustic measurements. It's one of those things where I said I'd just assemble it willy nilly and make sure it all works properly first then build it nice, but the problem is once it was built and functional I lost the motivation to build it nice and just kept using it as-is. It has a rotary switch to select a few different attentuator steps, but don't really need that anymore once I started using a USB audio interface with adjustable input gain on each channel. Also I lost the knob for the rotary switch anyway.
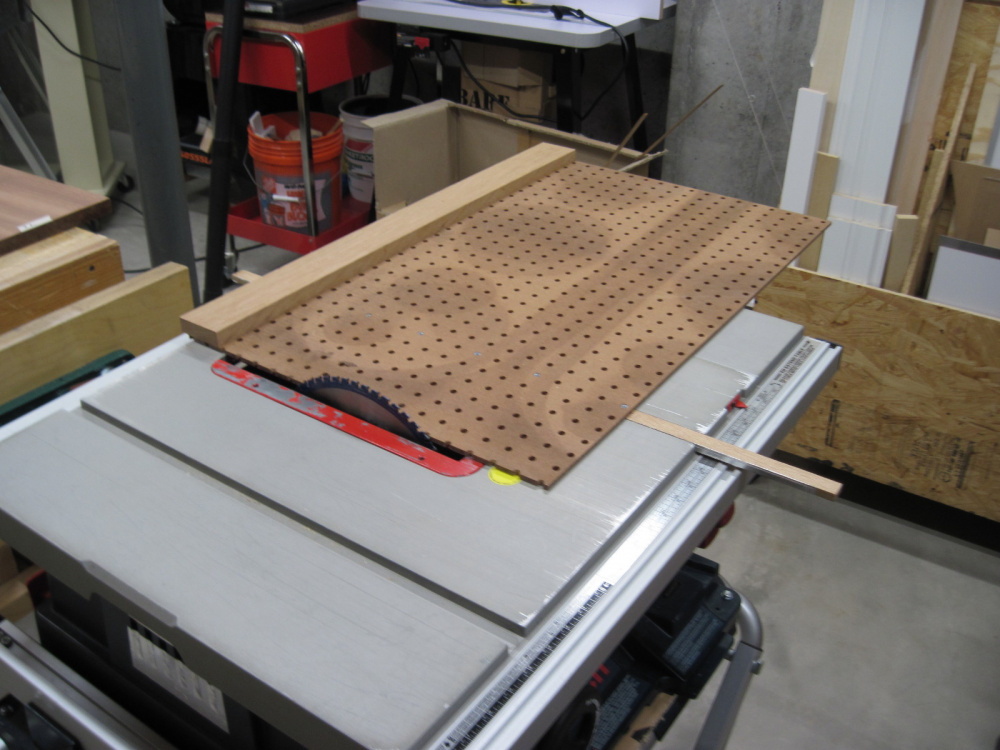
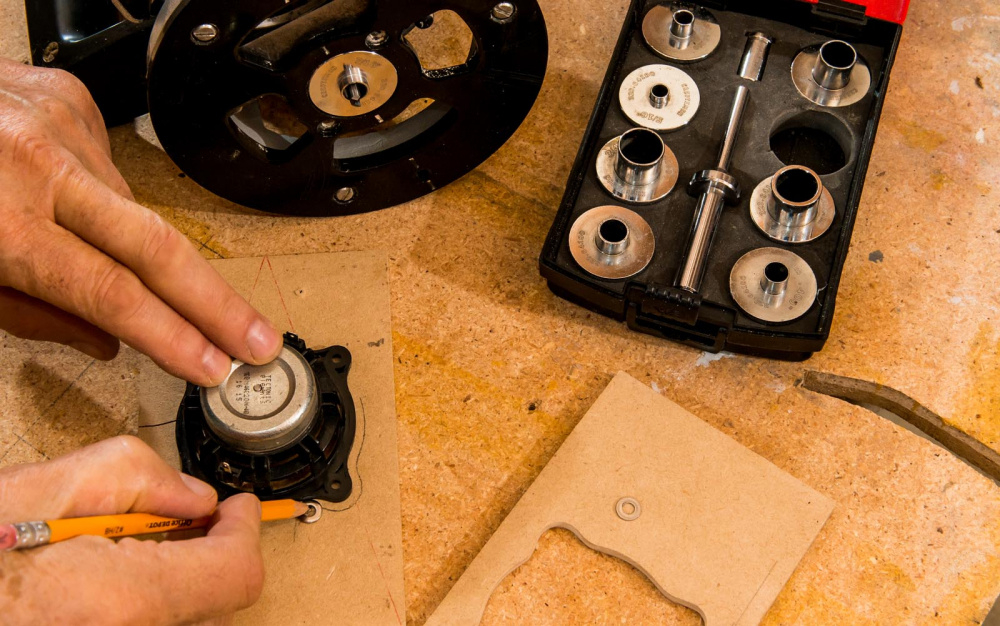
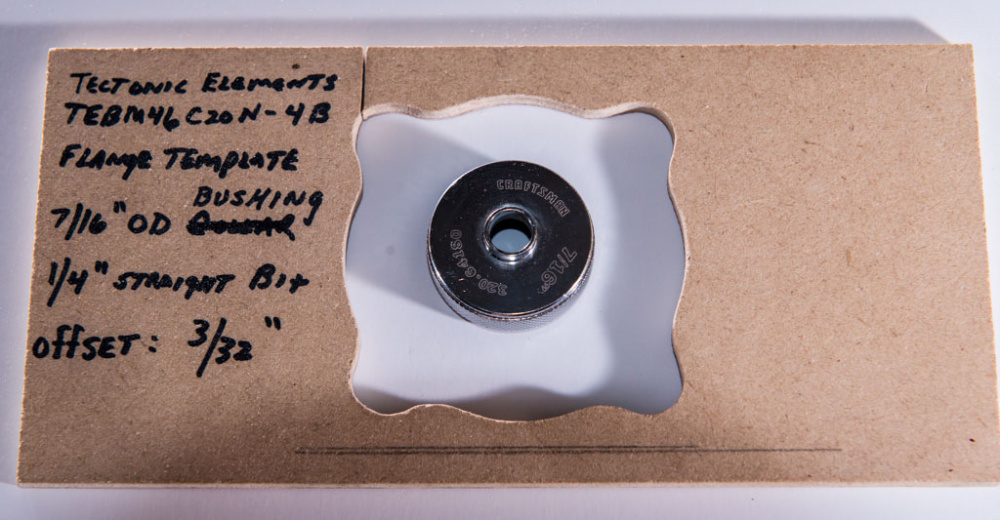
One of my favorite tools is the craftsman bushing set. With it, I can make recess templates for very small, odd shaped drivers. The fit, however, is only as good as my ability to carefully follow the traced line with my band saw. But I am getting very good at it. It helps to smooth the edge of the template a little with 220 grit before routing, as this straightens out the lines and creates a small clearance gap for painting.
http://www.searshometownstores.com/Craftsman-64180-12-pc-Router-Bushing-Centering-Cone-Set
First, I trace the driver flange onto a piece of 1/4" thick masonite and then cut it out on my band saw using a 1/8" wide scrolling blade. Notice that I trace the line by running the pencil inside a small, #6 washer. This gives me the necessary offset to match the particular bushing and bit used:
Then I carefully position and fasten the template to the baffle with double stick carpet tape:
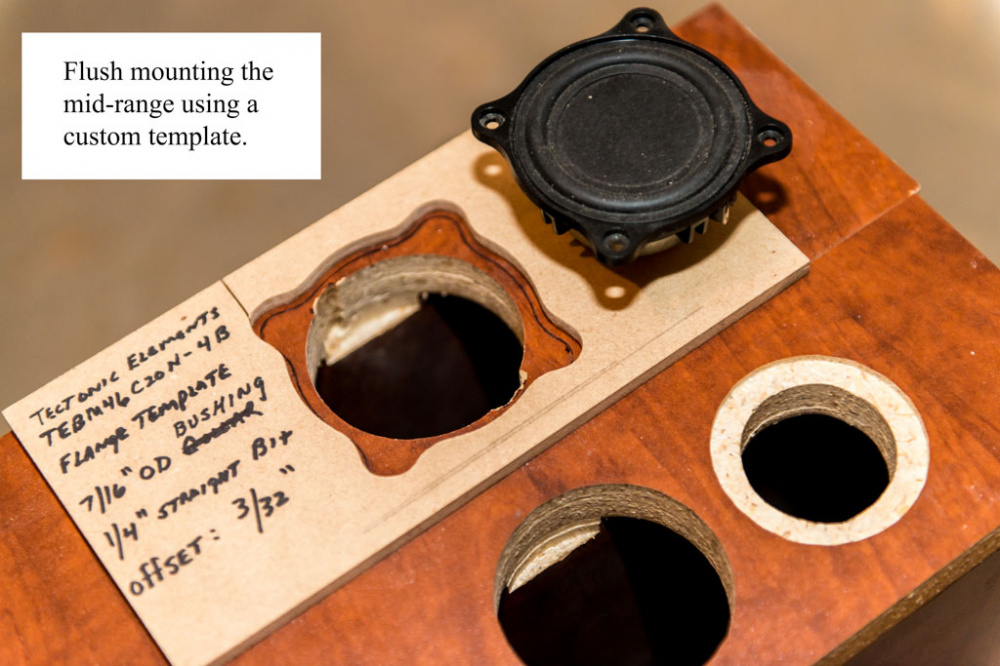
Here is the finished product:
I've got the same bushing kit - bought on clearance as Sears was closing down here. It's come in handy on a few occasions, I used it with my jasper jig to cut smaller holes than the jig is capable of, worked great for recessing some panel mount speakon connectors flush.
Not a jig, or gizmo, but a recent addition to my shop, which is in the basement. Really helps safely transport larger speakers safely. I cut up an old denim work shirt for padding, and added a strap clamp to lock down securely. I paid extra for the 800 Lb capacity, the 10 inch pneumatic wheels and maybe will need the horizontal cart change some day. It's paid for itself already, as far as I am concerned!
https://lowes.com/pd/Milwaukee-800-lb-2-Wheel-Red-Steel-Convertible-Hand-Truck/50042446
does it climb stairs? i need something that is good for going up and down stairs...
I'll need to pick up something like that if I ever build a bigger floor-standing speaker. I inherited my dad's, but it's old, rusty, dirty and not nearly as beefy.
Ani they make some with belts on the back that ack like a track that slides up or down a set of stairs. Movers use them for heavy items.